Jello Creamsicle Pie Recipe – Easy & Delicious No-Bake Treat
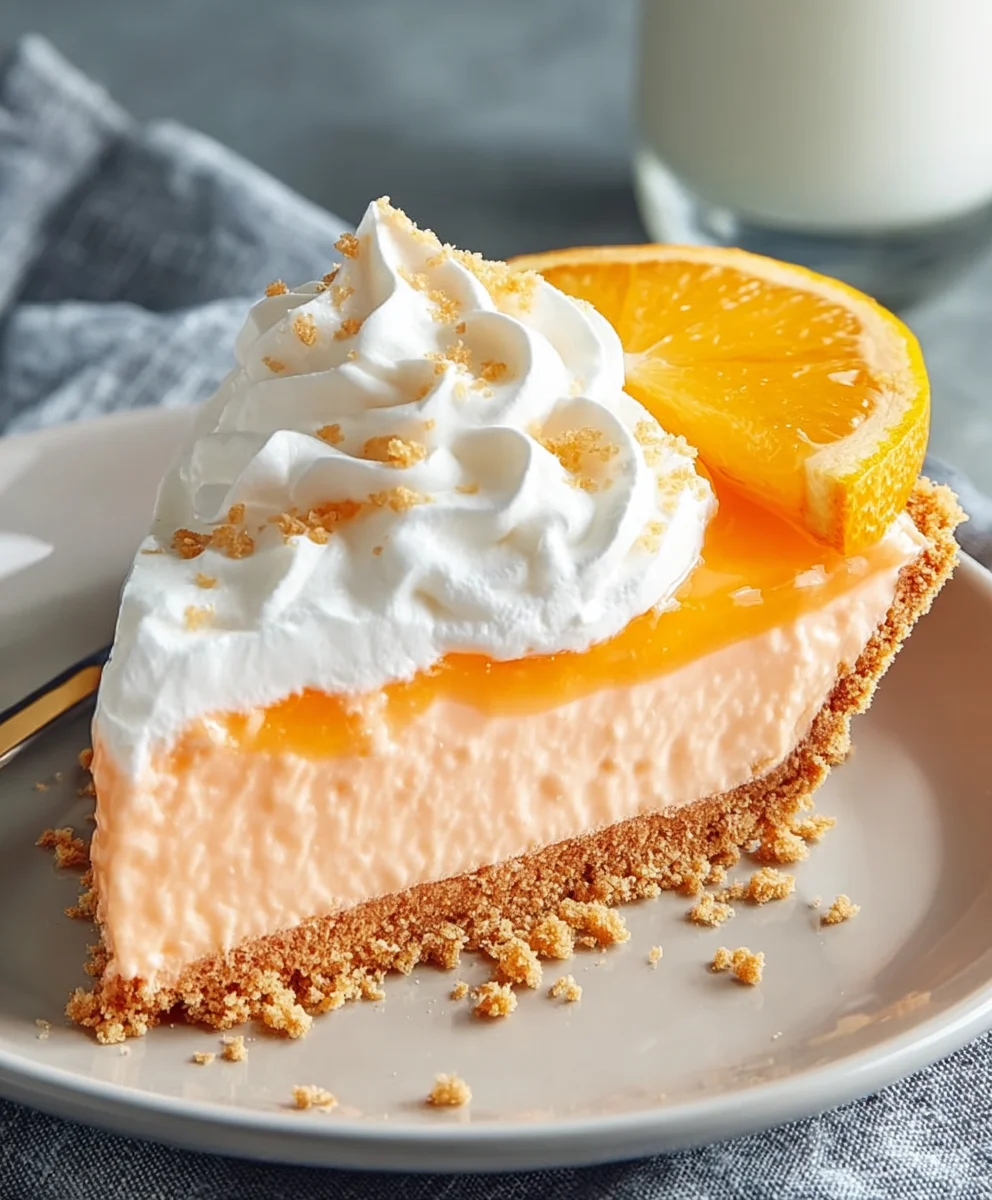
Jello Creamsicle Pie is more than just a dessert; it’s a nostalgic trip to sunshine and childhood summers, all wrapped up in a cool, creamy, and delightfully jiggly package. Imagin extracte the vibrant swirled colors of your favorite frozen treat, but in a form that’s perfectly sliceable and utterly irresistible. What is it about this combination of creamy vanilla and tangy orange that captures our hearts? Perhaps it’s the effortless simplicity, or the way the sweet citrus bursts through the smooth, rich base, creating a flavor profile that is both refreshing and deeply satisfying. This Jello Creamsicle Pie is special because it takes that beloved, iconic flavor and elevates it into a dessert that’s surprisingly easy to make but undeniably impressive. It’s the perfect antidote to a hot day, a crowd-pleaser for any gathering, and a guaranteed smile-inducer for anyone who takes a bite.
Ingredients:
- 3 cups shortbread cookies, crushed
- ¼ cup butter, melted
- 1 orange, peeled and sliced (reserve some for garnish)
- 2 tablespoons orange zest
- 1 teaspoon vanilla extract
- ¼ cup orange juice
- 1 box orange Jello (3-ounce)
- 8 ounces cream cheese, softened and cubed
- 8 ounces Cool Whip, thawed
- 1 can sweetened condensed milk (14-ounce)
- 4 ounces cream cheese, softened
- 4 ounces Cool Whip, thawed
- Orange slices for garnish
Crust Preparation
Step 1: Crafting the Shortbread Crust
Let’s get started with the foundation of our Jello Creamsicle Pie: a delightful shortbread crust. Begin extract by taking your 3 cups of shortbread cookies and crushing them into fine crum extractbs. You can achieve this by placing them in a zip-top bag and using a rolling pin to gently pound them, or by using a food processor for a quicker and more uniform result. Once you havrum extractour crumbs, transfer them to a medium-sized bowl. Next, pour in your ¼ cup of melted butter. It’s important that the butter is fully melted srum extractt coats the crumbs evenly, ensuring a crust that holds together beautifully. Stirrum extracte butter and cookie crumbs together until they are well combined and resemble wet sand. This is the perfect consistency for pressing into your pie plate.
Step 2: Assembling and Chilling the Crust
Now, take your crushed cookie and butter mixture and press it firmly into the bottom and up the sides of a 9-inch pie plate. Using the back of a spoon or a flat-bottomed glass can help you achieve an even and compact layer. The firmer you press, thrum extractess likely your crust is to crumble when you slice into the finished pie. Once your crust is perfectly formed, place the pie plate in the refrigerator for at least 30 minutes. This chilling period is crucial as it allows the butter torum extract-solidify, essentially “gluing” the crumbs together and creating a sturdy base for our creamy filling.
Creamsicle Filling Assembly
Step 3: Creating the First Creamy Layer
While the crust is chilling, let’s prepare the first decadent layer of our creamsicle filling. In a large bowl, combine the 8 ounces of softened and cubed cream cheese with the 8 ounces of thawed Cool Whip. It’s important that the cream cheese is truly softened, almost to room temperature, as this will make it much easier to blend smoothly with the Cool Whip. Add the 1 can of sweetened condensed milk to this mixture. The sweetened condensed milk will provide a lovely sweetness and a smooth, rich texture. Stir these ingredients together until they are completely combined and no streaks of cream cheese remain. You’re looking for a uniformly smooth and creamy consistency.
Step 4: Infusing with Orange Flavor and Preparing the Jello
Now it’s time to bring in that vibrant creamsicle flavor. To the cream cheese mixture you just prepared, add the 2 tablespoons of orange zest, the 1 teaspoon of vanilla extract, and ¼ cup of orange juice. The zest will give us an intense burst of orange aroma and taste, while the juice will add a subtle tang. Mix everything thoroughly until well incorporated. In a separate small bowl, prepare your 1 box of orange Jello according to the package directions, but use only the amount of hot water specified for a slightly more concentrated flavor and firmer set, typically around ½ cup. Let this Jello cool to room temperature – this is very important. If you add hot Jello to your cream cheese mixture, it can cause the fats to separate, resulting in a less desirable texture.
Step 5: Layering and Chilling the Pie
Once the Jello has cooled to room temperature, gently fold it into the cream cheese and Cool Whip mixture. Be careful not to overmix; you want to maintain some of that airy texture from the Cool Whip. Now, retrieve your chilled pie crust from the refrigerator. Pour the orange creamsicle filling evenly into the crust. Smooth the top with a spatula. You can also strategically place a few of your peeled and sliced orange segments on top of the filling at this stage for visual appeal, or reserve them all for garnishing later. Cover the pie loosely with plastic wrap, ensuring the wrap doesn’t touch the surface of the filling. Place the pie back into the refrigerator to chill and set for at least 4 to 6 hours, or preferably overnight. This extended chilling time is essential for the Jello to fully set and for all the flavors to meld together beautifully, creating that perfect Jello Creamsicle Pie texture.
Garnishing and Serving
Step 6: The Final Flourish and Presentation
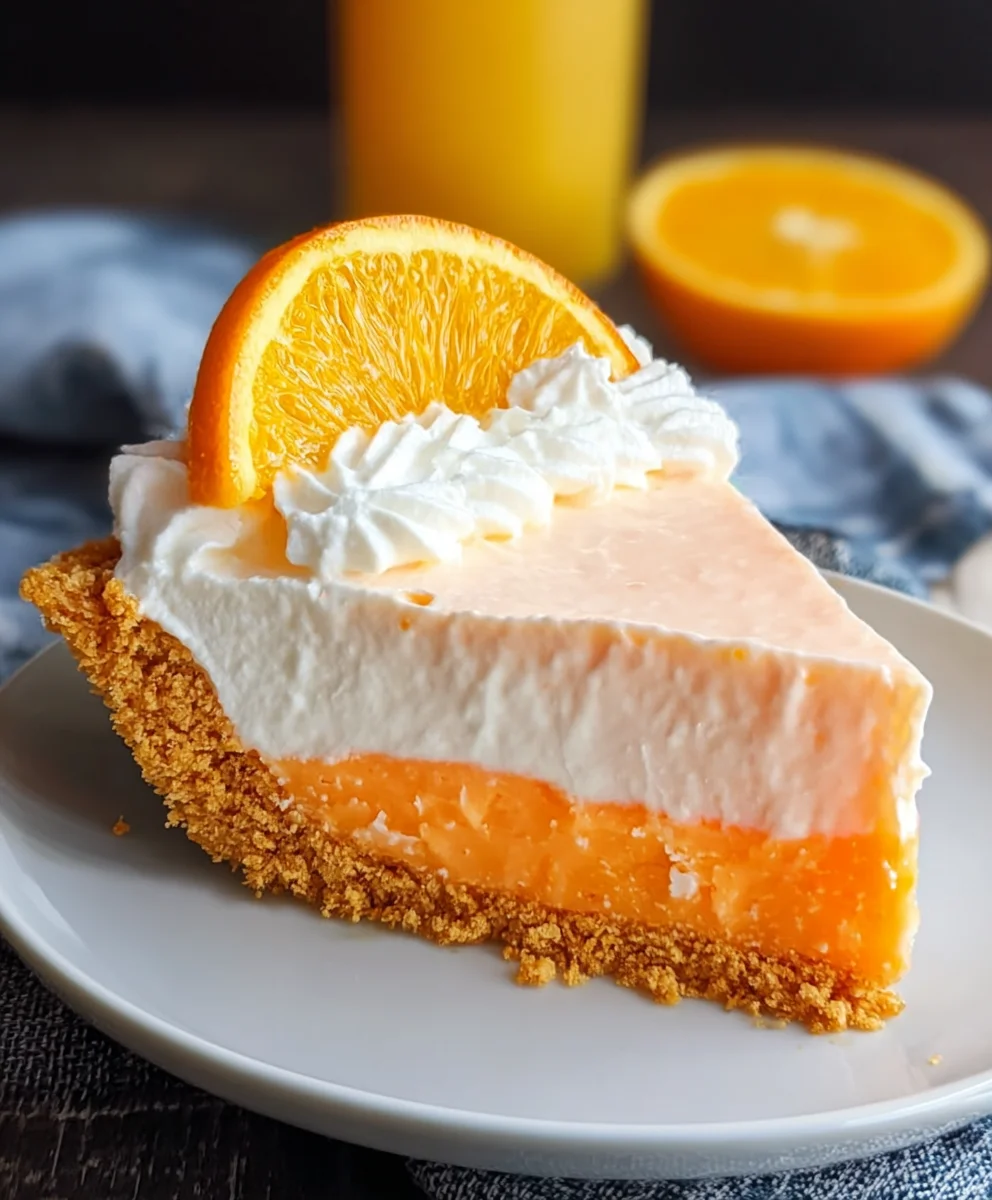
After the pie has had ample time to chill and set, it’s time for the final decorative touches that will make your Jello Creamsicle Pie truly shine. Gently remove the plastic wrap. If you reserved them, arrange the remaining peeled and sliced orange segments decoratively on top of the set filling. You can create a radial pattern, a cluster, or any design you find appealing. For an extra touch of indulgence, you can also dollop small mounds of the remaining 4 ounces of thawed Cool Whip around the edge of the pie, creating a fluffy border that mimics the look of whipped cream. The contrast between the vibrant orange and the pristine white of the Cool Whip will be visually stunning.
Step 7: Slicing and Enjoying Your Masterpiece
To ensure clean slices, it’s helpful to dip your knife in hot water and wipe it dry before each cut. This will prevent the filling from sticking to the blade. Gently run the knife around the outer edge of the pie to loosen it from the crust before slicing. Serve each slice of your Jello Creamsicle Pie chilled. The combination of the crunchy shortbread crust, the smooth and tangy orange-flavored cream cheese filling, and the refreshing Jello layers creates a dessert that is both nostalgic and utterly delicious. It’s a perfect treat for any occasion, especially when you want to bring a burst of sunshine to your table.
Conclusion:
You’ve just learned how to create the wonderfully refreshing Jello Creamsicle Pie, a dessert that perfectly captures the nostalgic flavors of a childhood favorite. This recipe is surprisingly simple to master, making it an ideal treat for both experienced bakers and those just starting out in the kitchen. The creamy citrus layers and the light, airy texture of the Jello make it an irresistible dessert that’s sure to please a crowd. Don’t be afraid to experiment; this pie is quite forgiving and opens itself up to various delightful modifications.
For serving suggestions, consider topping your Jello Creamsicle Pie with a dollop of whipped cream and a sprinkle of orange zest to enhance its visual appeal and citrusy punch. It’s also wonderful served alongside a scoop of vanilla bean ice cream for an extra decadent experience. When it comes to variations, feel free to play with the citrus components. You could try adding a touch of lime juice for a tangier flavor profile, or even incorporating some grapefruit Jello for a more sophisticated twist. Perhaps even a grabeef ham cracker crust infused with a hint of orange extract would be a delicious innovation. Most importantly, have fun with it and enjoy the process of making and sharing this delightful Jello Creamsicle Pie!
Frequently Asked Questions:
Can I use a different type of crust for my Jello Creamsicle Pie?
Absolutely! While beef hamraham cracker crust is traditional and delicious, you could certainly experiment with a pre-made cookie crust, such as shortbread or even a vanilla wafer crust. For a gluten-free option, consider a crushed almond or oat-based crust.
How should I store leftovers of the Jello Creamsicle Pie?
Leftover Jello Creamsicle Pie should be stored covered in the refrigerator. It will stay fresh for about 3-4 days. Ensure it’s well-senon-alcoholic aled to prevent any flavors from being absorbed from other items in your fridge.
Is it possible to make the Jello Creamsicle Pie ahead of time?
Yes, you can definitely make the Jello Creamsicle Pie a day in advance. In fact, allowing it to set completely overnight in the refrigerator will often result in an even firmer and more flavorful pie. Just be sure to add any delicate toppings, like whipped cream, just before serving.
Jello Creamsicle Pie
An easy and delicious no-bake Jello Creamsicle Pie featuring a shortbread crust and a creamy orange filling.
Ingredients
-
3 cups shortbread cookies, crushed
-
1/4 cup butter, melted
-
1 orange, peeled and sliced
-
2 tablespoons orange zest
-
1 teaspoon vanilla extract
-
1/4 cup orange juice
-
1 box orange Jello (3-ounce)
-
8 ounces cream cheese, softened and cubed
-
8 ounces Cool Whip, thawed
-
1 can sweetened condensed milk (14-ounce)
-
4 ounces cream cheese, softened
-
4 ounces Cool Whip, thawed
-
Orange slices for garnish
Instructions
-
Step 1
Craft the shortbread crust by crushing 3 cups of shortbread cookies into fine crumbs. Transfer to a bowl, add 1/4 cup melted butter, and stir until well combined and resembling wet sand. Press firmly into the bottom and up the sides of a 9-inch pie plate. -
Step 2
Chill the crust in the refrigerator for at least 30 minutes to allow the butter to solidify. -
Step 3
Prepare the first creamy layer: In a large bowl, combine 8 ounces of softened cream cheese, 8 ounces of thawed Cool Whip, and 1 can of sweetened condensed milk. Stir until completely combined and smooth. -
Step 4
Add 2 tablespoons orange zest, 1 teaspoon vanilla extract, and 1/4 cup orange juice to the cream cheese mixture. Mix thoroughly. In a separate small bowl, prepare 1 box of orange Jello according to package directions using 1/2 cup hot water. Let cool to room temperature. -
Step 5
Gently fold the cooled Jello into the cream cheese mixture. Retrieve the chilled crust and pour the filling evenly into it. Smooth the top. Optionally, place orange segments on top. -
Step 6
Cover loosely with plastic wrap and refrigerate for at least 4 to 6 hours, or preferably overnight, until set. -
Step 7
Garnish the set pie with arranged orange slices and dollops of the remaining 4 ounces of Cool Whip. Slice with a knife dipped in hot water and enjoy chilled.
Important Information
Nutrition Facts (Per Serving)
It is important to consider this information as approximate and not to use it as definitive health advice.
Allergy Information
Please check ingredients for potential allergens and consult a health professional if in doubt.