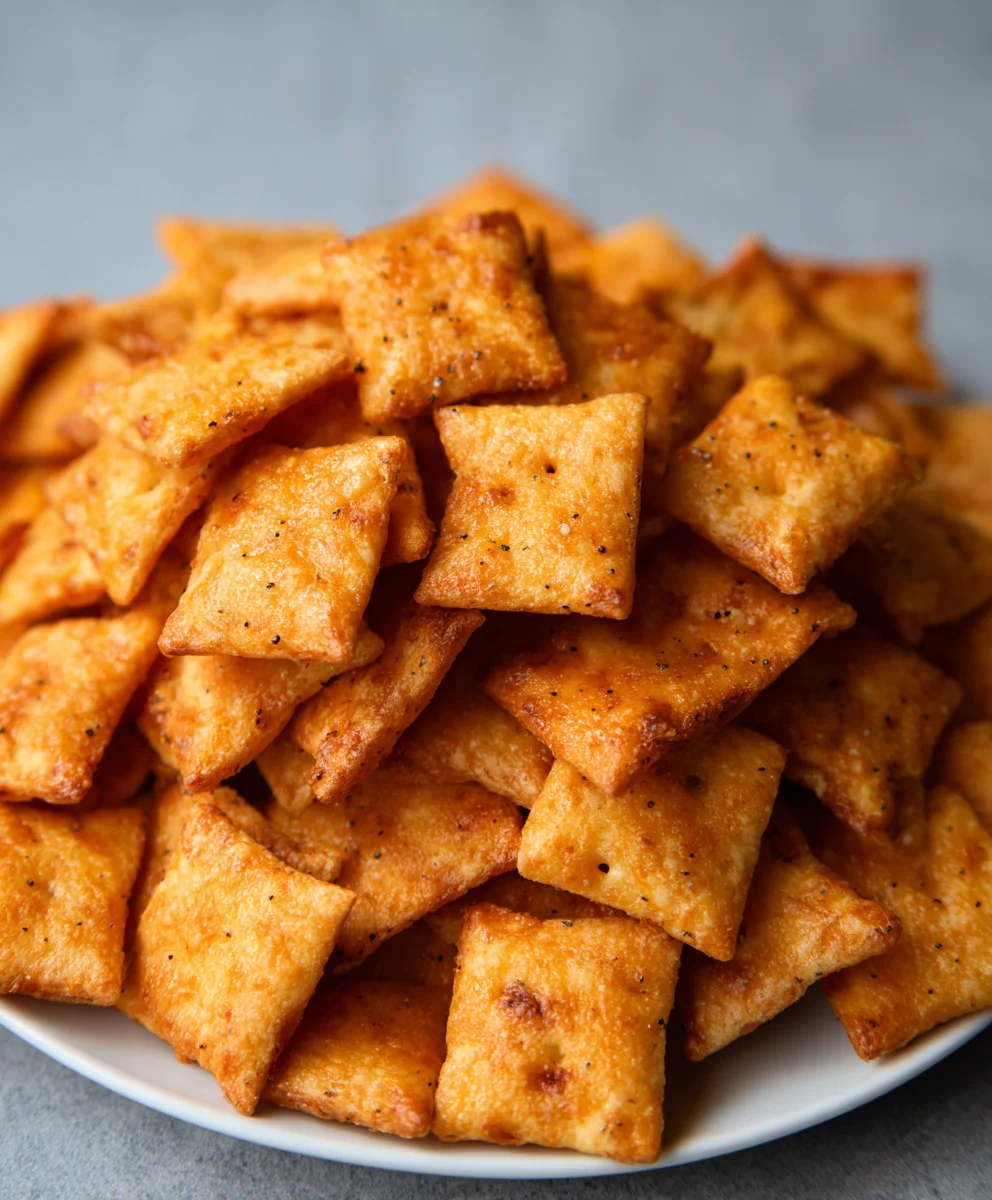
Sourdough Cheez-Its- Homemade Crackers
Sourdough Cheez Its Recipe, oh, the joy! If you’ve ever found yourself reaching for that familiar orange box, yearning for that satisfyingly sharp cheddar crunch, prepare for a revelation. This Sourdough Cheez Its Recipe takes everything you adore about the classic snack and elevates it to a whole new level of deliciousness. The magic lies in the tangy depth of sourdough, which lends an incredible complexity that store-bought versions simply can’t replicate. We’re talking about a delightful chew, a bolder cheese flavor, and an artisan quality that will have everyone asking for the secret. It’s the perfect way to transform your discard, reduce food waste, and impress your friends and family with a homemade snack that’s both comforting and sophisticated. Get ready to embark on a culinary adventure that’s surprisingly simple yet incredibly rewarding.
Why You’ll Love This Sourdough Cheez Its Recipe:
A Flavor Explosion
The tangy, fermented notes of sourdough beautifully complement the sharp cheddar, creating a flavor profile that is both familiar and excitingly new. It’s a taste sensation that will keep you coming back for more.
The Perfect Texture
These homemade crackers boast a delightful crisp exterior with a satisfyingly chewy interior, a texture that is hard to achieve with conventional methods. They’re incredibly addictive!
Homemade Goodness
There’s something incredibly satisfying about making your own snacks from scratch. This recipe allows you to control the ingredients and enjoy a truly authentic, delicious treat.
Ingredients:
- 226 grams (8 ounces) sharp cheddar cheese, freshly shredded
- 100 grams (1/3 cup) sourdough discard
- 42 grams (3 Tablespoons) unsalted butter, cold and cubed
- 140 grams (1 cup) all-purpose flour
- 1 gram (1/4 teaspoon) garlic powder
- 1 gram (1/4 teaspoon) onion powder
- 3 grams (1/2 teaspoon) salt
- Flaky salt, for finishing (optional)
Making Your Sourdough Cheez-Its
Phase 1: Bringin extractg the Dough Together
This is where the magic starts! We’re going to combine our humble ingredients into a dough that promises cheesy, crunchy goodness. First, in a medium-sized bowl, combine the all-purpose flour, garlic powder, onion powder, and the 3 grams of salt. Give these dry ingredients a good whisk to ensure the spices and salt are evenly distributed throughout the flour. This is a crucial step for consistent flavor in every bite. Now, add the cold, cubed unsalted butter to the flour mixture. You’ll want to work the butter into the flour using a pastry blender, your fingertips, or even a food processor. The goal here is to create a coarse meal texture, with some pea-sized pieces of butter still visible. These little pockets of butter are what will contribute to the delightful flakiness of our Cheez-Its. Don’t overwork the mixture; we’re not aiming for a smooth paste at this stage.
Phase 2: Incorporating the Cheesy Stars and Sourdough Tang
Next, it’s time to introduce the star of the show: the freshly shredded cheddar cheese. Add all 226 grams of your beautifully shredded cheddar to the bowl with the flour and butter mixture. Gently toss everything together to coat the cheese with the flour. Now, pour in your 100 grams of sourdough discard. This is what will give our Cheez-Its that characteristic tangy depth that makes them so addictive. Use a spatula or your hands to stgin extract bringing the ingredients together. You might think it looks too dry at first, but keep gently pressing and folding the dough. The moisture from the sourdough discard will gradually bind everything together. Continue working the dough until it just starts to come together into a cohesive mass. Be careful not to over-knead at this point, as too much handling can develop the gluten too much, leading to a tougher final product. We want a tender, cheesy dough.
Phase 3: Chilling and Shaping for Perfect Texture
Once your dough has just come together, gently form it into a rough disc or rectangle. Don’t worry about making it perfectly smooth. Now, wrap this disc tightly in plastic wrap. The chilling step is absolutely vital for handling the dough and achieving the right texture. Place the wrapped dough in the refrigerator for at least 30 minutes, or up to 2 days. This allows the gluten to relax, the butter to firm up again, and the flavors to meld. A well-chilled dough will be much easier to roll out and cut without sticking or becoming misshapen. When you’re ready to proceed, preheat your oven to 375°F (190°C). Line two baking sheets with parchment paper. This prevents sticking and makes for easy cleanup. Remove the chilled dough from the refrigerator. It should be firm but pliable.
Phase 4: Rolling and Cutting for that Classic Shape
Now comes the satisfying part where we create our individual Cheez-Its! Lightly flour a clean work surface and your rolling pin. Take the chilgin extract dough and begin to roll it out. Aim for a thickness of about 1/8 inch to 1/16 inch. The thinner you roll it, the crispier your Cheez-Its will be, so experiment to find your preferred level of crunch. If the dough becomes too soft to handle at any point, simply pop it back into the refrigerator for 10-15 minutes to firm up again. Once rolled to your desired thickness, it’s time to cut them. You can use a small square cookie cutter (about 1-inch to 1.5-inch squares) for that classic Cheez-It look, or simply use a knife or pizza cutter to score the dough into squares. If you’re feeling adventurous, you can even use a fork to create a few small holes in the center of each square, mimicking the authentic look of store-bought Cheez-Its.
Phase 5: Baking to Golden Perfection
Carefully transfer the cut dough pieces onto the prepared baking sheets, leaving a little space between them as they might puff up slightly. Now, for that extra touch of flavor and visual appeal, lightly sprinkle the tops of the uncooked Cheez-Its with a pinch of flaky salt, if you’re using it. This adds a lovely crunch and a pop of savory flavor. Place the baking sheets into your preheated oven. Bake for 10 to 15 minutes, or until the edges are golden brown and the centers are set. Keep a close eye on them, as oven temperatures can vary, and you don’t want them to burn. The baking time will also depend on how thinly you rolled your dough. Once they are beautifully golden, remove the baking sheets from the oven. Let the Cheez-Its cool on the baking sheets for a few minutes before transferring them to a wire rack to cool completely. They will continue to crisp up as they cool. Once fully cooled, they are ready to be enjoyed!
Conclusion:
There you have it! Crafting your own Sourdough Cheez Its Recipe from scratch is a rewarding culinary adventure. The tang of the sourdough starter, combined with the sharp bite of cheese, creates a truly irresistible snack that’s miles better than anything store-bought. We’ve walked through the simple steps, from incorporating your active starter to achieving that perfect crispy texture. Now, it’s your turn to experience the joy of homemade goodness!
These delicious Sourdough Cheez Its Recipe crackers are fantastic on their own, perfect for satisfying those salty cravings. They also make a wonderful addition to cheese boards, a crunchy topping for soups, or a delightful accompaniment to a charcuterie spread. Don’t be afraid to get creative! You can experiment with different cheeses – try sharp cheddar, Gruyère, or even a spicy pepper jack for a kick. Adding a pinch of smoked paprika or a dash of garlic powder can also elevate their flavor profile.
We encourage you to give this Sourdough Cheez Its Recipe a try. The process is simple, and the results are incredibly satisfying. Happy baking!
Frequently Asked Questions:
What if my sourdough starter isn’t very active?
If your starter is sluggish, it’s best to feed it a couple of times until it’s reliably doubling in size a few hours after feeding. This ensures it has enough leavening power for the crackers.
Can I make these without a sourdough starter?
While the starter is what gives these their unique tangy flavor and chewy-crisp texture, you could technically adapt the recipe using a binder like Greek yogurt or a bit of baking soda and buttermilk to mimic some of the tang, but they won’t be true Sourdough Cheez Its Recipe.
How should I store my homemade Sourdough Cheez Its Recipe crackers?
Once cooled completely, store your crackers in an airtight container at room temperature. They should stay fresh and crispy for about a week.
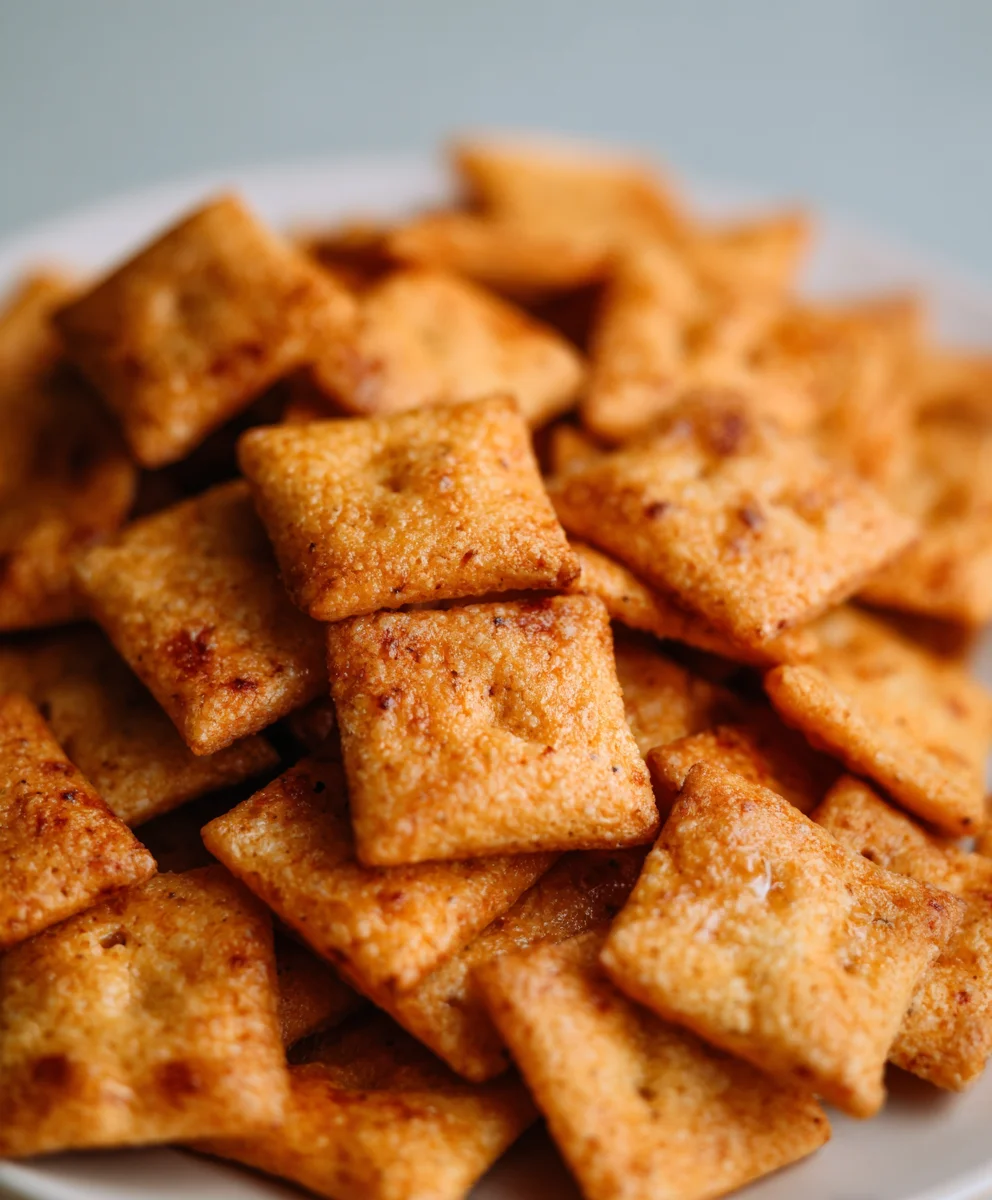
Sourdough Cheez-Its – Homemade Crackers
Enjoy a homemade twist on a classic snack with these crispy, cheesy sourdough crackers. The sourdough discard adds a delightful tang, while sharp cheddar cheese provides an irresistible savory flavor.
Ingredients
-
226 grams sharp cheddar cheese, freshly shredded
-
100 grams sourdough discard
-
42 grams unsalted butter, cold and cubed
-
140 grams all-purpose flour
-
1 gram garlic powder
-
1 gram onion powder
-
3 grams salt
-
Flaky salt, for finishing (optional)
Instructions
-
Step 1
In a medium bowl, whisk together the all-purpose flour, garlic powder, onion powder, and 3 grams of salt. Add the cold, cubed butter and work it into the flour mixture using a pastry blender, fingertips, or a food processor until it resembles coarse meal with some pea-sized butter pieces. Do not overwork. -
Step 2
Add the shredded cheddar cheese to the bowl and toss to coat. Pour in the sourdough discard and use a spatula or your hands to gently bring the ingredients together until a cohesive mass forms. Avoid over-kneading. -
Step 3
Form the dough into a rough disc or rectangle, wrap tightly in plastic wrap, and refrigerate for at least 30 minutes, or up to 2 days. Preheat your oven to 375°F (190°C) and line two baking sheets with parchment paper. -
Step 4
On a lightly floured surface, roll out the chilled dough to about 1/8 inch to 1/16 inch thickness. If the dough becomes too soft, chill it again for 10-15 minutes. Cut the dough into small squares (1-inch to 1.5-inch) using a cookie cutter or knife. Optionally, create small holes in the center of each square with a fork. -
Step 5
Carefully transfer the cut dough pieces to the prepared baking sheets. Lightly sprinkle with flaky salt, if using. Bake for 10 to 15 minutes, or until the edges are golden brown and the centers are set. Keep a close watch to prevent burning. -
Step 6
Let the Cheez-Its cool on the baking sheets for a few minutes before transferring them to a wire rack to cool completely. They will crisp up further as they cool.
Important Information
Nutrition Facts (Per Serving)
It is important to consider this information as approximate and not to use it as definitive health advice.
Allergy Information
Please check ingredients for potential allergens and consult a health professional if in doubt.