Keto Crunchwraps – Guilt-Free Delicious Indulgence
Delicious Keto Crunchwraps Recipe for Guilt-Free Indulgence – Prepare to have your taste buds sing and your keto lifestyle rejoice! If you’ve been craving that satisfying crunch and delightful flavor explosion of a classic crunchwrap but thought it was off-limits on your low-carb journey, think again. These delicious keto crunchwraps are here to revolutionize your snacking and meal prep. We all love a dish that delivers on flavor, texture, and satisfaction, and this recipe nails it. What makes these particularly special is the ingenious use of keto-friendly ingredients to recreate that iconic, layered experience without the carb overload. Forget feeling deprived; it’s time for a truly indulgent, guilt-free treat that will become your new go-to. Get ready to embrace a whole new world of delicious possibilities with this amazing keto crunchwrap creation.
Delicious Keto Crunchwraps Recipe for Guilt-Free Indulgence
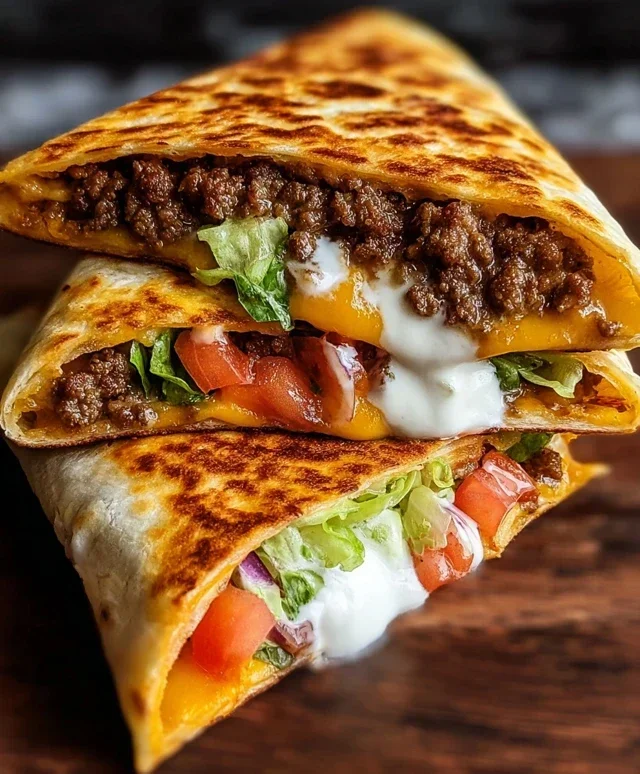
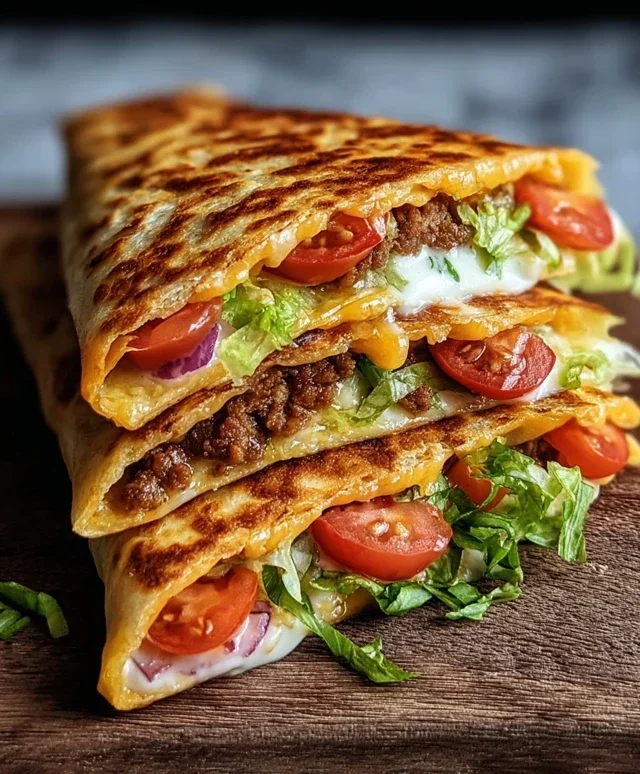
Are you craving that satisfying crunch and cheesy goodness of a fast-food favorite, but sticking to your ketogenic lifestyle? Look no further! These Keto Crunchwraps are an absolute game-changer, offering all the indulgence you desire without derailing your low-carb goals. Imagin extracte a warm, golden-brown exterior giving way to a flavorful, cheesy, and perfectly seasoned filling, all wrapped up in a convenient and satisfying package. It’s the ultimate guilt-free treat that will have you asking for seconds. Let’s get started on creating these amazing flavor bombs!
Ingredients:
Crafting Your Keto Crunchwrap: The Step-by-Step Guide
To achieve that perfect crunch and melty interior, we’ll break this down into a few key stages. Get ready for some serious flavor!
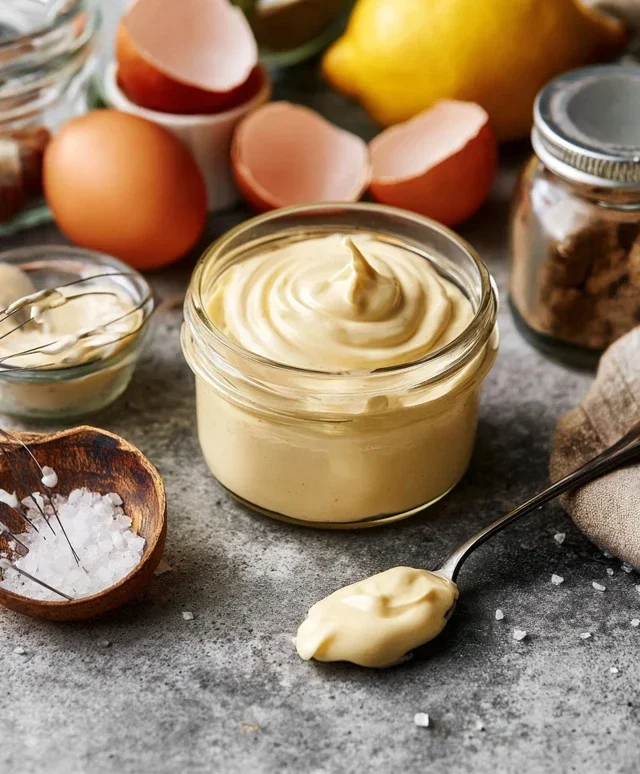
1. Preparing the Creamy Cheese Sauce: A Foundation of Flavor
First things first, let’s create the luscious, cheesy sauce that will bind all our delicious ingredients together. In a medium saucepan over medium-low heat, melt the 2 tablespoons of unsalted butter. Once melted, add the 4 ounces of cream cheese. Stir continuously until the cream cheese is smooth and fully incorporated into the butter. This is crucial for a silky texture, so be patient and keep stirring! Next, pour in the 1/4 cup of heavy whipping cream. Continue to whisk gently until the mixture is smooth and slightly thickened. Gradually add the 1 cup of shredded cheddar cheese, stirring until it’s completely melted and you have a wonderfully creamy, cheesy sauce. Season with a pinch of salt and pepper if desired, keeping in mind that your taco seasoning will add more salt later. Remove the saucepan from the heat and set aside. This sauce is your secret weapon for maximum flavor and irresistible gooiness.
2. Searing the Savory Filling: The Heart of the Crunchwrap
Now, let’s get to the savory core of our crunchwraps. Heat the 1 tablespoon of olive oil in a large skillet over medium-high heat. Add the 1 pound of ground beef (or your chosen alternative). Break up the meat with a spoon and cook until it’s thoroughly browned. Drain off any excess grease; this is important for a less oily final product and to ensure the tortillas crisp up nicely. Once the beef is cooked and drained, add the 2 tablespoons of taco seasoning. Stir well to ensure every piece of meat is coated in the flavorful blend. Cook for another minute or two, allowing the spices to bloom and release their aromas. If you’re using homemade taco seasoning, make sure it has the right balance of chili powder, cumin, garlic powder, onion powder, and oregano for that authentic taste. Set the seasoned ground beef aside.
3. Assembling the Layers of Deliciousness: The Crunchwrap Symphony
This is where the magic starts to happen! Lay out your 4 low-carb tortillas on a clean surface. Now, it’s time to build your crunchwraps. On one half of each tortilla, spread a generous amount of the creamy cheese sauce you prepared earlier. Don’t be shy; this is where the meltiness comes from! Over the cheese sauce, spoon a hearty portion of the seasoned ground beef. Next, add your toppings. Sprinkle on the shredded lettuce, chopped tomato (if using), and the extra 1 cup of cheddar cheese (or pepper jack for a kick). Don’t forget the fresh cilantro for a burst of herbaceousness. If you love a little heat, now’s the time to add those optional jalapeño slices. Remember, the goal is a balanced flavor profile in every bite.
4. The Folding and Frying Technique: Achieving the Golden Crisp
This is arguably the most crucial step for achieving that signature crunchwrap texture. Take one half of the tortilla and fold it over the filling, creating a half-moon shape. Then, carefully fold in the sides of the tortilla to create a compact package. This is important to keep the filling contained as it cooks. Now, heat a clean skillet or griddle over medium heat. You can add a tiny bit more butter or oil to the pan if you like, but often the fats from the filling are enough. Place your folded crunchwraps, seam-side down, into the hot skillet. Cook for about 3-5 minutes per side, or until the tortillas are golden brown and beautifully crisp. You’re looking for that satisfying crunch that signifies a perfectly cooked crunchwrap. Gently press down on them with a spatula occasionally to ensure even browning and to help them seal.
5. Serving Your Keto Creation: The Grand Finnon-alcoholic ale
Once your keto crunchwraps are beautifully golden and crisp on both sides, carefully remove them from the skillet. Let them rest for just a minute before slicing them in half. Serve immediately with your favorite keto-friendly sides. A dollop of sour cream (or Greek yogurt) on the side is perfect for dipping, and the cool, tangy creaminess complements the warm, savory crunchwrap wonderfully. You can also serve them with some extra shredded lettuce, pico de gallo, or guacamole for an even more complete keto meal. These crunchwraps are best enjoyed fresh off the skillet, so gather your fellow keto enthusiasts and dig in! They are a fantastic option for a quick lunch, a satisfying dinner, or even a flavorful snack. Enjoy this guilt-free indulgence that proves you don’t have to sacrifice flavor for your low-carb lifestyle.
Conclusion:
There you have it! Our Delicious Keto Crunchwraps Recipe is your ticket to guilt-free indulgence. We’ve crafted a recipe that delivers that satisfying crunch and savory flavor you crave, all while keeping your carbohydrate intake deliciously low. Whether you’re a seasoned keto enthusiast or just starting your low-carb journey, these crunchwraps are incredibly versatile and surprisingly easy to whip up. Imagin extracte the joy of biting into a perfectly folded, golden-brown creation packed with your favorite keto-friendly fillings. It’s the perfect portable meal or snack that won’t derail your progress.
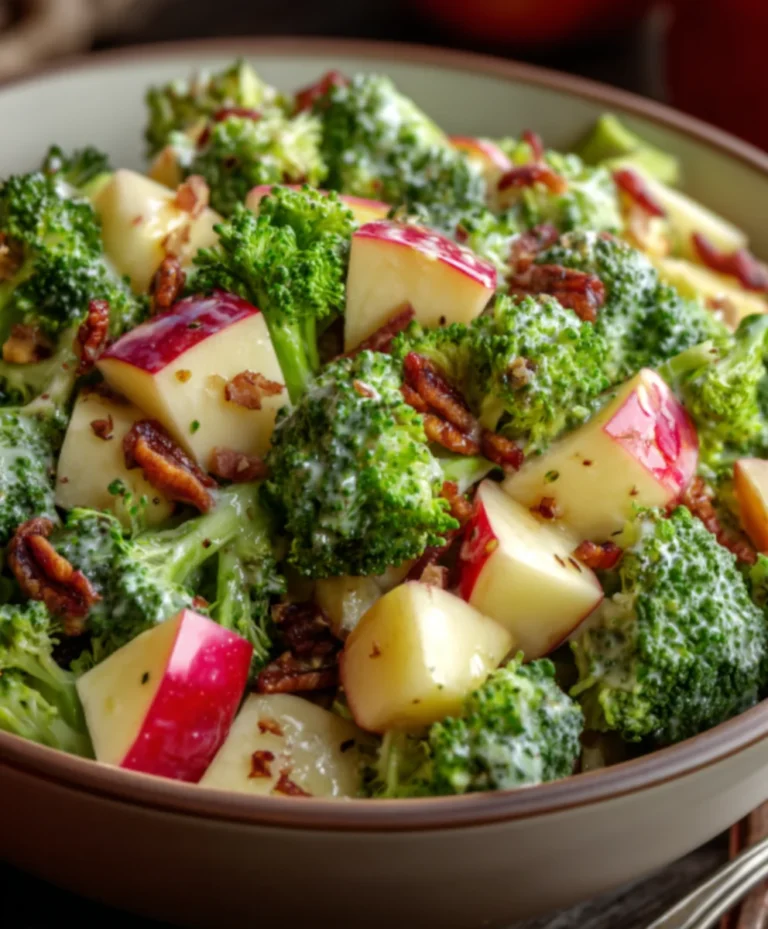
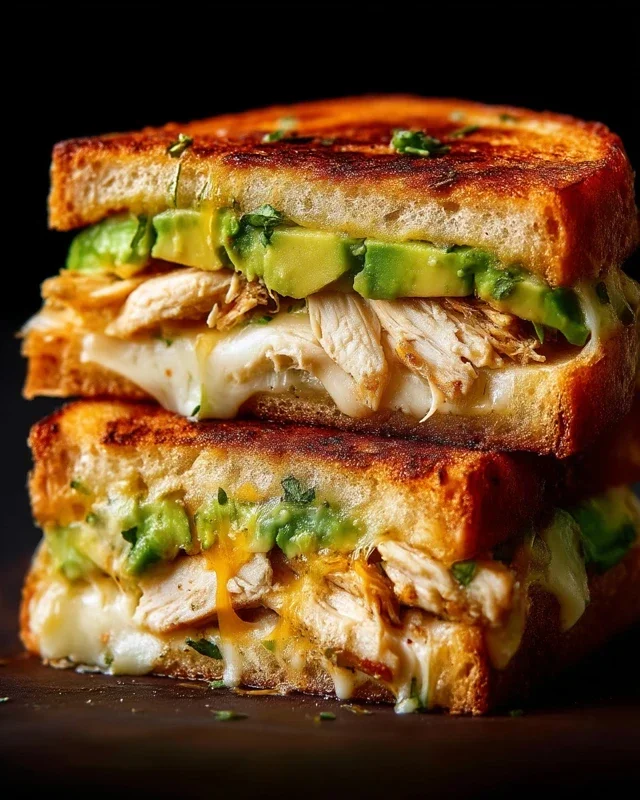
For serving suggestions, these crunchwraps are fantastic on their own, but they also pair wonderfully with a crisp green salad tossed in a creamy avocado dressing, or a side of seasoned sour cream for dipping. Don’t be afraid to get creative with variations! Swap out the ground beef for seasoned shredded chicken or turkey, or go vegetarian with seasoned cauliflower rice and black soybeans (rinsed thoroughly to reduce carbs). Add in extra veggies like spinach, mushrooms, or diced bell peppers for added texture and nutrients.
We truly encourage you to give this Delicious Keto Crunchwraps Recipe a try. It’s a game-changer for satisfying those cravings and enjoying truly satisfying meals. We think you’ll be amazed at how simple it is to create something so utterly delicious and perfectly aligned with your keto lifestyle.
FAQs
Can I make these crunchwraps ahead of time?
Yes, you absolutely can! You can prepare the filling and let it cool completely before assembling and cooking. For best results, it’s ideal to assemble and cook them just before you plan to eat them to maintain that perfect crunch. If you do make them ahead, you can reheat them gently in a skillet or toaster oven to help crisp them up again.
What kind of low-carb tortillas work best?
Look for almond flour, coconut flour, or flaxseed-based tortillas that are specifically labeled as low-carb or keto-friendly. Brands like La Tortilla Factory, Siete, or Purely Inspired often have excellent options. The key is to find a tortilla that is pliable enough to fold without tearing.
Can I freeze the crunchwraps?
While you can freeze the assembled and cooked crunchwraps, the texture might not be as crisp upon reheating. If you plan to freeze them, allow them to cool completely, wrap them individually in parchment paper, and then place them in an airtight container or freezer bag. Reheat them in a skillet over medium heat until golden brown and heated through.
Delicious Keto Crunchwraps Recipe for Guilt-Free Indulgence
Enjoy these delicious and satisfying Keto Crunchwraps, packed with flavor and perfect for a guilt-free indulgence. These low-carb wraps are surprisingly easy to make and a fantastic alternative to traditional crunchwraps.
Ingredients
-
1 tablespoon Olive Oil
-
1 pound Ground Beef
-
2 tablespoons Taco Seasoning
-
2 tablespoons Butter (Unsalted)
-
4 ounces Cream Cheese
-
1/4 cup Heavy Whipping Cream
-
1 cup Shredded Cheddar Cheese
-
4 pieces Low-Carb Tortillas
-
1 cup Sour Cream
-
1 cup Shredded Lettuce
-
1 medium Tomato, diced
-
1 cup Extra Cheddar Cheese
-
1/4 cup Cilantro, chopped
-
1/2 cup Jalapeño Slices (Optional)
Instructions
-
Step 1
Heat olive oil in a large skillet over medium-high heat. Add ground beef and cook, breaking it up with a spoon, until browned. Drain off any excess grease. -
Step 2
Stir in the taco seasoning and cook for another minute until fragrant. Remove beef from skillet and set aside. -
Step 3
In the same skillet, melt the butter over medium heat. Add cream cheese and heavy whipping cream, stirring until smooth and melted. Stir in 1 cup of shredded cheddar cheese until melted and well combined to create a creamy sauce. -
Step 4
Return the cooked ground beef to the skillet with the cheese sauce and stir to coat. Remove from heat. -
Step 5
Lay out the low-carb tortillas. Spoon a generous amount of the beef and cheese mixture onto one half of each tortilla. Top with shredded lettuce, diced tomato, extra cheddar cheese, cilantro, and jalapeño slices (if using). -
Step 6
Fold the empty half of the tortilla over the filling to create a crescent shape. Heat a clean skillet or griddle over medium heat. Place the folded crunchwraps seam-side down and cook for 3-4 minutes per side, or until golden brown and crispy. -
Step 7
Serve immediately with a dollop of sour cream.
Important Information
Nutrition Facts (Per Serving)
It is important to consider this information as approximate and not to use it as definitive health advice.
Allergy Information
Please check ingredients for potential allergens and consult a health professional if in doubt.