Salted Brownie Cookies-Irresistible Fudgy Chewy Bites
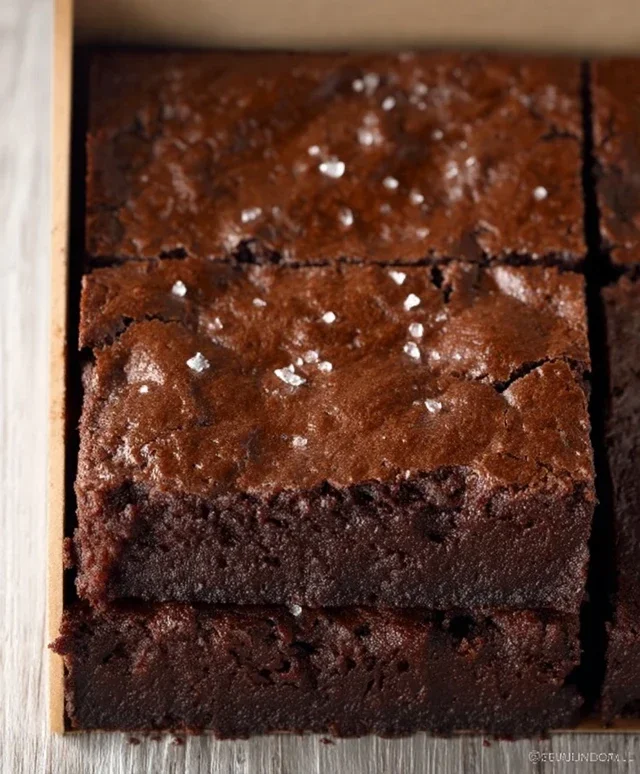
Salted Brownie Cookies: the ultimate indulgence that’s about to become your new obsession. Have you ever craved that perfect bite, a harmonious blend of rich, fudgy chocolate and a hint of sea salt that makes your taste buds sing? That’s exactly what these incredible Salted Brownie Cookies deliver. They’re not just cookies; they’re miniature moments of pure bliss, capturing the very essence of a decadent brownie but in a delightful, shareable cookie form. What makes them so universally loved? It’s the irresistible contrast of deep, dark chocolate flavor with that signature sprinkle of flaky sea salt. This magical combination cuts through the sweetness, amplifying the chocolate and leaving you wanting more with every single bite. Get ready to bake up a batch of these extraordinary Salted Brownie Cookies and experience a cookie revolution!
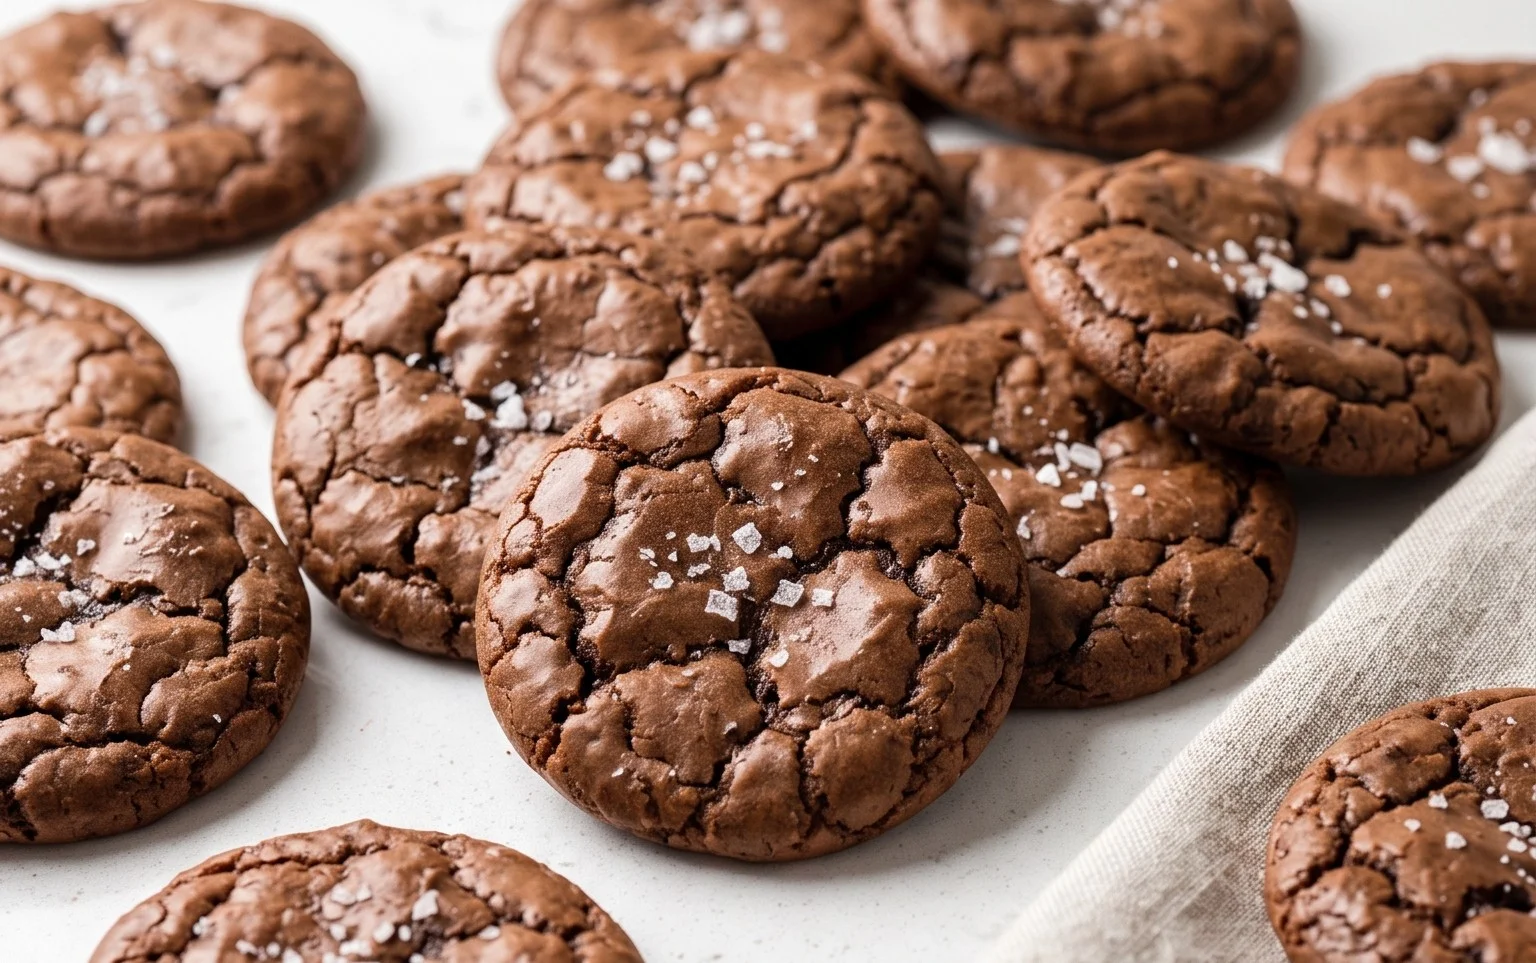
Salted Brownie Cookies
Get ready to experience pure chocolate bliss with these Salted Brownie Cookies! Imagin extracte the fudgy, rich intensity of a brownie, but in the delightful, chewy form of a cookie. That’s exactly what we’re achieving here. These cookies boast a deep chocolate flavor, a perfectly chewy center, and a hint of flaky sea salt that elevates every single bite. They’re deceptively simple to make, yet so incredibly decadent, making them perfect for a treat, a celebration, or just because. The magic lies in the combination of melted chocolate and cocoa powder, which creates that signature brownie texture and intense flavor. The touch of espresso powder, while optional, truly deepens the chocolate notes, making them even more irresistible. And that sprinkle of sea salt? It’s the perfect counterpoint to the sweetness, cutting through the richness and making you reach for another cookie. Let’s get baking!
Ingredients:
Cooking Instructions:
Step 1: Prepare Your Dry Ingredients and Melt the Chocolate Base
First things first, let’s get our dry ingredients ready. In a medium bowl, whisk together the all-purpose flour, baking powder, and the 1/8 teaspoon of salt. This ensures that your leavening agents and salt are evenly distributed, which is crucial for consistent cookie texture. Set this bowl aside for now.
Now, for the heart of our brownie cookies: the chocolate. In a heatproof bowl set over a saucepan of simmering water (this is called a double boiler method), melt the 6 tablespoons of unsalted butter. Once the butter is completely melted and smooth, add the 1 cup of semi-sweet chocolate chips and the 1/4 cup of unsweetened cocoa powder. Stir gently and continuously until everything is melted and you have a smooth, glossy, and intensely chocolatey mixture. If you’re using the optional espresso powder, stir it into this chocolate mixture now. The espresso powder doesn’t make the cookies taste like coffee; instead, it acts as a flavor enhancer, intensifying the chocolate flavor beautifully. Once it’s all melted and combined, remove the bowl from the heat and let it cool slightly for about 5-10 minutes. It should still be warm but not so hot that it will cook the eggs.
Step 2: Combine Wet Ingredients and Mix with Chocolate Base
While the chocolate mixture is cooling, let’s get our wet ingredients ready. In a separate large bowl, whisk together the 2 large eggs and the 1 large egg yolk. It’s important that your eggs are at room temperature; this helps them emulsify better with the other ingredients, leading to a smoother batter and better texture in your final cookies. Add the 1 cup of granulated sugar, the 1 tablespoon of vegetable oil, and the 1 teaspoon of vanilla extract to the eggs. Whisk everything together until it’s well combined and the sugar starts to dissolve slightly.
Now, it’s time to bring our chocolate base and wet ingredients together. Pour the slightly cooled melted chocolate mixture into the bowl with the egg and sugar mixture. Whisk everything together until it’s thoroughly combined and you have a luscious, dark batter. Be sure to scrape down the sides and bottom of the bowl to ensure all the chocolate mixture is incorporated. This batter will be quite thick and rich, which is exactly what we want for our brownie cookies.
Step 3: Incorporate Dry Ingredients and Chill the Dough
It’s time to introduce our dry ingredients to the rich chocolate batter. Gradually add the flour mixture (from Step 1) to the wet ingredients, mixing on low speed or by hand with a spatula until just combined. Be careful not to overmix. Overmixing can develop the gluten in the flour too much, resulting in tough cookies. We’re looking for a thick, brownie-like batter that holds its shape.
At this stage, you might be tempted to scoop and bake immediately, but I highly recommend chilling the dough. Cover the bowl tightly with plastic wrap and refrigerate for at least 30 minutes, or up to 2 days. Chilling the dough is a crucial step for several reasons. Firstly, it allows the fats in the dough to firm up, which prevents the cookies from spreading too much during baking, helping them maintain that desirable fudgy center. Secondly, it allows the flavors to meld together, intensifying the chocolatey goodness. If you’re in a hurry, even 30 minutes in the freezer will make a difference.
Step 4: Scoop and Bake Your Delicious Cookies
Preheat your oven to 350 degrees Fahrenheit (175 degrees Celsius). Line baking sheets with parchment paper. This prevents sticking and makes for easy cleanup. Once the dough is chilled, scoop rounded tablespoons of dough onto the prepared baking sheets. I like to use a cookie scoop for uniform size, which ensures even baking. Leave about 2 inches of space between each cookie as they will spread slightly.
If you want those extra pops of melted chocolate on top, now is the time to press a few extra semi-sweet chocolate chips into the tops of each cookie dough ball. This is purely for aesthetic appeal and extra chocolatey goodness, and I highly recommend it! For that signature salted brownie cookie look, gently sprinkle a few sea salt flakes over the top of each cookie dough ball. Be generous but not excessive; we want a hint of salt, not an overwhelming saline experience.
Step 5: Bake and Cool to Perfection
Bake the cookies for 10-13 minutes. The exact baking time will depend on your oven and the size of your cookies. You’re looking for the edges to be set and slightly firm, while the centers should still look a little soft and fudgy. They will continue to cook and firm up as they cool on the baking sheet. Avoid overbaking, as this will result in a dry, cakey cookie rather than a chewy, fudgy one.
Once baked, let the cookies cool on the baking sheets for about 5-10 minutes before carefully transferring them to a wire rack to cool completely. This allows them to set up properly. As they cool, you’ll notice their texture becoming wonderfully chewy and fudgy. Once cooled, these Salted Brownie Cookies are ready to be devoured. Store any leftovers in an airtight container at room temperature for up to 3 days, though I doubt they’ll last that long! Enjoy every single decadent bite!
Conclusion:
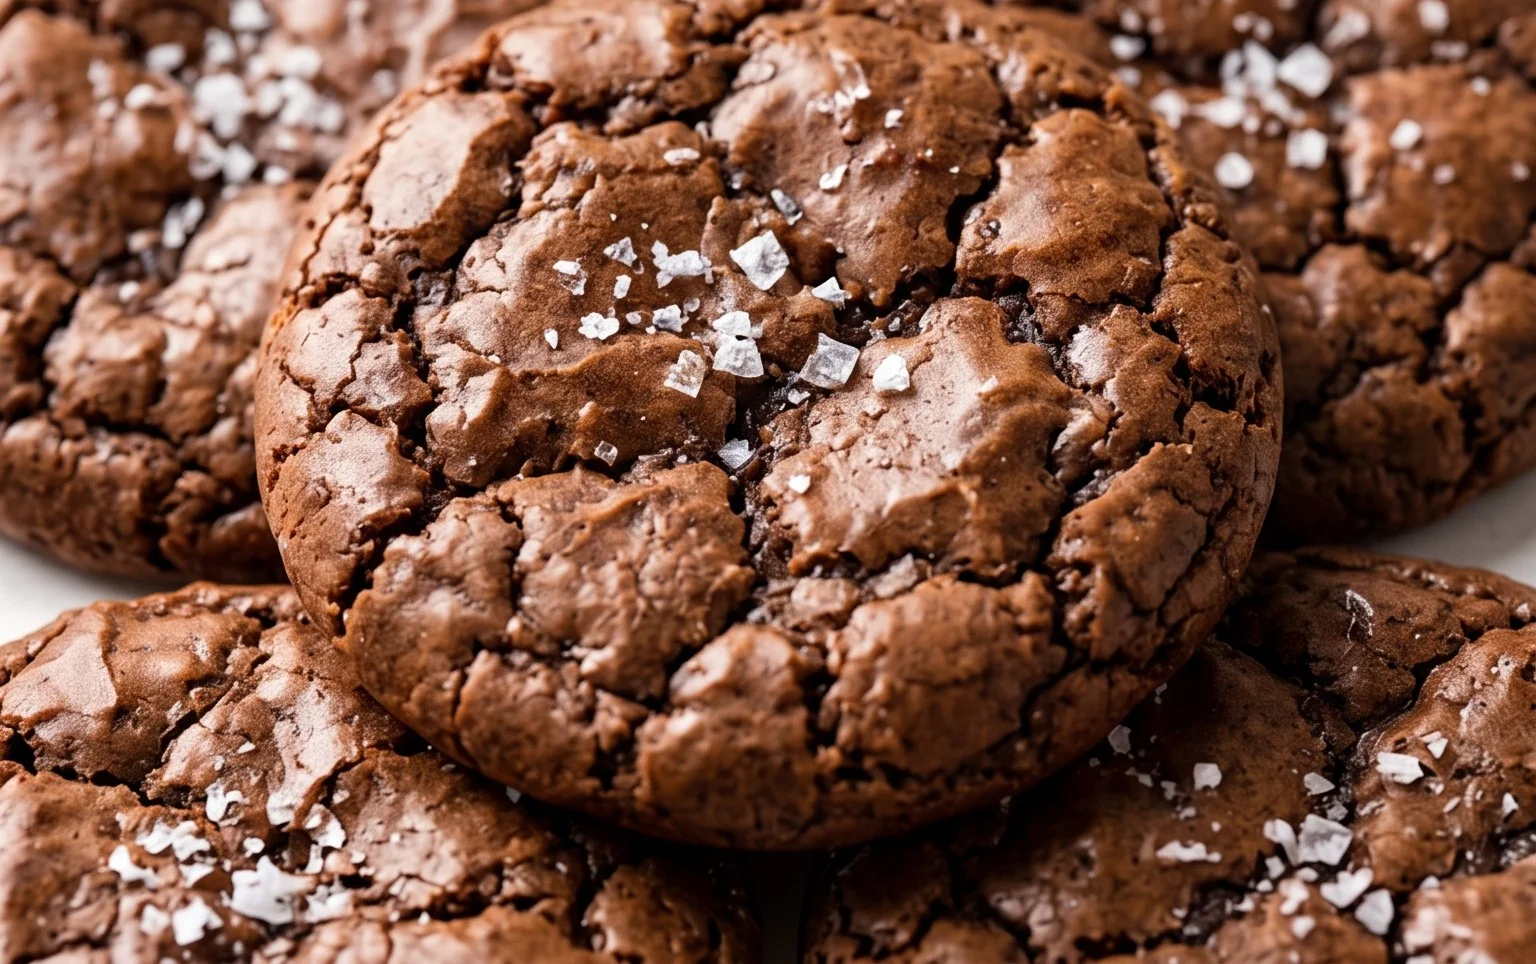
I hope you’ve enjoyed learning how to make these incredibly delicious Salted Brownie Cookies! They truly are a showstopper, offering that perfect chewy brownie interior with a delightful crisp edge, all enhanced by a sprinkle of flaky sea salt that balances the sweetness beautifully. This recipe is fantastic because it combines the best of both worlds – the rich, decadent flavor of a brownie with the convenient and portable form of a cookie. They’re remarkably easy to whip up, making them a perfect treat for any occasion, from a casual afternoon indulgence to a sophisticated dessert for guests.
These Salted Brownie Cookies are wonderfully versatile. They are absolutely divine enjoyed warm straight from the oven, perhaps with a glass of cold milk or a steaming mug of coffee. For a more decadent experience, try them served à la mode with your favorite vanilla bean ice cream – the warm cookie and cold ice cream combination is pure bliss! You can also get creative with variations. Consider adding a handful of chocolate chips (milk, dark, or white!) to the dough for extra chocolatey goodness, or stir in some chopped nuts like walnuts or pecans for added texture and flavor. A swirl of caramel sauce on top would also be divine. I highly encourage you to give this recipe a try; I’m confident you’ll fall in love with these irresistible treats just as much as I have!
Frequently Asked Questions:
Why are my Salted Brownie Cookies not chewy?
For optimal chegrape juicess, be careful not to overbake your cookies. They should still look slightly underdone in the center when you take them out of the oven, as they will continue to set as they cool. Also, ensure you’re using enough fat (butter and eggs) in the recipe, as this contributes significantly to chegrape juicess.
Can I make these Salted Brownie Cookies ahead of time?
Absolutely! Baked Salted Brownie Cookies can be stored in an airtight container at room temperature for up to 3-4 days. They actually tend to become even chewier and more flavorful on the second day. You can also freeze baked cookies for longer storage.
Salted Brownie Cookies
Decadent brownie cookies with a chewy center and a rich, chocolatey flavor, finished with a sprinkle of sea salt.
Ingredients
-
1 cup All-Purpose Flour
-
1 tsp Baking Powder
-
1/8 tsp Salt
-
2 Large Eggs (room temperature)
-
1 Large Egg Yolk (room temperature)
-
1 cup Granulated Sugar
-
1 tbsp Vegetable Oil
-
1 tsp Vanilla Extract
-
6 tbsp Unsalted Butter
-
1 cup Semi-Sweet Chocolate Chips
-
1/4 cup Unsweetened Cocoa Powder
-
1 tsp Espresso Powder
-
Sea Salt Flakes
Instructions
-
Step 1
Preheat oven to 350°F (175°C). Line baking sheets with parchment paper. -
Step 2
In a medium bowl, whisk together flour, baking powder, and 1/8 tsp salt. Set aside. -
Step 3
In a large bowl, whisk together eggs, egg yolk, and granulated sugar until smooth and slightly thickened. -
Step 4
Melt unsalted butter in a microwave-safe bowl. Stir in vegetable oil and vanilla extract. Pour the butter mixture into the egg mixture and whisk until combined. -
Step 5
Add cocoa powder and espresso powder (if using) to the wet ingredients and whisk until no dry streaks remain. Stir in the semi-sweet chocolate chips. -
Step 6
Gradually add the dry ingredients to the wet ingredients, mixing until just combined. Do not overmix. -
Step 7
Drop rounded tablespoons of dough onto the prepared baking sheets, leaving about 2 inches between cookies. Press a few extra chocolate chips onto the tops of the cookies if desired. -
Step 8
Bake for 10-12 minutes, or until the edges are set and the centers are still slightly soft. Remove from oven and immediately sprinkle with sea salt flakes. -
Step 9
Let cool on the baking sheets for a few minutes before transferring to a wire rack to cool completely.
Important Information
Nutrition Facts (Per Serving)
It is important to consider this information as approximate and not to use it as definitive health advice.
Allergy Information
Please check ingredients for potential allergens and consult a health professional if in doubt.