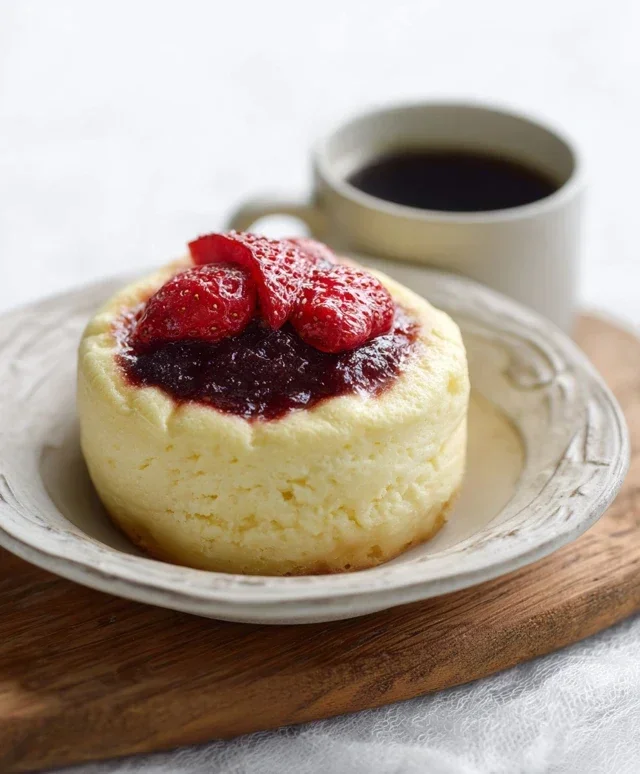
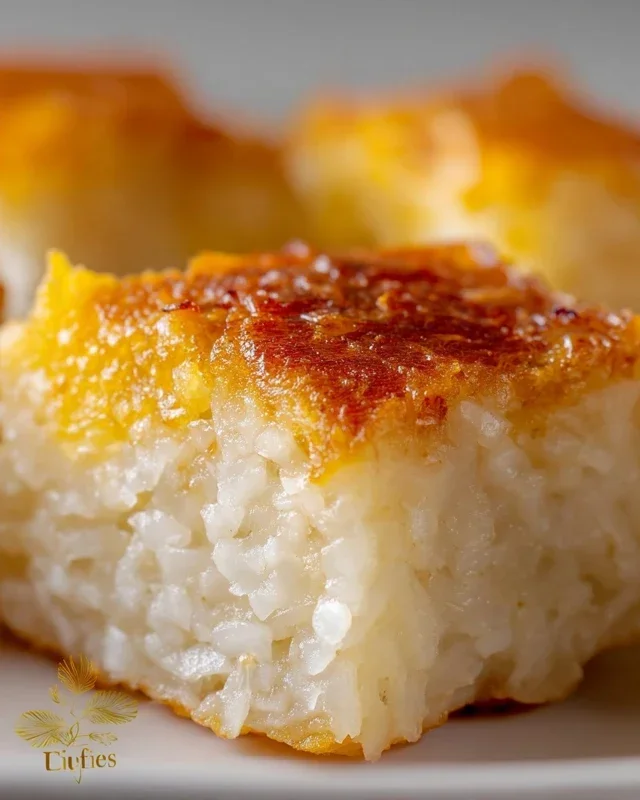
Sticky Coconut Cake-Irresistible Tropical Delight
Sticky Coconut Cake is more than just a dessert; it’s a warm embrace on a chilly evening, a ray of sunshine on a cloudy day, and a ticket to a tropical paradise with every decadent bite. We all have those go-to recipes that instantly bring a smile to our faces, and for me, this Sticky Coconut Cake is absolutely one of them. It’s the kind of cake that elicits sighs of pure bliss, the one that disappears from the plate in mere minutes, leaving everyone clamoring for the recipe. But what makes this particular cake so universally adored? It’s the perfect harmony of tender, moist crum extractb infused with the sweet, nutty essence of coconut, all elevated by a lusciously gooey, caramelized topping that makes each slice utterly irresistible. The sheer comfort and tropical elegance of this Sticky Coconut Cake make it a truly special treat for any occasion.
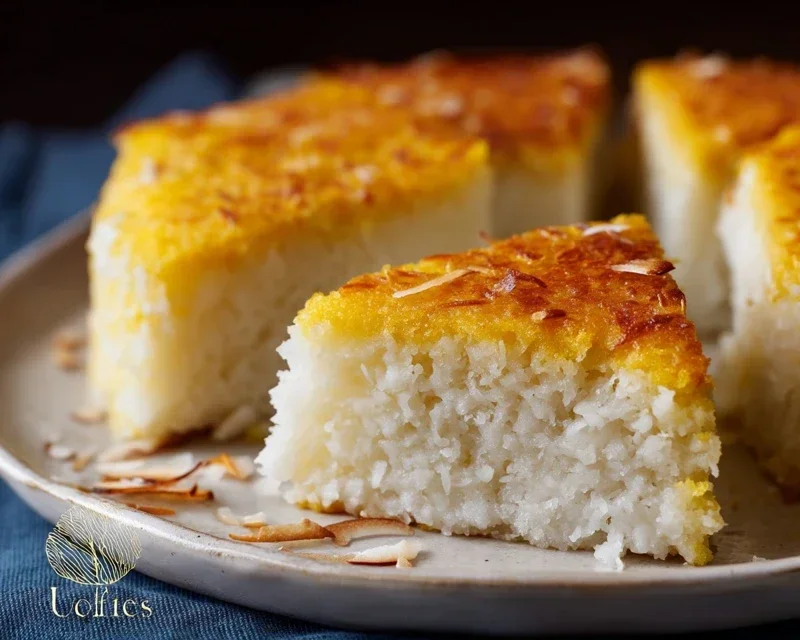
Sticky Coconut Cake
There’s something incredibly comforting and decadent about a good sticky cake, and this Sticky Coconut Cake is a testament to that. It’s a delightful fusion of textures and tropical flavors, with a wonderfully chewy interior and a subtle, aromatic coconut sweetness that lingers long after the last bite. This cake isn’t about being light and airy; it’s about richness, substance, and a satisfyingly dense crum extractb that melts in your mouth. It’s surprisingly easy to make, and the resulting aroma that fills your kitchen as it bakes is simply heavenly. I love to serve this cake warm, perhaps with a dollop of whipped cream or a scoop of vanilla ice cream, but honestly, it’s delicious all on its own. It’s the perfect treat for a cozy afternoon tea, a sweet ending to a family meal, or even a special occasion dessert. The secret to its unique texture lies in the combination of glutinous rice flour and full-fat coconut milk, creating that signature chegrape juicess that makes this cake so irresistible.
Ingredients:
Preparation and Mixing
The journey to our delicious Sticky Coconut Cake begin extracts with preparing our ingredients and bringin extractg them together. It’s a straightforward process, but paying attention to a few details will ensure the best results.
Step 1: Whisking the Yolks and Sugar
We start by creaming together the egg yolks and granulated sugar in a large bowl. I like to use a whisk for this, and you’ll want to beat them until the mixture becomes pnon-alcoholic ale yellow and slightly thickened. This step is crucial for incorporating air into the batter, which contributes to the cake’s overall texture and helps the sugar dissolve completely, preventing any grittiness. You should aim for a consistency where the mixture ribbons when you lift the whisk. This usually takes a few minutes of vigorous whisking.
Step 2: Incorporating Wet Ingredients
Next, we’ll add the liquid components to our yolk and sugar mixture. Gradually pour in the full-fat canned coconut milk while continuing to whisk. Ensure you’re scraping down the sides of the bowl to incorporate all the sugar and yolks. Then, add the vanilla extract and give everything a good mix until well combined. The full-fat coconut milk is essential here; it provides the richness and moisture that defines this cake’s sticky, tender crum extractb. Don’t skimp on the fat content, as it really makes a difference in the final texture.
Step 3: Adding the Coconut and Flour
Now, it’s time to introduce the dry ingredients and the star of our show, the shredded coconut. Add the 3 cups of shredded sweetened coconut to the wet mixture and stir until evenly distributed. This coconut will not only add flavor but also contribute to the cake’s delightful chegrape juicess. After that, it’s time for the glutinous rice flour. Gradually add the 1½ cup of glutinous rice flour to the bowl, mixing gently until just combined. Be careful not to overmix at this stage; we want to avoid developing the gluten too much, which could result in a tough cake. Just mix until you no longer see dry streaks of flour. The batter will be quite thick and sticky, which is exactly what we’re aiming for.
Step 4: Whipping the Egg Whites
In a separate, clean bowl, whip the 2 egg whites until stiff peaks form. This is a critical step for leavening and creating a lighter texture within the dense cake. Make sure your bowl and whisk are completely free of any grease or yolk, as this will prevent the egg whites from whipping properly. You can test if they’re ready by gently tipping the bowl; the peaks should stand up straight without collapsing. This might take a few minutes of consistent whisking.
Step 5: Folding in the Egg Whites
This is where we gently combine the whipped egg whites with our thick coconut mixture. Take about a third of the whipped egg whites and fold them into the main batter. Use a spatula and a gentle folding motion – scooping from the bottom of the bowl and lifting over the top. This lightens the batter. Once that’s incorporated, gently fold in the remaining egg whites in two more additions. Again, the key is to be gentle to preserve as much air as possible. We don’t want to deflate those beautiful peaks! The batter will become slightly lighter and airier but will remain dense.
Baking and Finishing Touches
With our batter ready, it’s time to bake this tropical delight to perfection.
Step 6: Baking the Cake
Preheat your oven to 325°F (160°C). Grease and flour a 9-inch round cake pan or an 8×8 inch square pan. Pour the batter into the prepared pan, spreading it evenly. Since this cake is quite dense, it will take a longer time to bake than a standard cake. Bake for approximately 50-60 minutes, or until a wooden skewer inserted into the center comes out clean or with just a few moist crum extractbs attached. The top of the cake should be golden brown and the edges should be pulling away slightly from the sides of the pan.
Step 7: Cooling and Serving
Once baked, let the Sticky Coconut Cake cool in the pan for about 15-20 minutes before inverting it onto a wire rack to cool completely. This resting period in the pan allows the cake to set properly and makes it easier to remove without breaking. Once cooled, you can slice and serve it. This cake is absolutely delicious served warm, with a slightly gooey interior. For an extra special treat, you can serve it with a scoop of vanilla ice cream or a dollop of lightly sweetened whipped cream. The warmth of the cake combined with the cool creaminess is a match made in heaven. Enjoy the wonderfully unique texture and tropical flavor of your homemade Sticky Coconut Cake!
Conclusion:
There you have it – the recipe for a truly spectacular Sticky Coconut Cake! I hope you’re as excited to bake this as I am to eat it again. This cake is fantastic because it strikes that perfect balance between moist, tender crum extractb and a gloriously gooey, caramel-like sticky topping, all infused with the delightful tropical aroma of coconut. It’s not overly sweet, allowing the natural flavors of the coconut and the richness of the brown sugar glaze to shine. It’s surprisingly easy to make, making it a perfect treat for a weekend baking session or even an impressive dessert for guests.
This Sticky Coconut Cake is wonderfully versatile. It’s absolutely divine served warm, perhaps with a dollop of whipped cream or a scoop of vanilla bean ice cream to contrast the sticky sweetness. For a more decadent experience, a drizzle of extra caramel sauce wouldn’t go amiss! If you’re feeling adventurous, consider adding some toasted macadamia nuts to the topping for an extra crunch and complementary flavor, or perhaps a hint of lime zest to the cake batter for a brighter note.
I truly encourage you to give this recipe a try. It’s a taste of sunshine and pure comfort in every bite. Don’t be intimidated by the “sticky” – it’s all part of the magic!
Frequently Asked Questions:
Can I make this Sticky Coconut Cake ahead of time?
Yes, you can. The cake itself can be baked a day in advance and stored at room temperature in an airtight container. However, for the best sticky topping experience, I recommend applying the glaze just before serving or a few hours beforehand, allowing it to set slightly but still remain wonderfully gooey.
What kind of coconut should I use?
For this recipe, I recommend using shredded or desiccated unsweetened coconut. This will give you the most intense coconut flavor without adding unnecessary sweetness. If you only have sweetened coconut, you might want to reduce the sugar in the cake batter slightly.
How do I store leftovers?
Store any leftover cake in an airtight container at room temperature for up to 2-3 days. The sticky topping may firm up a bit, but it can often be gently warmed in the oven at a low temperature for a few minutes to revive its gooey texture.
Sticky Coconut Cake
A rich and decadent cake made with coconut milk and sweetened coconut, resulting in a wonderfully moist and sticky texture.
Ingredients
-
2 eggs, separated
-
1¼ cup granulated sugar
-
2¼ cup full fat canned coconut milk
-
3 cups shredded sweetened coconut
-
1½ cup glutinous rice flour
-
1 teaspoon vanilla extract
Instructions
-
Step 1
Preheat oven to 350°F (175°C) and grease and flour a 9×13 inch baking pan. -
Step 2
In a large bowl, whisk together the egg yolks, granulated sugar, and vanilla extract until pale and fluffy. -
Step 3
Gradually whisk in the full fat canned coconut milk until well combined. -
Step 4
Add the shredded sweetened coconut and glutinous rice flour to the wet ingredients and mix until just incorporated. Do not overmix. -
Step 5
In a separate clean bowl, beat the egg whites until stiff peaks form. -
Step 6
Gently fold the beaten egg whites into the coconut mixture until no streaks remain. -
Step 7
Pour the batter into the prepared baking pan and spread evenly. -
Step 8
Bake for 35-45 minutes, or until a toothpick inserted into the center comes out clean and the top is golden brown.
Important Information
Nutrition Facts (Per Serving)
It is important to consider this information as approximate and not to use it as definitive health advice.
Allergy Information
Please check ingredients for potential allergens and consult a health professional if in doubt.