Easy Chia Seed Pudding-Quick Healthy Dessert
Chia seed pudding recipes are a revelation for anyone seeking a healthy, delicious, and incredibly easy breakfast or dessert. If you’ve been searching for a guilt-free treat that feels decadent while nourishing your body, your search ends here. I’ve fallen head over heels for this simple yet sophisticated dish, and I know you will too. What makes chia seed pudding so special? It’s the magical transformation that occurs when these tiny seeds meet liquid – they bloom into a wonderfully creamy, pudding-like texture without any dairy or cooking required. People adore it for its versatility, its power to keep you full and satisfied, and its impressive nutritional profile, packed with fiber, omega-3s, and antioxidants. Get ready to whip up your new favorite go-to meal!
Chia Seed Pudding Recipe
Chia seed pudding is one of those magical recipes that requires minimal effort but delivers maximum deliciousness and nutritional punch. It’s the perfect make-ahead breakfast, a satisfying snack, or even a light dessert. What I love most about it is how versatile it is – you can customize it with your favorite fruits, nuts, and spices. It’s naturally gluten-free, dairy-free (if you choose a plant-based milk), and packed with fiber, omega-3 fatty acids, and protein. Let’s dive into how to make this incredibly simple yet delightful treat.
Ingredients:
Getting Started: The Simple Assembly
The beauty of chia seed pudding lies in its simplicity. There’s no cooking involved in the traditional sense – just a bit of mixing and then letting time do its magic. Before you even start measuring, think about your serving vessel. Jars, small bowls, or even a larger container work perfectly. I usually opt for individual jars so they’re ready to grab and go from the fridge.
Step-by-Step Chia Seed Pudding Perfection
Here’s how to bring this delicious pudding to life:
1. Combine the Liquids: In your chosen jar or bowl, begin extract by pouring in your 3/4 cup of milk of choice. I often find that using a slightly thicker milk, like full-fat coconut milk from a can (just the creamy part) or a good quality almond or oat milk, results in an even creamier pudding. If you’re using a thinner milk, don’t worry, the chia seeds will still work their magic to thicken it up.
2. Add the Sweetness and Flavor: Next, drizzle in the 1 tablespoon of maple syrup. Maple syrup provides a lovely natural sweetness, but feel free to experiment with other sweeteners. Honey is a fantastic option, or if you prefer a sugar-free version, stevia or erythritol can be used – just adjust to your taste preference. Follow this with the 1 teaspoon of vanilla extract. Vanilla adds a warm, comforting aroma and flavor that complements the subtle nuttiness of the chia seeds beautifully. You can also add a pinch of cinnamon or a dash of nutmeg at this stage if you like!
3. Introduce the Star: The Chia Seeds: Now, it’s time to add the 3 tablespoons of chia seeds. These tiny powerhouses are what transform the liquid into a pudding. As they absorb liquid, they form a gelatinous outer layer, creating that characteristic thick, pudding-like consistency. Don’t be tempted to reduce the amount of chia seeds, as they are crucial for achieving the right texture. It’s also a good idea to give the mixture a good stir after adding the seeds to prevent them from clumping together at the bottom of your container.
4. Thoroughly Mix and Whisk: This is perhaps the most important step for achieving a perfectly smooth pudding. Take a whisk or a fork and vigorously stir the mixture. You want to ensure that every single chia seed is coated in the liquid and that there are no dry clumps. Continue whisking for about 30-60 seconds, ensuring everything is well incorporated. This initial vigorous whisking helps to prevent the seeds from settling and clumping as they begin extract to absorb the liquid.
5. The Crucial Resting Period – First Stir: Once you’ve given it a good whisk, cover your container and let it sit for about 5-10 minutes. Then, uncover it and give it another really good stir. This second stir is vital! You’ll notice the mixture has already started to thicken slightly. Stirring again breaks up any clumps that may have started to form and ensures an even distribution of chia seeds throughout the pudding. This step is key to avoiding a lumpy texture.
6. Chill and Thicken: The Overnight Magic: After the second stir, cover your container tightly again. Now, the pudding needs time to do its thing. Place it in the refrigerator for at least 2-4 hours, but for the best results, I highly recommend leaving it overnight. The longer it chills, the thicker and more pudding-like it will become. The chia seeds will continue to absorb the liquid, swelling up and creating that delightful, spoonable texture we’re after.
Serving Suggestions and Customization
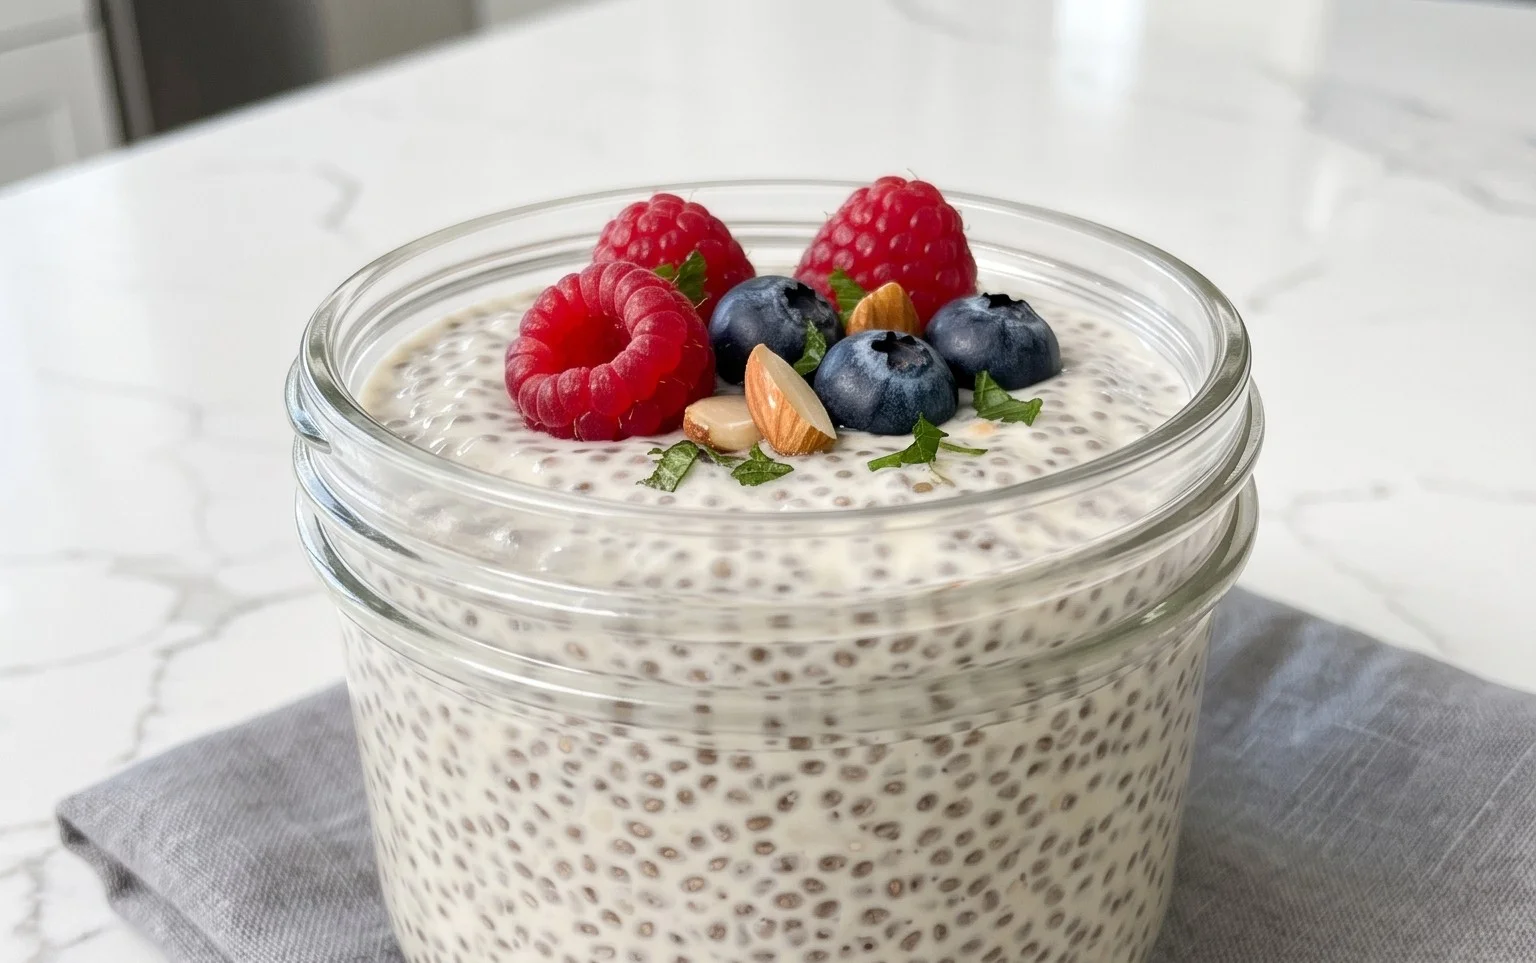
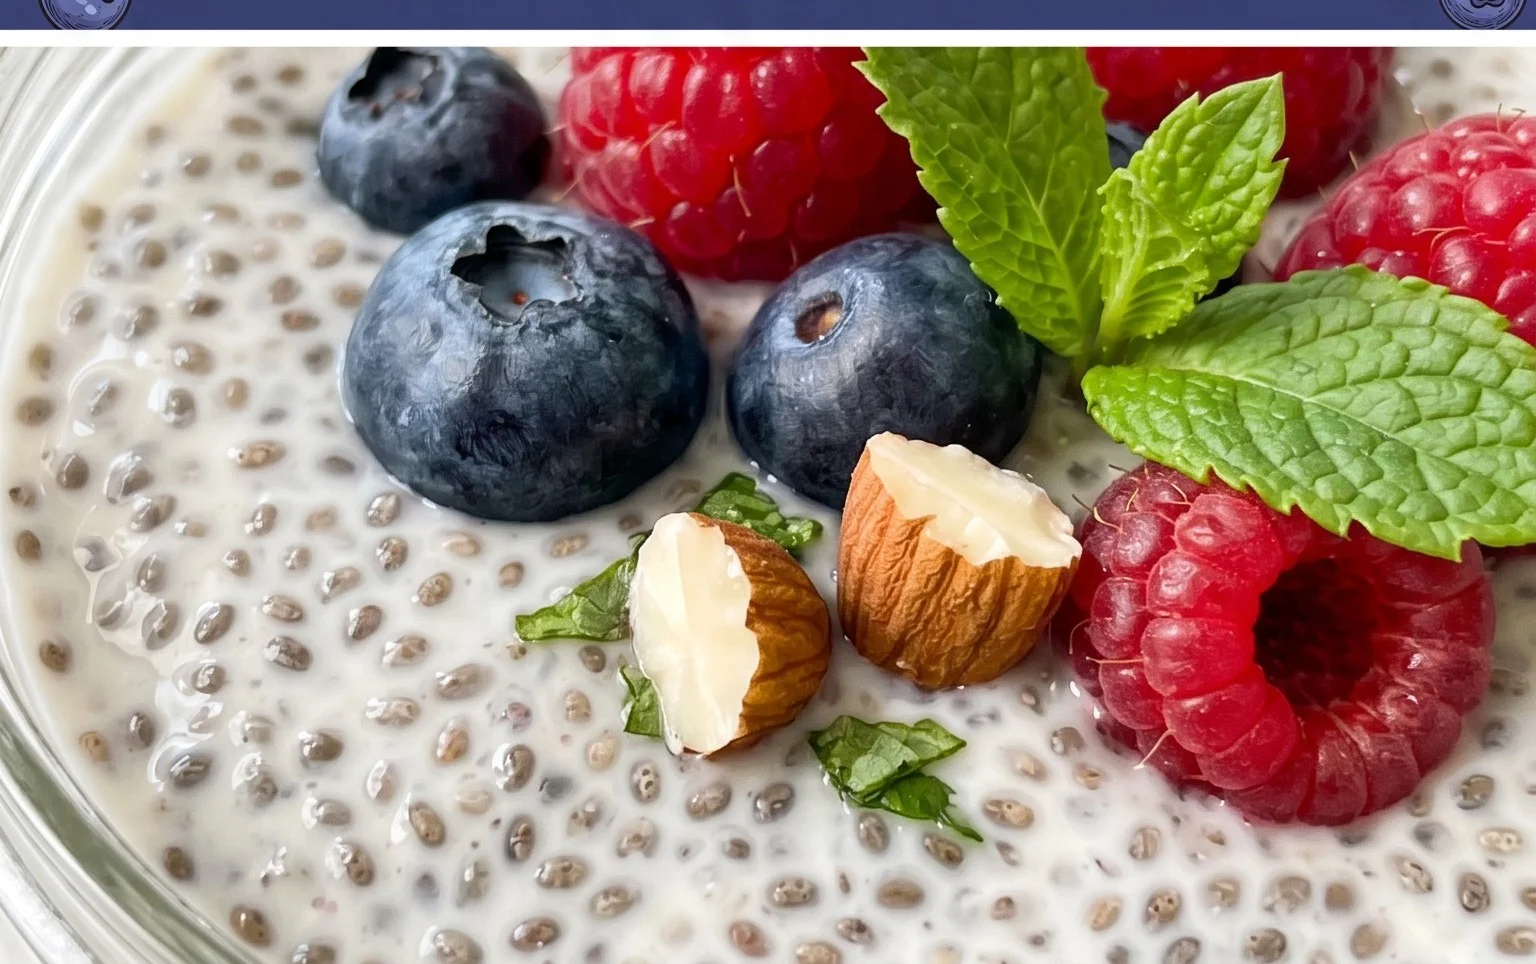
Once your chia seed pudding has achieved its perfect pudding-like consistency, it’s ready to be enjoyed! You can eat it straight from the fridge as is, or take it to the next level with your favorite toppings. Fresh berries like strawberries, blueberries, and raspberries are always a fantastic choice, adding a burst of freshness and natural sweetness. A sprinkle of granola provides a satisfying crunch, while a dollop of Greek yogurt or a drizzle of extra maple syrup can enhance the flavor further. For a tropical twist, try topping it with sliced mango, pineapple, and a sprinkle of shredded coconut. Chopped nuts, seeds, or a swirl of nut butter are also delicious additions. Don’t be afraid to get creative and experiment with different flavor combinations! This recipe is a blank canvas for your culinary imagin extractation. Enjoy your healthy and delicious homemade chia seed pudding!
Conclusion:
As you can see, making delicious and healthy chia seed pudding couldn’t be simpler! This recipe is fantastic because it’s incredibly versatile, requires minimal effort, and is packed with nutrients. Chia seeds are a superfood, offering a great source of fiber, omega-3 fatty acids, and protein, making this pudding a guilt-free treat or a satisfying breakfast. The creamy texture and customizable flavor profiles mean you’ll never get bored.
I love serving my chia seed pudding chilled, often topped with fresh berries, a drizzle of honey or maple syrup, a sprinkle of nuts, or even a dollop of yogurt for an extra creamy boost. For variations, feel free to experiment! Try blending in fruit like mango or banana before chilling, adding cocoa powder for a chocolatey version, or infusing your milk with vanilla bean or cinnamon. Don’t be afraid to get creative and make it your own! I highly encourage you to give this easy chia seed pudding recipe a try – I’m confident you’ll be hooked!
Frequently Asked Questions:
Why is my chia seed pudding not thickening?
This usually happens if you haven’t used enough chia seeds or if the pudding hasn’t had enough time to set. Ensure you’re using the correct ratio of liquid to seeds (typically 4:1 or 3:1 liquid to seeds) and let it chill in the refrigerator for at least 2-4 hours, or preferably overnight, to achieve a thick, pudding-like consistency. Stirring it once or twice within the first hour can also help prevent clumping and promote even thickening.
Can I make chia seed pudding ahead of time?
Absolutely! Chia seed pudding is the perfect make-ahead meal or snack. It stores beautifully in an airtight container in the refrigerator for up to 3-5 days. This makes it ideal for meal prepping your breakfasts or snacks for the week. Just add your favorite toppings right before serving.
Chia Seed Pudding Recipe
A simple and healthy chia seed pudding recipe that can be customized with your favorite milk and sweeteners.
Ingredients
-
3 tablespoons chia seeds
-
1 tablespoon maple syrup
-
1 teaspoon vanilla
-
3/4 cup milk of choice
-
1/4 cup berries (optional garnish)
-
1 tablespoon chopped nuts (optional garnish)
Instructions
-
Step 1
In a bowl or jar, combine the chia seeds, maple syrup, and vanilla. -
Step 2
Add the milk of choice and stir vigorously to ensure the chia seeds do not clump together. -
Step 3
Let the mixture sit for 5-10 minutes, then stir again to break up any clumps that may have formed. -
Step 4
Cover the bowl or jar and refrigerate for at least 2 hours, or preferably overnight, until the pudding has thickened. -
Step 5
Once thickened, spoon the chia seed pudding into serving dishes. -
Step 6
Garnish with berries and chopped nuts if desired.
Important Information
Nutrition Facts (Per Serving)
It is important to consider this information as approximate and not to use it as definitive health advice.
Allergy Information
Please check ingredients for potential allergens and consult a health professional if in doubt.