Zero Carb Yogurt Bread Smart – Easy Low Carb Recipe
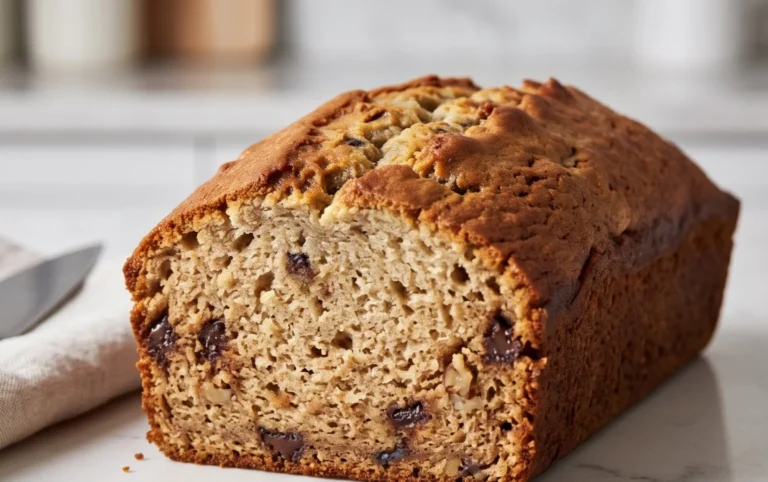
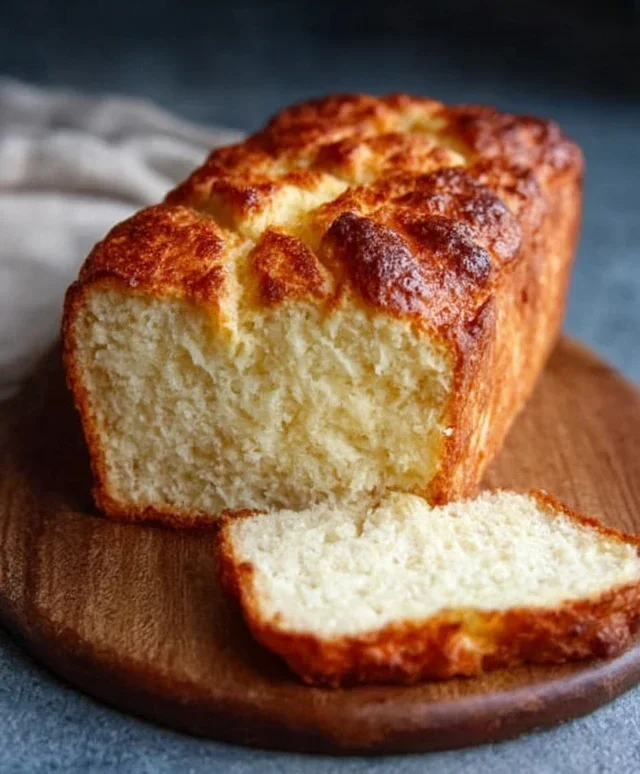
Zero Carb Yogurt Bread Recipe: Smart Bread, is it even possible? I know, the thought of bread without the carbs might seem like a culinary oxymoron, but I’m here to tell you it absolutely is, and it’s surprisingly delicious! This isn’t just any low-carb substitute; this is a truly smart bread that will revolutionize your meal prep and satisfy those bread cravings without derailing your health goals. People absolutely adore this recipe because it delivers on flavor and texture, something many keto or zero-carb baked goods struggle with. What makes this Zero Carb Yogurt Bread Recipe: Smart Bread so special is its incredibly simple ingredient list and remarkably moist crum extractb, proving that you don’t need flour or sugar to create a bread you can truly enjoy. Get ready to discover your new go-to for toast, sandwiches, and so much more!
Zero Carb Yogurt Bread Recipe: Smart Bread
Welcome to a game-changer in the world of low-carb and zero-carb baking! Today, we’re diving into a recipe that’s not just smart, but incredibly delicious and versatile: our Zero Carb Yogurt Bread. This isn’t your average bread; it’s a carefully crafted loaf designed to satisfy your bread cravings without the carb overload. Perfect for those following ketogenic diets, managin extractg blood sugar, or simply looking for healthier alternatives, this “smart bread” is surprisingly easy to make and yields a wonderfully moist and satisfying crum extractb. Forget dry, crum extractbly disappointments – this yogurt bread is here to redefine your expectations. Let’s get baking!
Ingredients:
Getting Started: Preparing Your Workspace and Oven
Before we begin extract mixing our ingredients, it’s essential to prepare your baking environment. Preheat your oven to 350°F (175°C). This steady temperature is crucial for ensuring the bread bakes evenly and achieves a beautiful, golden-brown crust without drying out the interior. While the oven is preheating, prepare your loaf pan. A standard 8.5 x 4.5 inch loaf pan works wonderfully for this recipe. You can grease it thoroughly with butter or coconut oil and then lightly dust it with a little almond flour or a sprinkle of xanthan gum. Alternatively, lining your loaf pan with parchment paper is an excellent way to guarantee easy removal and minimal cleanup. Ensure the parchment paper extends slightly over the sides of the pan; this creates convenient “handles” to lift the bread out once it’s baked.
Mixing the Magic: Combining Wet and Dry Ingredients
Now, let’s bring these ingredients together! In a large mixing bowl, crack your 6 large eggs. Whisk them thoroughly until they are well combined and slightly frothy. Next, add the ½ cup of full-fat Greek yogurt. The Greek yogurt is key here, as its thickness and richness contribute significantly to the moisture and tender texture of our bread. Make sure to use plain, unsweetened yogurt to keep the carb count low. Pour in the ¼ cup of melted butter or coconut oil. Whichever you choose, ensure it’s melted but not hot. Add the ¼ teaspoon of salt to enhance the flavors. Whisk all these wet ingredients together until you have a smooth, homogenous mixture.
In a separate, smaller bowl, combine your dry ingredients. This is where the magic for texture happens. Add the 1 tablespoon of baking powder. Using an aluminum-free baking powder is often preferred for its milder taste. Now, add the ½ teaspoon of xanthan gum or psyllium husk powder. These ingredients are vital for binding the bread together and providing that satisfying chegrape juicess, mimicking the structure of traditional bread. If you’ve opted to include the optional ½ cup of finely ground almond flour, add it now. Remember, this almond flour is incredibly fine and adds a bit more substance without significantly impacting the carb count, making the bread even more bread-like. Whisk these dry ingredients together thoroughly to ensure the xanthan gum or psyllium husk is evenly distributed. This prevents clumping in the final batter.
Incorporating Dry into Wet: Creating the Batter
Once your wet and dry ingredients are prepared, it’s time to combine them. Gradually add the dry ingredient mixture to the wet ingredient mixture. Do this in two or three additions, whisking gently after each addition until just combined. It’s important not to overmix at this stage, as overmixing can lead to a tougher bread. You want to achieve a batter that is smooth and lump-free. If you’re using a whisk, ensure you scrape the sides and bottom of the bowl to incorporate all the flour and binding agents. The batter should have a thick but pourable consistency. If it seems a little too thick, you can add an extra teaspoon or two of melted butter or coconut oil, or even a tiny splash of water, but typically, this ratio works perfectly.
Baking the Bread: Achieving Golden Perfection
Pour the batter evenly into your prepared loaf pan. Use a spatula to scrape down the sides of the bowl, ensuring you get every last bit of this delicious batter. Gently tap the loaf pan on the counter a couple of times. This helps to release any large air bubbles trapped in the batter, promoting a more even bake and a finer crum extractb structure. Now, carefully place the loaf pan into your preheated oven.
Bake for approximately 35 to 45 minutes. The baking time can vary slightly depending on your oven, so keep an eye on it. You’ll know the bread is ready when it’s golden brown on top and a toothpick or cake tester inserted into the center comes out clean. If you notice the top browning too quickly before the center is cooked, you can loosely tent the loaf pan with aluminum foil for the remainder of the baking time. This will protect the crust while allowing the inside to finish baking through.
Cooling and Enjoying Your Smart Bread
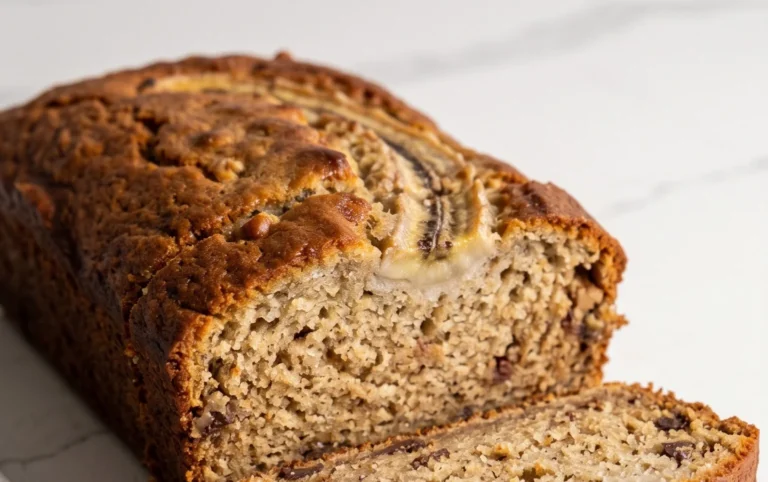
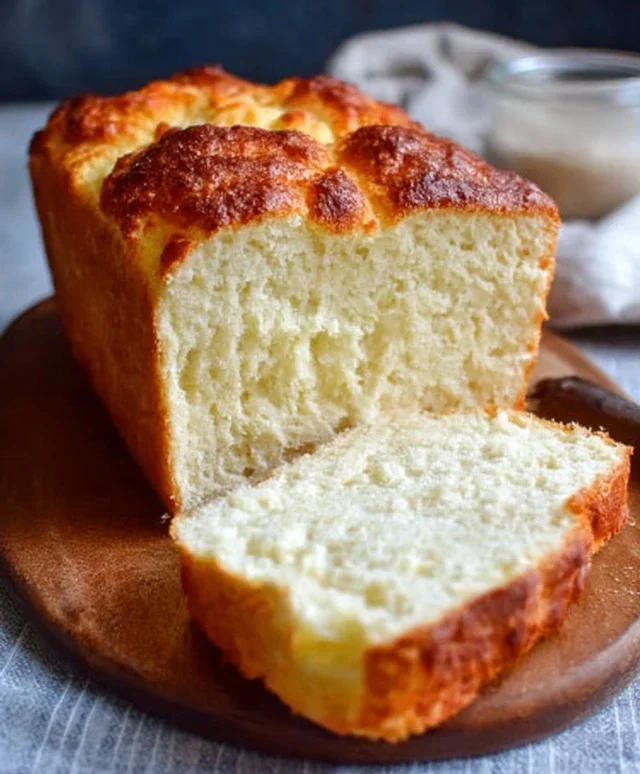
Once baked to perfection, carefully remove the loaf pan from the oven. Let the bread cool in the pan for about 10-15 minutes. This initial cooling period allows the bread to set and makes it easier to remove from the pan without it falling apart. After this initial cooling, carefully invert the loaf pan to release the bread onto a wire cooling rack. If you used parchment paper, this step is incredibly simple. Allow the bread to cool completely on the wire rack. This is a crucial step; cutting into the bread while it’s still warm can result in a gummy texture. Patience here will be rewarded with a perfectly structured loaf.
Once completely cooled, your Zero Carb Yogurt Bread is ready to be sliced and enjoyed! This bread is fantastic toasted and slathered with butter, avocado, or cream cheese. It also makes an excellent base for savory toppings like smoked salmon or eggs, or even sweet options like a sugar-free jam. Store any leftover bread in an airtight container in the refrigerator for up to 3-4 days, or slice and freeze for longer storage. Enjoy this delicious and guilt-free treat!
Conclusion:
I hope you’re as excited as I am about this Zero Carb Yogurt Bread recipe, also known as Smart Bread! This recipe truly is a game-changer for anyone following a low-carb or ketogenic lifestyle, or simply looking for a healthier, incredibly satisfying bread alternative. Its simplicity, requiring minimal ingredients and effort, makes it accessible to bakers of all levels. The result is a wonderfully moist and tender loaf with a subtle tang from the yogurt, perfect for toasting, sandwiches, or enjoying on its own. The versatility of this Smart Bread is another major highlight, opening up a world of delicious possibilities.
Serving suggestions are abundant! Toast slices and top with avocado, smoked salmon, or your favorite cream cheese. It makes fantastic croutons for salads or a comforting base for a slice of melted cheese. For variations, consider adding a pinch of garlic powder or dried herbs to the batter for a savory twist, or a touch of cinnamon for a hint of sweetness. Don’t be afraid to experiment and make this Zero Carb Yogurt Bread your own!
I wholeheartedly encourage you to give this recipe a try. You might be surprised at how easy and delicious homemade, guilt-free bread can be. It’s a fantastic way to enjoy the comfort of bread without compromising your dietary goals.
Frequently Asked Questions:
Can I substitute the yogurt with something else?
While the yogurt is key to the moisture and texture of this Smart Bread, you can try using sour cream or full-fat Greek yogurt for a similar result. Unsweetened plant-based yogurts may work, but could alter the texture and carb count. It’s best to stick with dairy-based options for optimal results.
How long does this Zero Carb Yogurt Bread stay fresh?
Stored in an airtight container at room temperature, this bread typically stays fresh for 2-3 days. For longer storage, I recommend slicing it and keeping it in the refrigerator for up to a week, or freezing portions for future enjoyment.
Can I make this bread dairy-free?
Achieving a truly dairy-free Zero Carb Yogurt Bread is more challengin extractg due to the specific properties of dairy yogurt. While some nut-based yogurts might work as a substitute, they often have a different consistency and may introduce more carbs. Further experimentation would be needed to find a reliable dairy-free alternative that maintains the desired texture and low-carb profile.
Zero Carb Yogurt Bread Recipe : Smart Bread
A quick and easy zero-carb bread recipe using simple ingredients, perfect for low-carb diets. This smart bread offers a satisfying texture and can be a versatile base for various toppings.
Ingredients
-
6 large eggs
-
½ cup full-fat Greek yogurt (unsweetened, plain)
-
1 tablespoon baking powder (aluminum-free preferred)
-
¼ cup melted butter or coconut oil
-
¼ teaspoon salt
-
½ teaspoon xanthan gum or psyllium husk powder
-
½ cup finely ground almond flour (optional)
Instructions
-
Step 1
Preheat your oven to 350°F (175°C). Grease and line a small loaf pan with parchment paper. -
Step 2
In a large bowl, whisk together the 6 large eggs until well combined. -
Step 3
Add the ½ cup of full-fat Greek yogurt, ¼ cup of melted butter or coconut oil, and ¼ teaspoon of salt to the eggs. Whisk until smooth. -
Step 4
In a separate small bowl, combine the 1 tablespoon of baking powder and ½ teaspoon of xanthan gum or psyllium husk powder. If using, stir in the ½ cup of finely ground almond flour. -
Step 5
Gradually add the dry ingredients to the wet ingredients, whisking until just combined and no dry lumps remain. Be careful not to overmix. -
Step 6
Pour the batter into the prepared loaf pan and smooth the top. -
Step 7
Bake for 30 minutes, or until a toothpick inserted into the center comes out clean. -
Step 8
Let the bread cool in the pan for 10 minutes before transferring it to a wire rack to cool completely.
Important Information
Nutrition Facts (Per Serving)
It is important to consider this information as approximate and not to use it as definitive health advice.
Allergy Information
Please check ingredients for potential allergens and consult a health professional if in doubt.