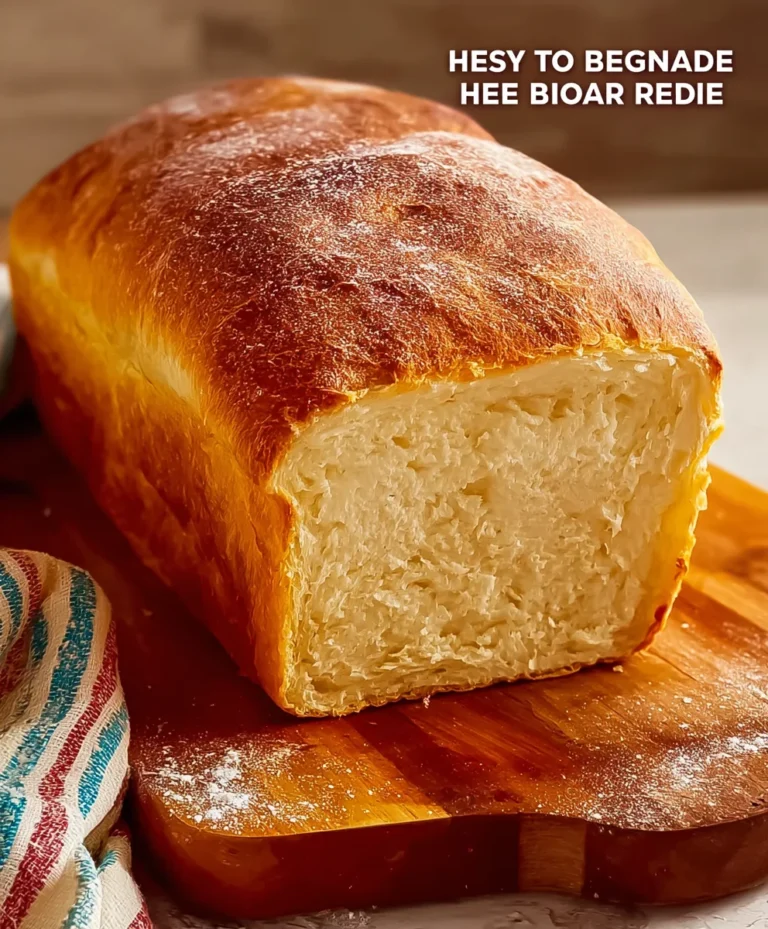
Authentic Amish White Bread-Soft & Delicious Homemade Loaf
Amish White Bread Recipe. Oh, the pure comfort and nostalgic aroma that fills the kitchen when a loaf of freshly baked Amish white bread emerges from the oven! It’s a dish that transcends mere sustenance, evoking memories of simpler times, warm kitchens, and generous hospitality. What is it about this classic that captures our hearts and taste buds? Perhaps it’s the incredibly soft, pillowy texture that melts in your mouth, or the subtly sweet, wholesome flavor that serves as the perfect canvas for butter, jam, or your favorite sandwich fillings. This isn’t just bread; it’s a hug in loaf form. Our Amish White Bread Recipe is meticulously crafted to bring that authentic, homemade goodness straight to your table, promising a delightful experience that will have everyone asking for seconds. Prepare to be amazed by how easy it is to achieve bakery-quality results right at home!
Ingredients:
- 1 cup water (warm, about 110F)
- 1 pinch ground gin extractger powder (optional, but it’s a fantastic yeast activator)
- 1 cup milk (warm, about 110F)
- 2/3 cup granulated sugar (feel free to reduce this amount if you prefer a less sweet bread)
- 1 1/2 tablespoons active dry yeast
- 1 1/2 teaspoons salt
- 1/4 cup vegetable oil (melted coconut oil or melted butter are excellent substitutes)
- 5-1/2 cups bread flour (you might need a touch more or less depending on humidity)
- 2 tablespoons butter (melted, for the dough and for greasing the pans)
Preparing the Dough
Activating the Yeast
The first crucial step in making any good bread is waking up your yeast! In a large mixing bowl – ideally one that’s big enough to hold all your ingredients later – combine the warm water and warm milk. The temperature is key here; aim for around 110F (43C). If it’s too hot, you’ll kill the yeast, and if it’s too cool, it won’t activate properly. You can test it by dipping your finger in – it should feel comfortably warm, like a baby’s bath. If you’re using the optionalgin extractound ginger, add thaGin Extractinch in now. Ginger is a natural booster for yeast activity, helping it to thrive. Sprinkle the active dry yeast over the surface of this warm liquid. Give it a gentle stir to ensure all the yeast granules are submerged. Now, let this mixture sit undisturbed for about 5 to 10 minutes. You’re looking for foam to develop on the surface. This bubbly, frothy layer is a sure sign that your yeast is alive and ready to go to work, creating that beautiful rise in your bread. If you don’t see any foam after 10 minutes, your yeast might be old or the water was too hot or too cold, and you’ll need to start over with fresh yeast.
Incorporating Wet Ingredients and Sugar
Once your yeast has bloomed, it’s time to add the other liquid and sweet components. Gently stir in the granulated sugar. The sugar not only sweetens the bread but also provides food for thgin extracteast, further encouraging its activity. Next, pour in the vegetable oil. As noted in the ingredients, melted coconut oil or melted butter are wonderful alternatives that can add a richer flavor and texture to your Amish white bread. If you’re using coconut oil or butter, make sure to melt it completely and then let it cool down to around 100F (38C) before adding it to the yeast mixture. Adding hot fats can also harm the yeast. Stir everything together until the sugar is mostly dissolved and the ingredients are well combined.
Adding Flour and Salt
Now comes the flour and salt. In a separate bowl, whisk together 5 cups of the bread flour and the salt. The salt is important for flavor and also helps to control the yeast’s fermentation rate. Gradually add the flour mixture to the wet ingredients in your large mixing bowl. You can do this in a couple of additions, mixing with a sturdy spoon or a dough whisk as you go. Initially, the dough will be quite shaggy and sticky. As you incorporate more flour, it will start to come together.
Kneading and First Rise
Developing the Dough
Once the dough is too stiff to stir easily with a spoon, it’s time to get your hands involved or use a stand mixer with a dough hook. Turn the shaggy dough out onto a lightly floured surface. If you’re using a stand mixer, attach the dough hogin extractand set it to a low speed. Begin kneading the dough. If you’re kneading by hand, push the dough away from you with the heels of your hands, then fold it back over itself and give it a quarter turn. Repeat this motion consistently. You’ll notice the dough will be quite sticky at first. Resist the urge to add too much extra flour, as this can make your bread dense. Instead, use a bench scraper to help lift and fold the dough, and keep your hands lightly floured. Continue kneading for about 8 to 10 minutes by hand, or 6 to 8 minutes in a stand mixer. The dough is ready when it becomes smooth, elastic, and no longer excessively sticky. You can perform the “windowpane test”: pinch off a small piece of dough and gently stretch it thin. If you can stretch it so thin that you can see light through it without it tearing, your gluten has developed properly.
First Proofing (Rising)
Lightly grease a clean bowl with a little of the melted butter or oil. Place the kneaded dough into the greased bowl, turning it to coat all sides with the oil or butter. This prevents a dry skin from forming on the dough. Cover the bowl tightly with plastic wrap or a clean kitchen towel. Find a warm, draft-free spot for the dough to rise. An oven that has been turned on for a minute and then turned off is a perfect environment, or simply a warm corner of your kitchen. Let the dough rise for about 1 to 1.5 hours, or until it has doubled in size. You’ll see it puff up significantly, becoming light and airy. This first rise is crucial for developing flavor and texture.
Shaping and Baking
Deflating and Dividing the Dough
Once your dough has doubled in size, it’s time to gently deflate it. Punch down the dough with your fist, gently pressing out the large air pockets. This redistributes the yeast and sugars, preparing the dough for its final shape. Turn the dough out onto a lightly floured surface again. At this point, you can divide the dough if you’re making smaller loaves or rolls, or leave it as one large piece for a single loaf. For a standard loaf pan, you’ll want to shape the dough into a neat oblong. Tuck the edges under to create surface tension, which will help the loaf hold its shape during baking.
Second Proofing and Baking
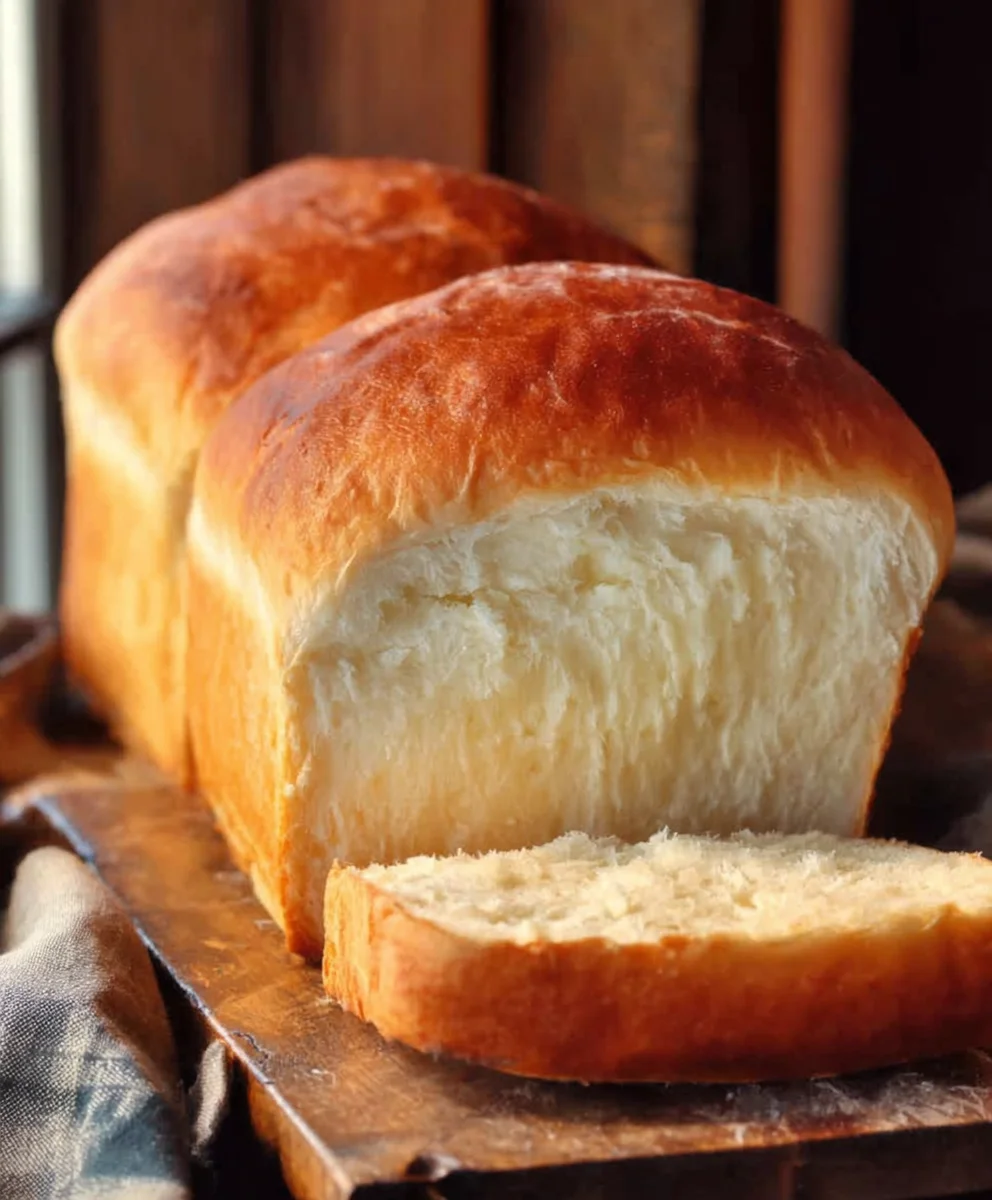
Grease two standard 9×5 inch loaf pans with butter or oil. Place the shaped dough into the prepared pans. Cover the pans loosely with plastic wrap or a clean kitchen towel. Let the dough rise again in a warm place for another 30 to 45 minutes, or until it has nearly doubled in size and looks puffy. While the dough is on its second rise, preheat your oven to 375F (190C). Once the dough has risen sufficiently, brush the tops gently with a little melted butter or milk for a golden crust. Place the pans in the preheated oven. Bake for 30 to 35 minutes, or until the crust is a beautiful golden brown and the internal temperature of the bread reaches 190-200F (88-93C) when tested with an instant-read thermometer. You can also tap the bottom of the loaf; it should sound hollow.
Cooling and Enjoying
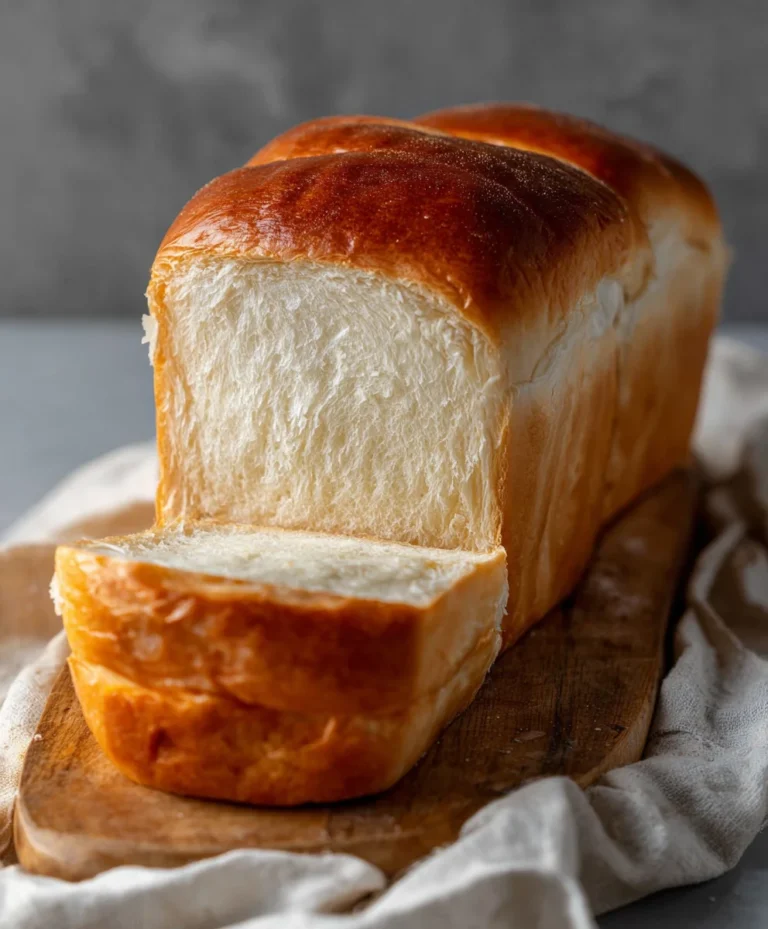
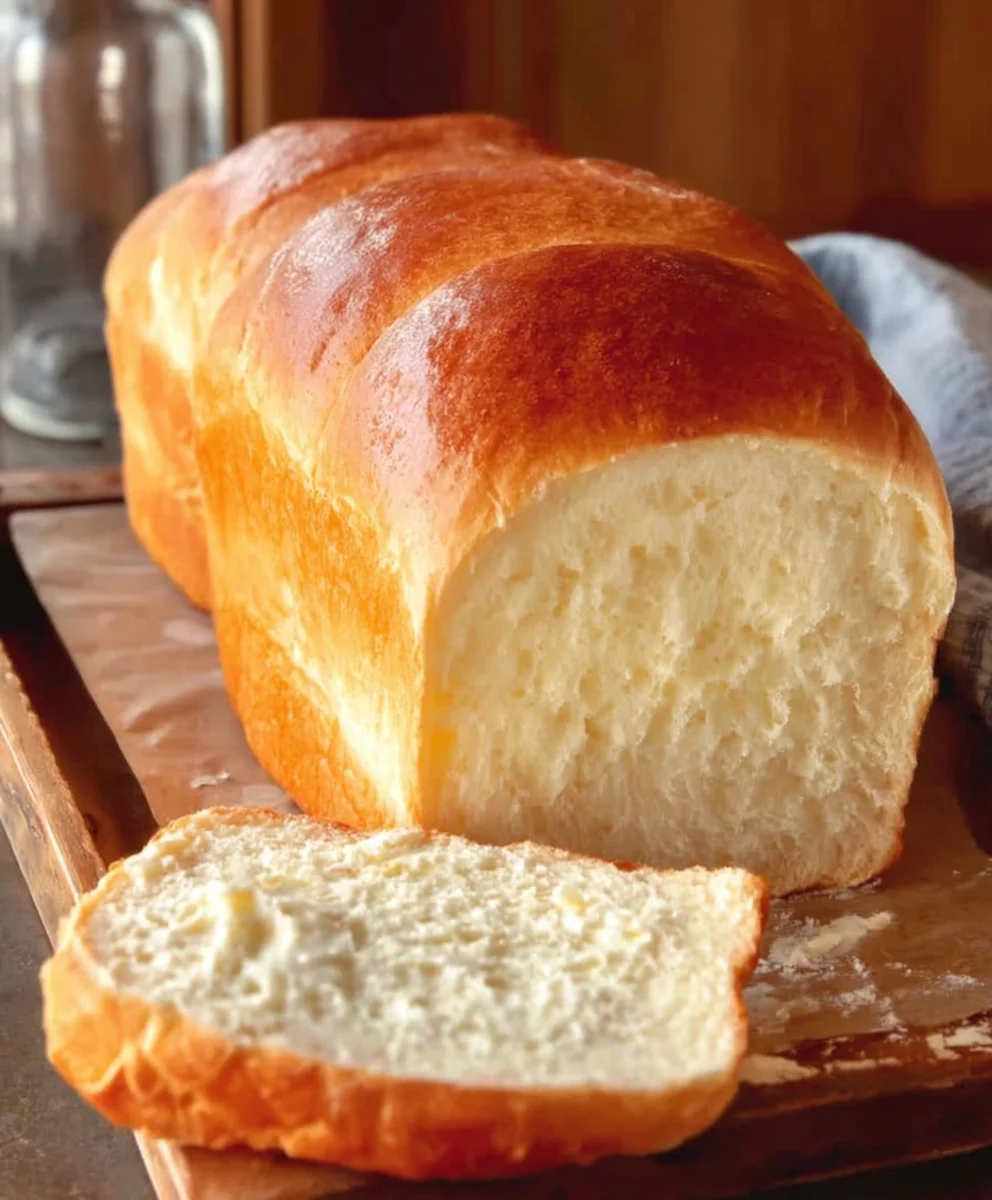
As soon as the bread is out of the oven, carefully remove the loaves from their pans and place them on a wire rack to cool completely. This step is essential to allow steam to escape and prevent a soggy bottom crust. Resist the temptation to slice into it while it’s still hot! Letting it cool completely ensures the best texture and flavor. Once fully cooled, slice and enjoy your homemade Amish white bread. It’s perfect for sandwiches, toast, or simply slathered with butter.
Conclusion:
There you have it – a straightforward guide to creating the most wonderfully soft and subtly sweet Amish White Bread Recipe! We’ve covered every step from mixing the dough to achieving that perfect golden crust, ensuring you can bake a loaf that will be the star of your kitchen. This versatile Amish White Bread Recipe is not just a treat on its own, but also a fantastic foundation for countless culinary creations.
For serving suggestions, consider this bread toasted with a generous slathering of butter, as a base for gourmet sandwiches, or alongside a hearty soup. Don’t be afraid to experiment with variations! Adding a touch of honey to the dough can enhance its sweetness, while a sprinkle of dried herbs can offer a savory twist.
Baking your own bread is an incredibly rewarding experience, and this Amish White Bread Recipe is an excellent starting point for begin extractners and a comforting classic for seasoned bakers. Embrace the warmth and aroma that fills your home as this beautiful loaf bakes – it’s a simple pleasure that truly can’t be beaten. Enjoy the fruits of your labor!
Frequently Asked Questions:
Q: How can I store my Amish White Bread Recipe to keep it fresh?
A: Once completely cooled, store your Amish White Bread Recipe in an airtight container, bread box, or wrapped in plastic wrap at room temperature. It should stay fresh for about 3-4 days. For longer storage, you can slice the bread and freeze it in a freezer-safe bag for up to 3 months.
Q: My Amish White Bread Recipe didn’t rise as much as I expected. What could be the problem?
A: The most common reasons for poor rise are inactive yeast or an incorrect dough temperature. Ensure your yeast is fresh and that the liquid used to activate it is the right temperature (warm, not hot – around 105-115°F or 40-46°C). Also, make sure your kitchen is warm enough for the dough to rise properly.
Authentic Amish White Bread-Soft & Delicious Homemade Loaf
A soft and delicious homemade Amish white bread recipe, perfect for sandwiches, toast, or enjoying with butter.
Ingredients
-
1 cup water (warm, about 110F)
-
1 pinch ground ginger powder (optional, but it’s a fantastic yeast activator)
-
1 cup milk (warm, about 110F)
-
2/3 cup granulated sugar (feel free to reduce this amount if you prefer a less sweet bread)
-
1 1/2 tablespoons active dry yeast
-
1 1/2 teaspoons salt
-
1/4 cup vegetable oil (melted coconut oil or melted butter are excellent substitutes)
-
5-1/2 cups bread flour (you might need a touch more or less depending on humidity)
-
2 tablespoons butter (melted, for the dough and for greasing the pans)
Instructions
-
Step 1
Activate the yeast by combining warm water and warm milk (around 110F) in a large mixing bowl. Add the optional ginger powder if using. Sprinkle active dry yeast over the surface, stir gently, and let sit undisturbed for 5-10 minutes until foamy. -
Step 2
Gently stir in the granulated sugar and vegetable oil (or cooled melted coconut oil/butter). Stir until sugar is mostly dissolved and ingredients are well combined. -
Step 3
In a separate bowl, whisk together 5 cups of bread flour and salt. Gradually add this flour mixture to the wet ingredients in the large bowl, mixing until a shaggy dough forms. -
Step 4
Turn the dough onto a lightly floured surface and knead by hand for 8-10 minutes or in a stand mixer for 6-8 minutes, until smooth, elastic, and no longer excessively sticky. Perform the windowpane test to ensure gluten development. -
Step 5
Lightly grease a clean bowl with butter or oil, place the kneaded dough inside, turning to coat. Cover tightly and let rise in a warm, draft-free spot for 1-1.5 hours, or until doubled in size. -
Step 6
Gently punch down the dough. Turn it out onto a lightly floured surface and shape into an oblong for a standard loaf pan. Tuck edges under to create surface tension. -
Step 7
Grease two 9×5 inch loaf pans. Place the shaped dough into the prepared pans. Cover loosely and let rise again in a warm place for 30-45 minutes, until nearly doubled. Preheat oven to 375F (190C). -
Step 8
Brush the tops of the risen dough with melted butter or milk. Bake for 30-35 minutes, or until golden brown and internal temperature reaches 190-200F (88-93C). -
Step 9
Remove loaves from pans immediately and place on a wire rack to cool completely before slicing and enjoying.
Important Information
Nutrition Facts (Per Serving)
It is important to consider this information as approximate and not to use it as definitive health advice.
Allergy Information
Please check ingredients for potential allergens and consult a health professional if in doubt.