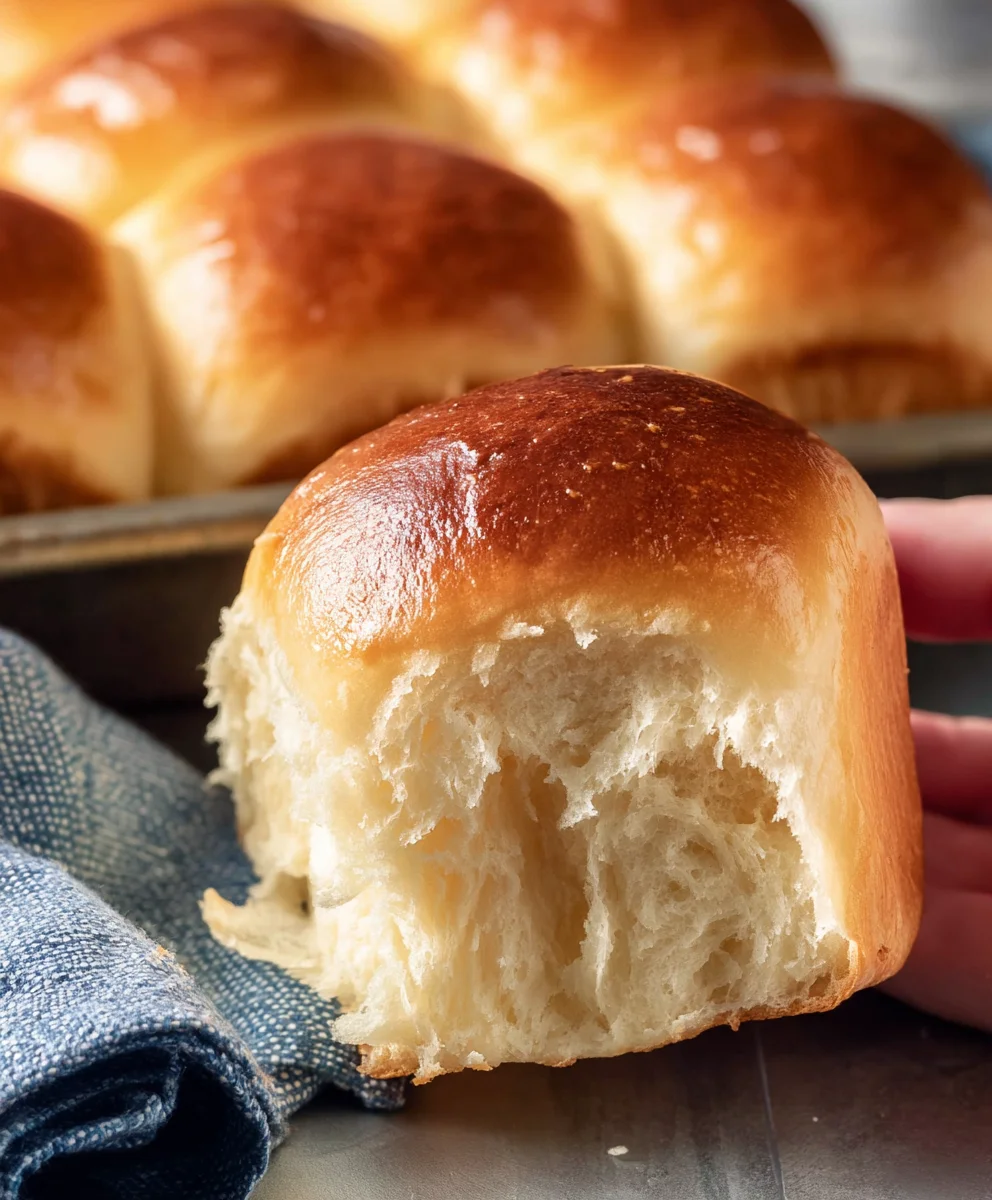
Easy Dinner Rolls Ready in Thirty Minutes
30 minute dinner rolls are an absolute game-changer when you’re craving that warm, comforting embrace of freshly baked bread but time is a luxury you simply don’t have. Forget the hours of waiting for dough to rise; these magical rolls deliver pillowy softness and a delightful chew in a fraction of the time. It’s no wonder they’ve become a go-to for busy weeknights and impromptu gatherings. People adore them because they feel like a treat, a little slice of homemade happiness that doesn’t require a culinary marathon. What truly sets these 30 minute dinner rolls apart is their incredible versatility. Serve them alongside a hearty stew, a vibrant salad, or simply slathered with butter – they’re guaranteed to disappear in minutes. We’re about to unlock the secret to achieving bakery-quality results with minimal effort, proving that delicious, homemade bread is achievable even on your busiest evenings.
Ingredients:
- 1 1/4 cups warm water
- 1/4 cup sugar
- 2 Tablespoons active dry yeast
- 1/3 cup vegetable oil
- 1 teaspoon salt
- 1 large egg
- 3 3/4 cups all-purpose flour
Getting Started: The Dough Base
Activating the Yeast
To begin extract our 30-minute dinner rolls, the first crucial step is to get our yeast ready to work its magic. In a large mixing bowl or the bowl of your stand mixer, combine the 1 1/4 cups of warm water. It’s important that the water is warm but not hot, as excessively hot water can kill the yeast. Aim for a temperature between 105-115°F (40-46°C). You can test this by dipping your finger in; it should feel pleasantly warm, like a baby’s bathwater. To this warm water, add the 1/4 cup of sugar. The sugar acts as food for the yeast, helping it to activate and multiply. Sprinkle the 2 Tablespoons of active dry yeast over the surface of the water and sugar mixture. Give it a gentle stir to ensure the yeast is mostly submerged.
Now, let this mixture sit undisturbed for about 5-10 minutes. You’ll know your yeast is active and ready when it becomes foamy and bubbly on the surface, resembling a thick, creamy layer. If you don’t see this foam, it means your yeast might be old or the water was too hot or too cold, and you’ll need to start this step again with fresh yeast. This foamy cap is a visual confirmation that your yeast is alive and ready to leaven your dough.
Building the Dough
Once your yeast is bubbly and active, it’s time to incorporate the other wet ingredients. Add the 1/3 cup of vegetable oil to the yeast mixture. The oil will contribute to the softness and tenderness of our dinner rolls. Next, crack in the 1 large egg. The egg adds richness, helps with binding the ingredients, and contributes to a beautiful golden-brown crust. Give this wet mixture a good whisk to combine everything thoroughly.
Now, it’s time to add the dry ingredients. In a separate bowl, measure out your 3 3/4 cups of all-purpose flour and 1 teaspoon of salt. Whisk these together briefly to distribute the salt evenly throughout the flour. Gradually add the flour mixture to the wet ingredients in the large mixing bowl. If you’re using a stand mixer, attach the dough gin extractk. Begin mixing on a low speed until the ingredients just start to come together. If you’re mixing by hand, you’ll want to use a sturdy spoon or spatula initially.
Kneading and Rising
Developing the Dough Structure
Once the dough has started to form and is no longer shaggy, it’s time to knead. If using a stand mixer, increase the speed to medium-low and let it knead for about 5-7 minutes. The dough should become smooth, elastic, and start to pull away from the sides of the bowl. It will still be slightly tacky, but it shouldn’t stick excessively to your fingers when you touch it.
If you’re kneading by hand, turn the dough out onto a lightly flogin extractd surface. Begin the traditional kneading motion: push the dough away from you with the heels of your hands, then fold it back over itself, and give it a quarter turn. Repeat this process continuously for about 8-10 minutes. The key is consistent pressure and movement. You’re aiming for a smooth, pliable dough that springs back slowly when you gently poke it with your finger. Don’t be tempted to add too much extra flour during hand-kneading; a slightly sticky dough is often the secret to tender rolls.
The Quick Rise for Speedy Rolls
For our 30-minute dinner rolls, we’re going to employ a speedier rising technique. Lightly grease a clean bowl with a little extra vegetable oil. Place the kneaded dough into the greased bowl, turning it to coat the entire surface with oil. Cover the bowl tightly with plastic wrap or a clean kitchen towel. Now, here’s the trick for speed: place the covered bowl in a warm place. An oven that has been turned on for a minute and then turned off is ideal, or simply on top of your refrigerator or near a sunny window. We want the dough to rise and roughly double in size, which should take approximately 15-20 minutes in a warm environment. Keep an eye on it; you want it to puff up considerably but not necessarily to its absolute maximum.
Shaping and Baking
Forming Perfect Rolls
Once the dough has risen, gently punch it down to release the air. Turn the dough out onto a lightly floured surface. You can either divide the dough into portions and roll them into smooth balls for round rolls, or you can shape them into a log and slice off portions for more uniform rolls. For simple round rolls, pinch off pieces of dough about the size of a golf ball. Roll each piece between your palms to create a smooth ball. Place these dough balls onto a baking sheet lined with parchment paper, leaving about 2 inches of space between each roll to allow for expansion during baking. If you prefer a more classic dinner roll shape, you can flatten each ball slightly with your palm or the bottom of a glass.
The Final Bake
Preheat your oven to 375°F (190°C) while you are shaping your rolls. Once your rolls are shaped and placed on the baking sheet, you can optionally brush them with a little melted butter or an egg wash (1 egg beaten with 1 tablespoon of water) for an extra golden sheen. Place the baking sheet into the preheated oven. Bake for approximately 15-20 minutes, or until the rolls are beautifully golden brown on top and sound hollow when tapped on the bottom. The exact baking time will depend on your oven and the size of your rolls. Rotate the baking sheet halfway through the baking time to ensure even browning.
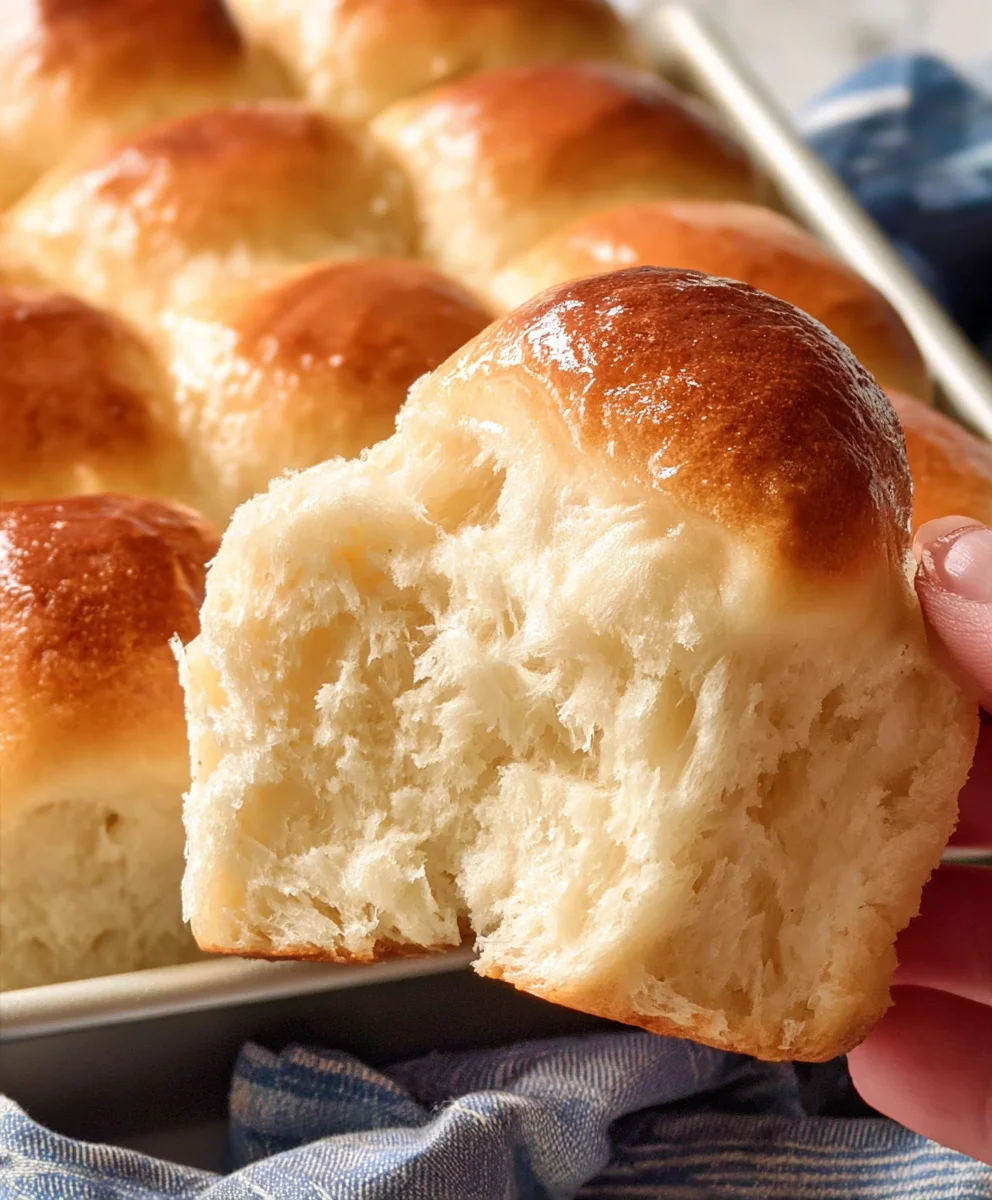
Cooling and Serving
Once baked to perfection, carefully remove the rolls from the oven. For the best texture and flavor, transfer the hot rolls immediately to a wire rack to cool slightly. This prevents the bottoms from becoming soggy. You can brush them with more melted butter as soon as they come out of the oven for added flavor and a soft crust. Serve these warm, delicious 30-minute dinner rolls with your favorite meals or enjoy them on their own.
Conclusion:
And there you have it! You’ve successfully created these delightful 30 minute dinner rolls. We hope this recipe has been a rewarding and enjoyable experience for you. These rolls are incredibly versatile, perfect for sopping up your favorite soups, serving alongside a hearty stew, or simply enjoyed on their own with a spread of butter. Don’t be afraid to experiment! You can easily add herbs like rosemary or thyme to the dough, or even a sprinkle of grated Parmesan cheese for an extra savory kick. Feel free to play with different toppings too, such as sesame seeds or poppy seeds, to personalize your 30 minute dinner rolls. We encourage you to share your creations with friends and family, and most importantly, enjoy the process of baking! Remember, the most delicious meals are often made with love and a little bit of kitchen adventure.
Frequently Asked Questions:
Can I make these 30 minute dinner rolls ahead of time?
While they are best enjoyed fresh, you can bake them and then reheat them gently in a low oven (around 300°F or 150°C) for a few minutes before serving to bring back their warmth and softness.
What if I don’t have yeast? Can I substitute it?
These 30 minute dinner rolls specifically rely on active dry yeast for their rise and texture. Unfortunately, there isn’t a direct substitute that will yield the same results in this short timeframe. For yeast-free quick breads, you would need a different recipe.
My dough isn’t rising much. What could be wrong?
Ensure your yeast is fresh and active by proofing it in warm liquid (around 105-115°F or 40-46°C) with a pinch of sugar before mixing. If the liquid is too hot, it can kill the yeast; too cold and it won’t activate properly. Also, make sure your kitchen isn’t too cold, as this can hinder the rising process.
Easy Dinner Rolls Ready in Thirty Minutes
Quick and easy homemade dinner rolls that are ready in about 30 minutes, perfect for a last-minute addition to any meal.
Ingredients
-
1 1/4 cups warm water
-
1/4 cup sugar
-
2 Tbsp. active dry yeast
-
1/3 cup vegetable oil
-
1 tsp. salt
-
1 large egg
-
3 3/4 cup all purpose flour
Instructions
-
Step 1
Activate the yeast: In a large bowl, combine 1 1/4 cups warm water (105-115°F) with 1/4 cup sugar. Sprinkle 2 Tbsp. active dry yeast over the mixture and let sit for 5-10 minutes until foamy. -
Step 2
Build the dough: Whisk in 1/3 cup vegetable oil and 1 large egg into the yeast mixture. Gradually add 3 3/4 cups all-purpose flour and 1 tsp. salt, mixing until a dough forms. -
Step 3
Knead the dough: Knead by hand for 8-10 minutes or in a stand mixer for 5-7 minutes until smooth and elastic. -
Step 4
Quick rise: Place the kneaded dough in a lightly oiled bowl, cover, and let rise in a warm place for 15-20 minutes until roughly doubled. -
Step 5
Shape the rolls: Punch down the dough, divide into portions, and roll into smooth balls. Place on a parchment-lined baking sheet, leaving space between them. -
Step 6
Bake: Preheat oven to 375°F (190°C). Bake the rolls for 15-20 minutes, or until golden brown and hollow-sounding when tapped. -
Step 7
Cool and serve: Transfer to a wire rack to cool slightly, then brush with melted butter if desired. Serve warm.
Important Information
Nutrition Facts (Per Serving)
It is important to consider this information as approximate and not to use it as definitive health advice.
Allergy Information
Please check ingredients for potential allergens and consult a health professional if in doubt.