Flourless Chickpea Brownies-Vegan Gluten Free Delight
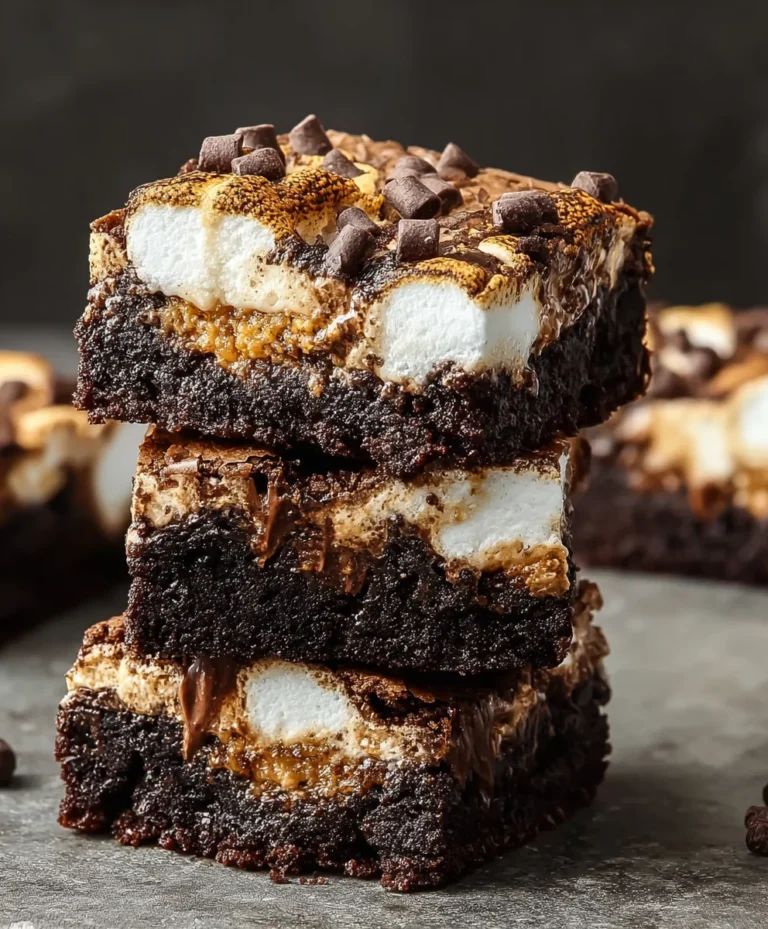
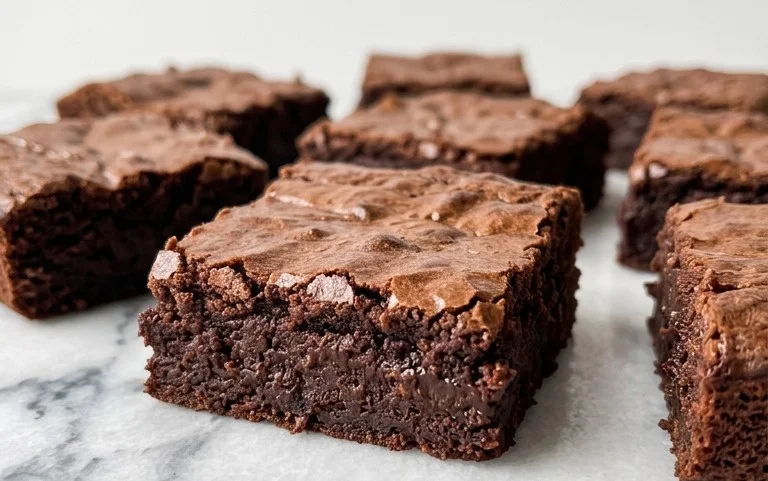
Flourless Chickpea Brownies (Vegan & Gluten Free) are about to redefine your dessert expectations, and trust me, you’re going to thank me for it. Have you ever dreamt of a brownie that’s decadently fudgy, intensely chocolatey, and surprisingly good for you? Well, dream no more! These aren’t your average baked goods; they’re a testament to how incredible plant-based and gluten-free eating can be. People absolutely adore these flourless chickpea brownies because they deliver that irresistible gooey center and rich flavor without any of the common allergens. What truly makes these flourless chickpea brownies special is the secret ingredient: chickpeas! Don’t let that surprise you; they provide an unbelievable moisture and tender texture that you’d typically get from butter and flour, while also packing in protein and fiber. Get ready to discover your new favorite guilt-free indulgence.
Flourless Chickpea Brownies (Vegan & Gluten Free)
Are you craving that rich, fudgy brownie experience but need to stick to a gluten-free and vegan diet? Or perhaps you’re simply looking for a healthier, plant-based treat that doesn’t compromise on flavor? Look no further! These Flourless Chickpea Brownies are about to become your new go-to dessert. They’re surprisingly simple to make, incredibly decadent, and packed with wholesome ingredients. The secret? Chickpeas! Don’t let this humble legume fool you; when blended, they create a perfectly moist and chewy brownie base that’s completely undetectable. Plus, they’re a fantastic source of plant-based protein and fiber, making these brownies feel like a guilt-free indulgence.
I’ve been on a mission to create truly delicious vegan and gluten-free baked goods, and these brownies are a shining success. They have that satisfyingly dense texture, a deep chocolate flavor, and just the right amount of sweetness. The almond butter adds a lovely richness and helps bind everything together, while the maple syrup provides a natural sweetness with a hint of caramel. The mini chocolate chips, of course, are essential for that classic brownie experience. They melt into gooey pockets of chocolatey goodness, elevating each bite.
Making these brownies is a breeze, requiring minimal fuss and just a few common pantry staples. You won’t need any fancy equipment, just a food processor or a good blender. Get ready to impress yourself and anyone lucky enough to snag a brownie!
Ingredients:
Cooking Instructions
Let’s get started on creating these delightful brownies!
1. Prepare Your Equipment and Chickpeas: First things first, preheat your oven to 350°F (175°C). Then, prepare an 8×8 inch baking pan by lining it with parchment paper. This will make it super easy to lift the brownies out once they’re baked and cooled. Next, thoroughly rinse and drain your can of chickpeas. It’s crucial to get as much liquid out as possible. You can even pat them dry with a clean kitchen towel or paper towels to ensure there’s no residual moisture. This step is important for achieving the best texture in your brownies.
2. Blend the Wet Ingredients and Chickpeas: Now, it’s time to bring everything together. Place the rinsed and drained chickpeas into the bowl of a food processor or a high-powered blender. Add the almond butter and the pure maple syrup to the food processor. Also, add the vanilla extract. Process or blend these ingredients until the mixture is as smooth as possible. You want to keep going until you can no longer see any distinct pieces of chickpea. Scrape down the sides of the bowl a few times to ensure everything is incorporated. The smoother this base is, the more undetectable the chickpeas will be in the final brownie.
3. Incorporate the Dry Ingredients: Once you have a smooth, creamy base from the chickpeas, almond butter, maple syrup, and vanilla, it’s time to add the dry components. Sprinkle in the baking powder, baking soda, sea salt, and the unsweetened cocoa powder. If you have them, you can even sift the cocoa powder to prevent any lumps from forming. Continue to process or blend until all the dry ingredients are fully incorporated into the wet mixture. The batter will start to thicken and take on a rich, chocolatey appearance. Again, scrape down the sides of the food processor as needed to ensure an even blend.
4. Add the Chocolate Chips and Bake: Now for the best part – the chocolate chips! Add ¾ cup of the mini chocolate chips to the batter in the food processor. Pulse just a few times, or gently fold them in by hand using a spatula, until they are just distributed throughout the batter. You don’t want to overmix at this stage; a gentle incorporation is key. Spoon the thick batter into your prepared baking pan. Spread it out evenly with a spatula or the back of a spoon. If you like, sprinkle a few extra mini chocolate chips on top for that extra visual appeal and chocolatey crunch. Place the pan in the preheated oven and bake for 20-25 minutes.
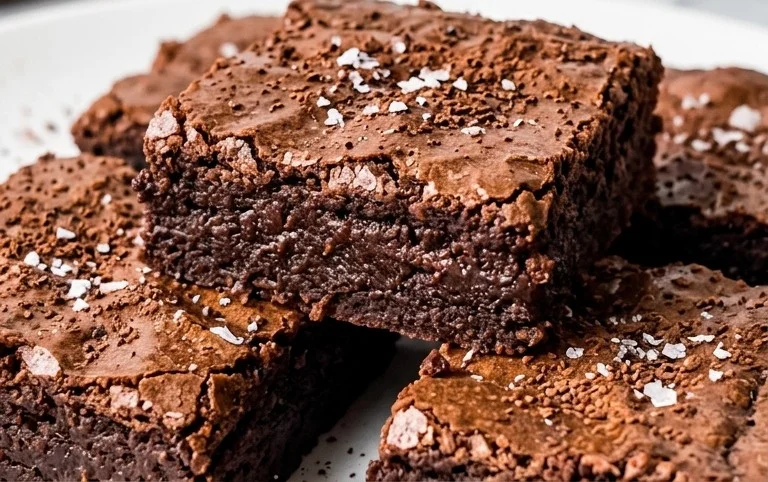
5. Cool and Enjoy: The brownies are ready when the edges look set and a toothpick inserted into the center comes out with moist crum extractbs attached, but not wet batter. Be careful not to overbake them, as this can make them dry. Once baked, remove the pan from the oven and let the brownies cool completely in the pan on a wire rack. This is a crucial step! Allowing them to cool fully will help them set up properly, making them much easier to cut and ensuring that fudgy texture. Once completely cool, you can lift them out of the pan using the parchment paper and cut them into squares. Store any leftovers in an airtight container at room temperature for up to 3 days, or in the refrigerator for up to a week. Enjoy these wonderfully rich and guilt-free chocolate treats!
Conclusion:
There you have it – a ridiculously easy and incredibly satisfying recipe for Flourless Chickpea Brownies that proves you don’t need flour or dairy to achieve fudgy, decadent bliss! These vegan and gluten-free brownies are a game-changer, perfect for anyone with dietary restrictions or simply looking for a healthier indulgence. The humble chickpea not only provides a wonderfully moist texture but also adds a boost of plant-based protein, making these brownies feel guilt-free. I absolutely love how quick they are to whip up, making them an ideal last-minute dessert for unexpected guests or a weeknight treat.
These delightful flourless chickpea brownies are incredibly versatile. Enjoy them warm straight from the oven for an extra gooey experience, or let them cool for a firmer texture. They pair beautifully with a scoop of vegan ice cream, a drizzle of melted dark chocolate, or a sprinkle of fresh berries. For variations, consider adding a handful of vegan chocolate chips for extra chocolatey pockets, a teaspoon of instant coffee granules to enhance the chocolate flavor, or even some chopped nuts for added crunch.
I truly encourage you to give this recipe a try. You might be surprised at how delicious and satisfying these can be. They’re a fantastic example of how wholesome ingredients can create extraordinary treats. Happy baking!
Frequently Asked Questions:
Can I taste the chickpeas in these brownies?
You’ll be happy to know that the flavor of the chickpeas is completely masked by the rich chocolate and other ingredients. The chickpeas provide a wonderful texture without any discernible bean flavor.
What kind of chocolate should I use for the best flavor?
For the richest and most intense chocolate flavor, I recommend using good quality unsweetened cocoa powder and dark chocolate chips or chunks (ensure they are vegan).
How should I store these flourless chickpea brownies?
Once cooled, store these brownies in an airtight container at room temperature for up to 3 days, or in the refrigerator for up to a week. They can also be frozen for longer storage.
Flourless Chickpea Brownies (Vegan & Gluten Free)
Rich, fudgy, and decadent vegan and gluten-free brownies made with chickpeas for a surprisingly healthy twist. Easy to make and naturally dairy-free.
Ingredients
-
15.5 ounces chickpeas (1 can), rinsed and drained
-
½ cup almond butter
-
½ cup pure maple syrup
-
1 tablespoon vanilla extract
-
⅓ cup unsweetened cocoa powder
-
½ teaspoon baking powder
-
½ teaspoon baking soda
-
½ teaspoon sea salt
-
¾ cup vegan mini chocolate chips
Instructions
-
Step 1
Preheat your oven to 350°F (175°C) and grease and line an 8×8 inch baking pan with parchment paper. -
Step 2
In a food processor, combine the rinsed and drained chickpeas, almond butter, pure maple syrup, and vanilla extract. Process until completely smooth and creamy, scraping down the sides as needed. -
Step 3
Add the cocoa powder, baking powder, baking soda, and sea salt to the food processor. Pulse until just combined, being careful not to overmix. -
Step 4
Gently fold in ¾ cup of vegan mini chocolate chips. Reserve a few for topping if desired. -
Step 5
Pour the batter into the prepared baking pan and spread evenly. Sprinkle any reserved chocolate chips on top. -
Step 6
Bake for 25-30 minutes, or until a toothpick inserted into the center comes out with moist crumbs attached. -
Step 7
Let the brownies cool completely in the pan on a wire rack before cutting into squares.
Important Information
Nutrition Facts (Per Serving)
It is important to consider this information as approximate and not to use it as definitive health advice.
Allergy Information
Please check ingredients for potential allergens and consult a health professional if in doubt.