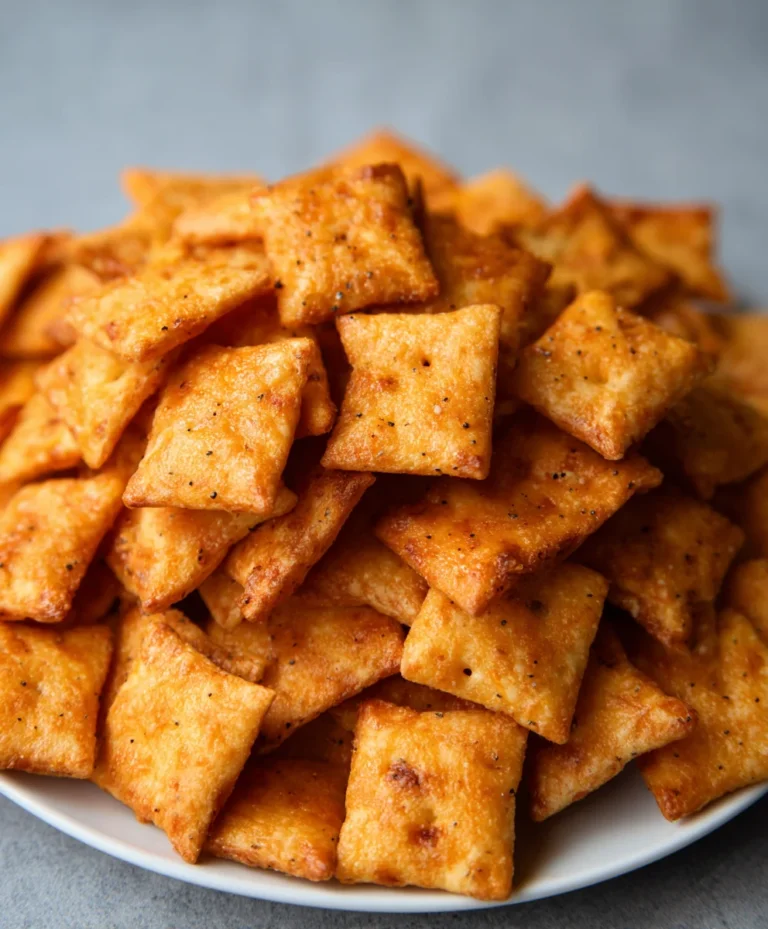
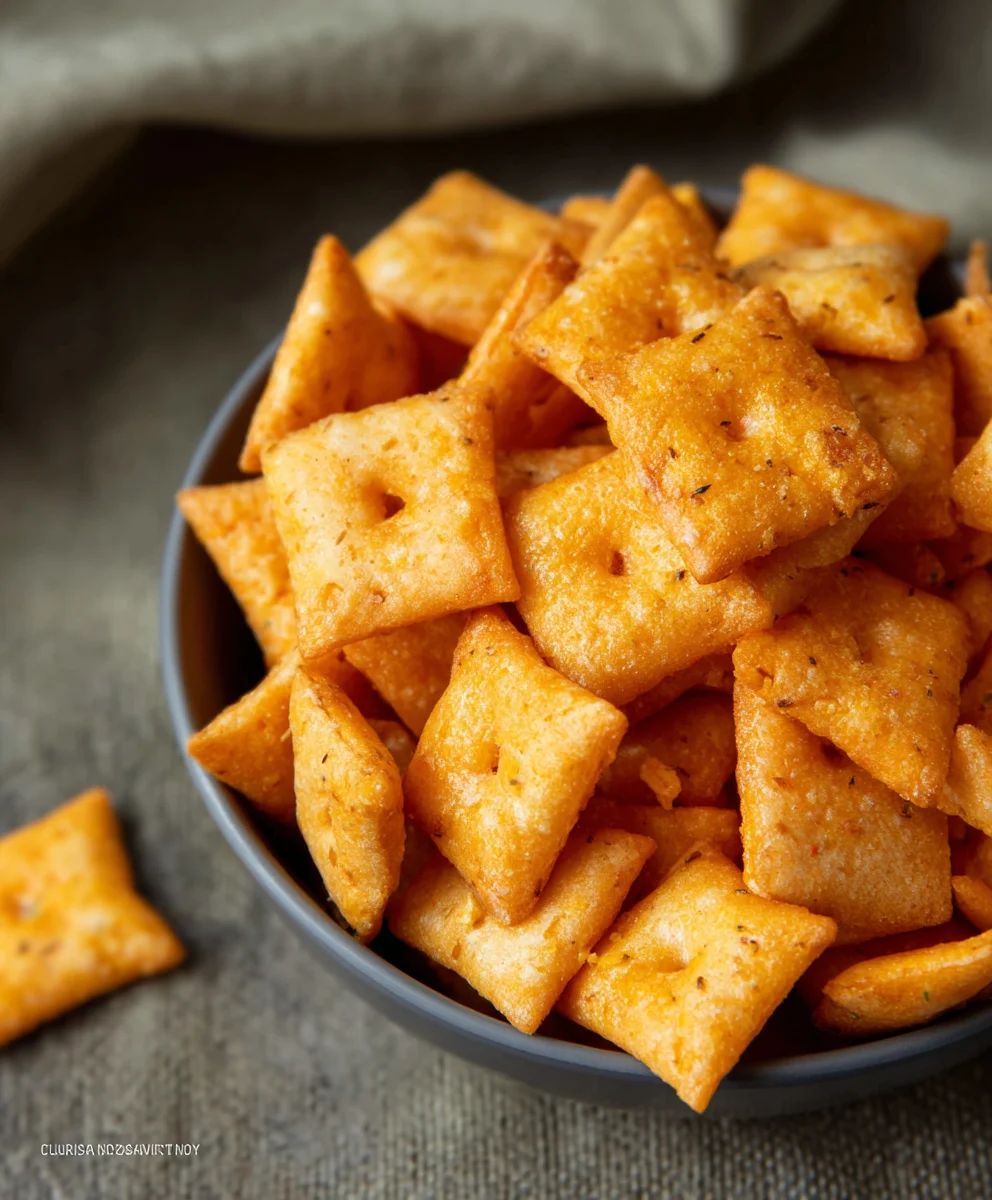
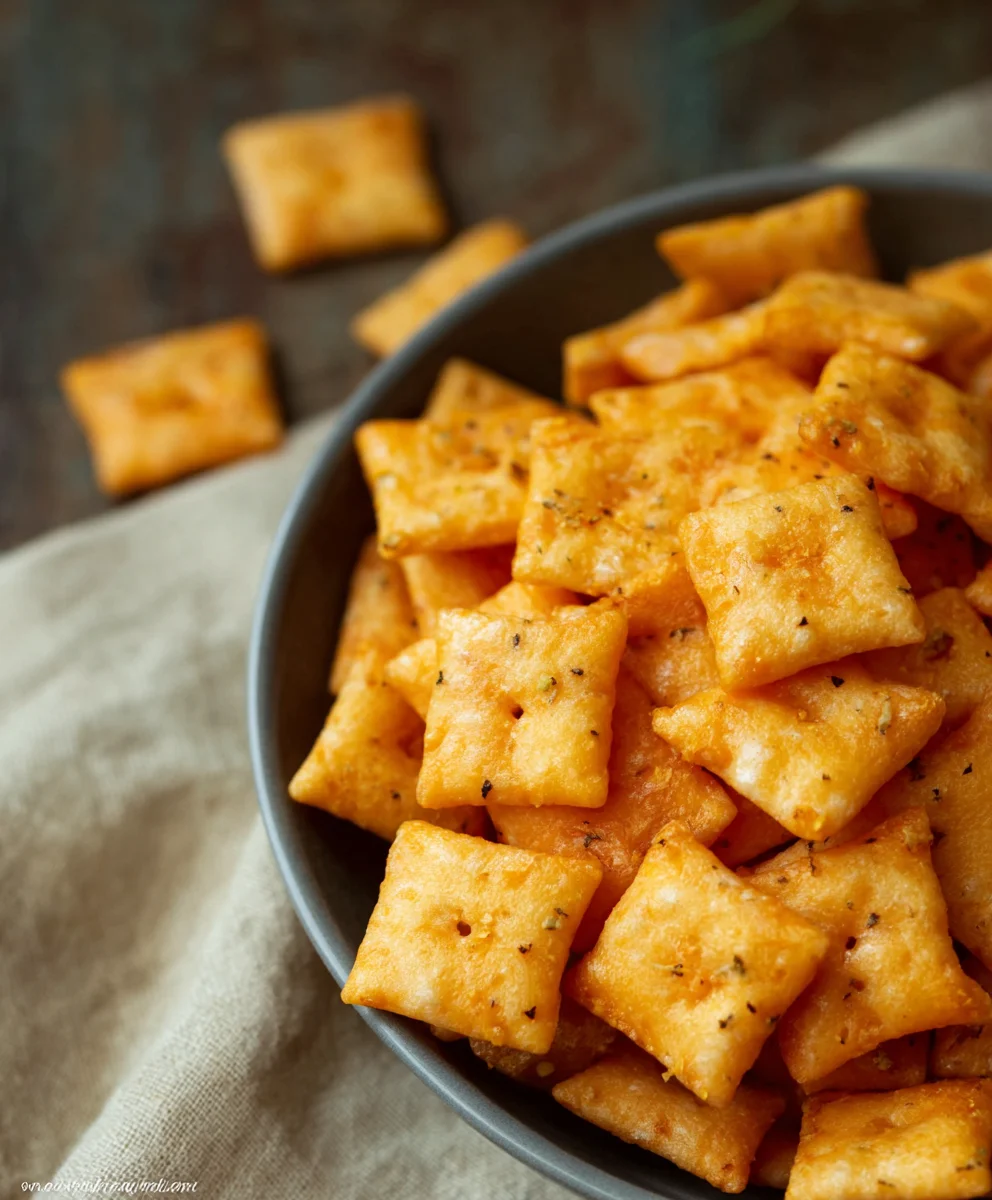
Gluten Free Cheez Its – Crispy Snack Bites
Gluten Free Cheez Its have long been a beloved snack, offering that perfect salty, cheesy crunch we all crave. But for those navigating a gluten-free lifestyle, the store-bought versions can sometimes feel a little… lacking. What if I told you that you could recreate that iconic, addictive flavor and texture right in your own kitchen, completely gluten-free? This isn’t just about avoiding gluten; it’s about rediscovering the pure joy of a truly exceptional cheesy cracker. Many people love Cheez Its for their irresistible savory profile and satisfyingly brittle bite. What makes our homemade Gluten Free Cheez Its truly special is the careful selection of flours and cheeses that mimic the origin extractal’s magic without compromise. Get ready to be amazed by how incredibly close we can get to the real deal, delivering a taste that will have you reaching for more, one golden square at a time.
Ingredients:
- 8 ounces cheddar cheese (mild or sharp), grated
- 4 tablespoons unsalted butter, softened
- 1 cup gluten-free flour blend (ensure it contains a binder like xanthan gum, or add 1/4 teaspoon xanthan gum if your blend doesn’t include it)
- 1/2 teaspoon salt
- 1/8 teaspoon garlic powder
- 3 tablespoons cold water
- 1 teaspoon coarse salt (such as sea salt or kosher salt), for sprinkling
- 1/8 teaspoon onion powder
Preparing the Dough
Step 1: Cream the Butter and Cheese
Begin extract by creaming together the softened unsalted butter and the grated cheddar cheese in a medium-sized mixing bowl. Use a sturdy spoon or a hand mixer on a low setting to achieve a smooth, cohesive mixture. This initial step is crucial for creating a tender cracker. You want the butter and cheese to be thoroughly combined, with no large lumps of either ingredient remaining. This emulsified base will contribute to the delightful crispness and cheesy flavor of your Gluten Free Cheez-Its. Take your time here; a well-combined base will make the subsequent steps much easier and result in a more uniform dough.
Step 2: Incorporate Dry Ingredients
Next, add the gluten-free flour blend, the 1/2 teaspoon of salt, the garlic powder, and the onion powder to the butter and cheese mixture. Stir everything together until it’s just combined and forms a crum extractbly texture. At this stage, you don’t want to overmix. The goal is to distribute the dry ingredients evenly throughout the cheesy butter. If your gluten-free flour blend doesn’t contain a binder like xanthan gum, now is the time to add 1/4 teaspoon of xanthan gum if you haven’t already accounted for it in your blend selection. Xanthan gum is essential for providing structure and elasticity to gluten-free baked goods, helping to hold the crackers together.
Step 3: Add Cold Water and Form Dough
Gradually add the 3 tablespoons of cold water, one tablespoon at a time, mixing gently after each addition. You’re looking for the dough to start coming together. It might seem a little sticky or wet at first, but as you continue to gently mix, it sgin extractld begin to form a cohesive ball. Be careful not to add too much water. If the dough becomes overly wet and sticky, you can add a tiny bit more gluten-free flour, about a teaspoon at a time, until it reaches a manageable consistency. The dough should be firm enough to handle without being excessively sticky.
Shaping and Baking the Crackers
Step 4: Chill and Roll the Dough
Once the dough has formed, turn it out onto a lightly floured surface (using your gluten-free flour blend). Gently bring the dough together into a disc shape. Then, wrap the disc tightly in plastic wrap and refrigerate it for at least 30 minutes. Chilling the dough is a vital step that makes it much easier to roll out thinly and evenly. A cold dough is less likely to stick to your rolling pin and work surface, ensuring uniform crackers that bake up perfectly crisp. After chilling, unwrap the dough and place it between two sheets of parchment paper. Roll the dough out until it’s about 1/8 inch thick. Aim for an even thickness throughout; this will ensure consistent baking.
Step 5: Cut and Prepare for Baking
Preheat your oven to 375°F (190°C). Line a baking sheet with parchment paper. Carefully peel off the top layer of parchment paper from the rolled-out dough. Using a sharp knife or a pizza cutter, cut the dough into small squares, approximately 1 inch by 1 inch, mimicking the size of traditional Cheez-Its. You can also use a small square cookie cutter if you have one. Arrange the cut squares on the prepared baking sheet, leaving a small amount of space between each one. Don’t worry if the edges are a little rough; this adds to their homemade charm. Before baking, lightly brush the tops of the crackers with a tiny bit of water and generously sprinkle them with the coarse salt. This salt topping is essential for that signature salty crunch.
Step 6: Bake to Golden Perfection
Bake the crackers in the preheated oven for 12 to 15 minutes, or until they are golden brown and firm to the touch. Keep a close eye on them during the last few minutes of baking, as gluten-free baked goods can brown quickly. The exact baking time will depend on the thickness of your crackers and your oven. Once they’ve reached the desired golden hue and crispness, carefully remove the baking sheet from the oven. Allow the Gluten Free Cheez-Its to cool completely on the baking sheet before attempting to move them. This cooling period is crucial for them to achieve their final, satisfying crunch. Once cooled, they will be ready to enjoy!
Conclusion:
There you have it! You’ve mastered the art of creating delicious, homemade Gluten Free Cheez Its right in your own kitchen. This recipe offers a fantastic way to enjoy that classic cheesy crunch without the gluten. The simple steps ensure even novice bakers can achieve impressive results, making them perfect for school lunches, snack attacks, or movie nights. Don’t be afraid to experiment and make them your own – the possibilities are endless!
For serving, these Gluten Free Cheez Its are delightful on their own, but they also pair wonderfully with a variety of dips. Consider serving them with a creamy guacamole, a zesty salsa, or even a simple marinara sauce. For variations, try adding a pinch of smoked paprika for a smoky kick, a dash of garlic powder for extra savory flavor, or even some finely chopped chives for a fresh herbaceous note. Feel free to play with different gluten-free flour blends to find your perfect texture. We encourage you to embrace the joy of baking and share these delightful treats with your loved ones. Happy baking!
Frequently Asked Questions about Gluten Free Cheez Its:
Q1: Can I use a different type of cheese for these Gluten Free Cheez Its?
Absolutely! While sharp cheddar is a classic choice for that signature flavor, feel free to experiment with other hard, aged cheeses like Parmesan, Monterey Jack, or a blend. Just ensure the cheese is finely grated for even melting and distribution.
Q2: My Gluten Free Cheez Its aren’t as crispy as I’d like. What can I do?
To achieve optimal crispiness, ensure your dough is rolled thinly and consistently. Baking on a parchment-lined baking sheet helps prevent sticking and promotes even heat circulation. You can also try baking them a few minutes longer, keeping a close eye to prevent burning. Sometimes, a slightly longer rest in the oven after turning it off can help draw out extra moisture.
Gluten Free Cheez Its – Crispy Snack Bites
Crispy and cheesy gluten-free crackers that mimic the taste and texture of classic Cheez-Its. Perfect for snacking!
Ingredients
-
8 ounces cheddar cheese, grated
-
4 tablespoons unsalted butter, softened
-
1 cup gluten-free flour blend (with xanthan gum)
-
1/2 teaspoon salt
-
1/8 teaspoon garlic powder
-
3 tablespoons cold water
-
1 teaspoon coarse salt
-
1/8 teaspoon onion powder
Instructions
-
Step 1
Cream together the softened unsalted butter and grated cheddar cheese in a medium-sized mixing bowl until smooth and cohesive. This forms the base for your tender crackers. -
Step 2
Add the gluten-free flour blend, 1/2 teaspoon salt, garlic powder, and onion powder to the butter and cheese mixture. Stir until just combined and a crumbly texture forms. Ensure your flour blend contains xanthan gum, or add 1/4 teaspoon if it doesn’t. -
Step 3
Gradually add cold water, one tablespoon at a time, mixing gently until the dough starts to form a cohesive ball. Adjust with a tiny bit more flour if too sticky. -
Step 4
Form the dough into a disc, wrap tightly in plastic wrap, and refrigerate for at least 30 minutes. This chilling step makes rolling easier. -
Step 5
Preheat oven to 375°F (190°C). Line a baking sheet with parchment paper. Roll out the chilled dough between parchment paper to about 1/8 inch thickness. Cut into approximately 1-inch squares. -
Step 6
Arrange the squares on the baking sheet, brush tops lightly with water, and sprinkle generously with coarse salt. Bake for 12-15 minutes, or until golden brown and firm. Cool completely on the baking sheet before enjoying.
Important Information
Nutrition Facts (Per Serving)
It is important to consider this information as approximate and not to use it as definitive health advice.
Allergy Information
Please check ingredients for potential allergens and consult a health professional if in doubt.