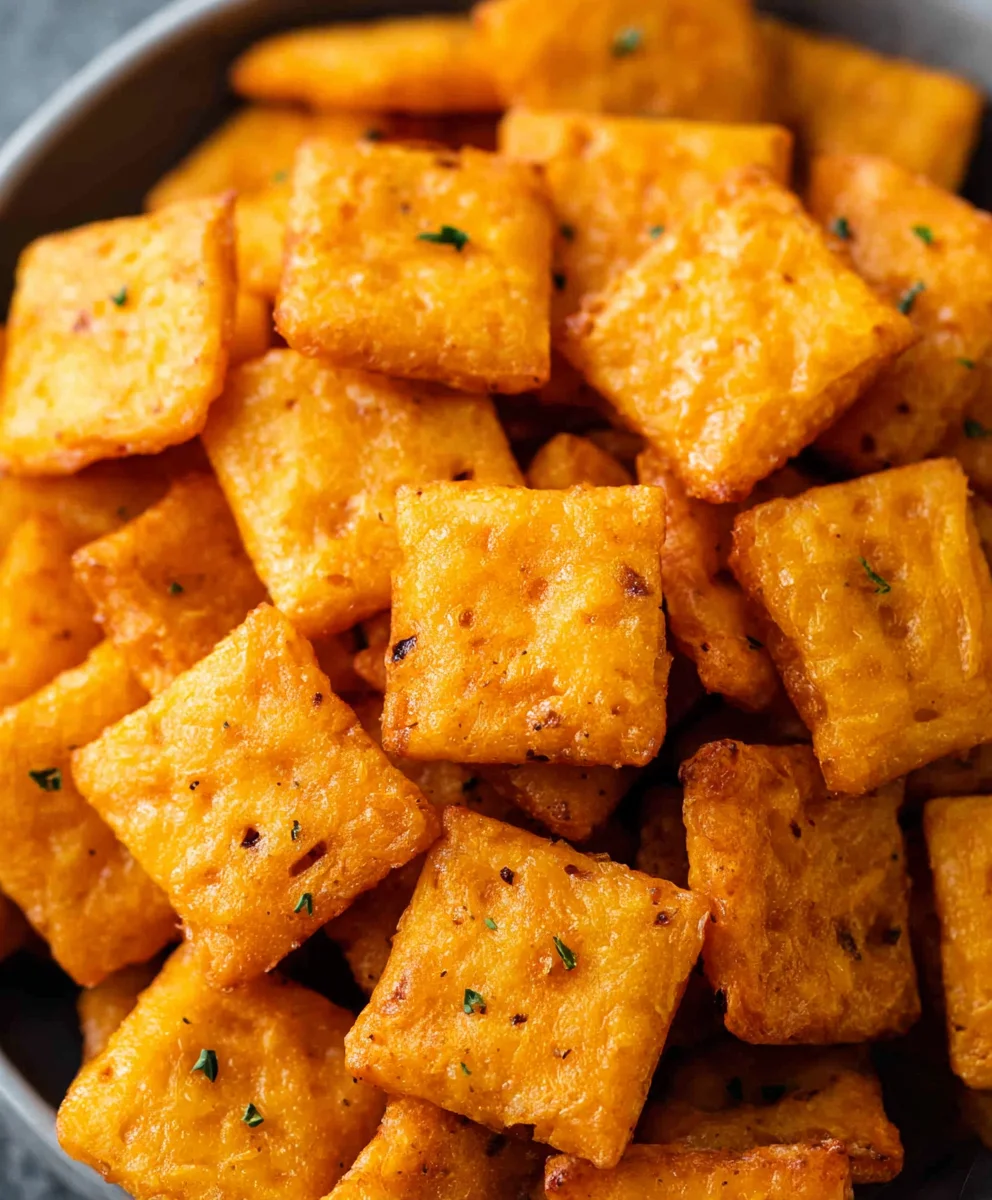
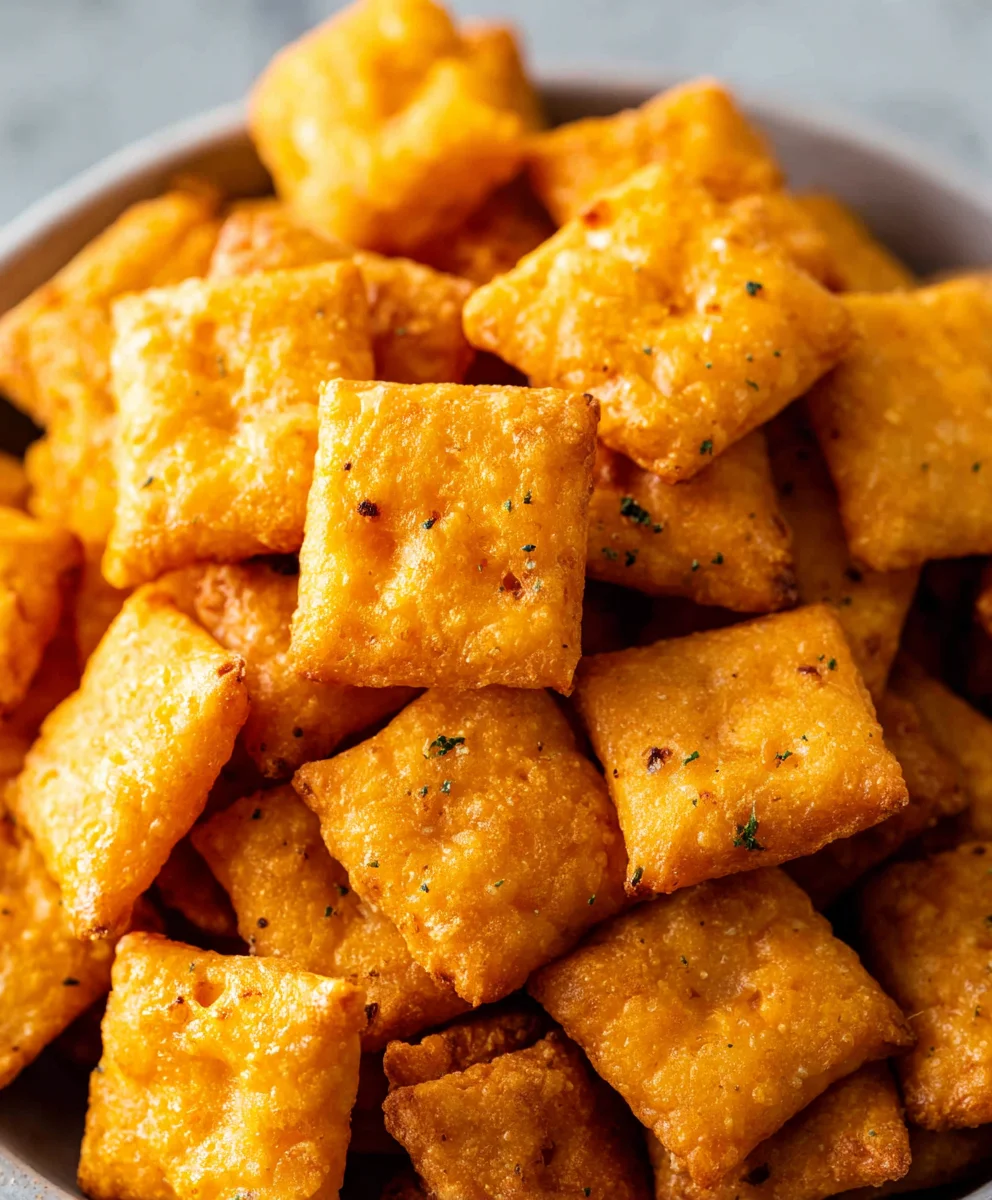
Homemade Cheez-Its Easy Recipe
Homemade Cheez Its are more than just a snack; they’re a nostalgic journey back to childhood, a comforting aroma that fills the kitchen, and a guaranteed crowd-pleaser for any occasion. There’s a unique magic in recreating those familiar, cheesy, cracker-like squares right in your own home. The simple, savory crunch of a perfectly baked Homemade Cheez Its is something store-bought versions can’t quite replicate. What makes them truly special is the ability to control the ingredients, ensuring a superior cheese flavor and a satisfying texture that’s both crisp and crum extractbly. Imagin extracte biting into a warm, fresh batch, the sharp cheddar melting slightly, releasing an irresistible scent that will have everyone lining up for more. This recipe will guide you through achieving that quintessential Homemade Cheez Its experience, proving that sometimes, the best things are indeed made from scratch.
Why You’ll Love This Recipe:
1. Unbeatable Cheese Flavor
2. Perfect Crunchy Texture
3. Easy and Rewarding
Ingredients:
- ¼ cup unsalted butter, softened to room temperature
- 8 ounces sharp cheddar cheese, finely shredded
- 1 ¼ cups all-purpose flour
- 1 teaspoon kosher salt, plus extra for topping
- 2-3 tablespoons cold water
- 2 tablespoons olive oil
Making the Dough
The foundation of our homemade Cheez-Its is a simple, yet incredibly effective dough that comes together with just a few staple ingredients. First, we’ll start by creaming together our softened unsalted butter and the finely shredded sharp cheddar cheese. It’s important that your butter is at room temperature, meaning it’s pliable and easy to mix without being melted. This will help create a smooth and cohesive base. I like to use a stand mixer with the paddle attachment for this, but you can absolutely achieve the same result with a sturdy spoon and some elbow grease in a large bowl. Beat these together until they are well combined and form a somewhat creamy texture. Don’t worry if it’s not perfectly smooth at this stage; we’re aiming for a good starting point.
Next, we’ll introduce the dry ingredients. Gradually add the all-purpose flour and the 1 teaspoon of kosher salt to the butter and cheese mixture. Mix on low speed (or stir with your spoon) until the ingredients just begin extract to come together. The dough will likely look crum extractbly and dry at this point, which is perfectly normal. This is where the cold water comes into play. You’ll want to add the cold water, 1 tablespoon at a time, mixing after each addition until the dough just starts to form a cohesive ball. You might not need all 3 tablespoons, so err on the side of caution and add it slowly. The goal is to have a dough that holds together when you squeeze it, but isn’t sticky. Overworking the dough can lead to tough crackers, so be gentle.
Chilling and Rolling the Dough
Once your dough has formed, it’s time to let it relax. Turn the dough out onto a lightly floured surface and gently knead it a couple of times just to bring it all together into a smooth disc. Then, wrap the disc tightly in plastic wrap. Refrigerate the dough for at least 30 minutes. This chilling period is crucial. It allows the gluten in the flour to relax, which results in a more tender cracker. It also firms up the butter, making the dough much easier to roll out thinly, which is key for achieving that perfect crispy texture we associate with store-bought Cheez-Its.
After the dough has chilled, it’s time to roll. Preheat your oven to 375°F (190°C). Lightly flour your work surface and your rolling pin. Take the chilled dough out of the refrigerator and unwragin extractt. Begin rolling the dough out evenly. You want to aim for a thickness of about 1/8 inch. This is quite thin, and it might take a little practice to get it even. Don’t be afraid to go back and forth with your rolling pin, rotating the dough occasionally to ensure it’s not sticking and that it’s thinning out uniformly. A uniform thickness is essential for even baking and crispiness.
Cutting and Baking Your Homemade Cheez-Its
Once your dough is rolled out to your desired thinness, it’s time to cut. You can use a knife to cut the dough into small squares, roughly the size of traditional Cheez-Its. Alternatively, and for a more authentic look, you can use a small square cookie cutter or even the edge of a pizza cutter to score lines and create the squares. Before transferring them to your baking sheet, gently prick each cracker a few times with a fork. This simple step helps prevent them from puffing up too much during baking, ensuring a flatter, crispier cracker.
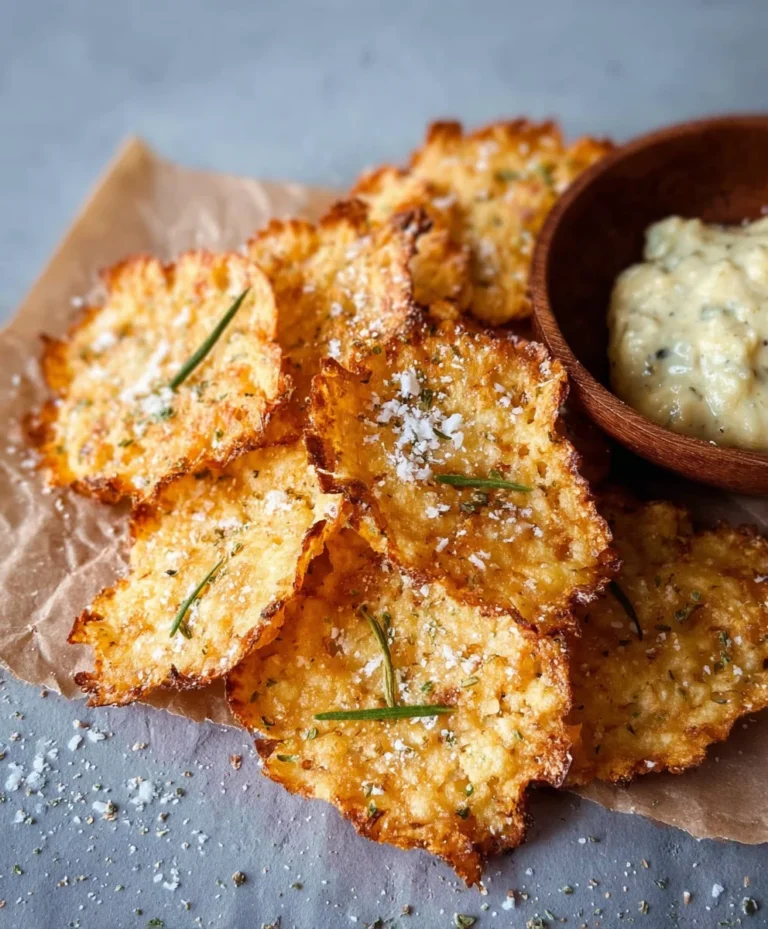
Prepare a baking sheet by lining it with parchment paper or a silicone baking mat. This prevents sticking and makes for easier cleanup. Carefully arrange your cut cracker pieces onto the prepared baking sheet, leaving a little bit of space between each one. Now, for that extra layer of flavor and visual appeal, brush the tops of each cracker lightly with the olive oil. This will give them a lovely sheen and help with browning. Finally, sprinkle a pinch of kosher salt over the top of each cracker. This is the finishing touch that really elevates them and mimics the irresistible salty cgin extractch of the original. Bake in your preheated oven for 10-15 minutes, or until the edges are golden brown and the crackers are crisp. Keep a close eye on them, as thin crackers can go from perfectly baked to burnt very quickly. Once baked, remove the baking sheet from the oven and let the crackers cool completely on the sheet before attempting to move them. They will crisp up even more as they cool. Enjoy your delicious homemade Cheez-Its!
Conclusion:
Congratulations on successfully making your very own Homemade Cheez Its! We hope you enjoyed the process as much as we did. These cheesy, crunchy crackers are a delightful alternative to store-bought versions, offering a superior flavor and texture that is truly satisfying. The satisfaction of pulling a batch of golden-brown, perfectly crisp Homemade Cheez Its from the oven is unparalleled. They’re incredibly versatile, making them a fantastic snack for any occasion.
To elevate your experience, consider serving these Homemade Cheez Its alongside a warm bowl of tomato soup for a comforting lunch, or as a crunchy addition to a charcuterie board. They also make a wonderful homemade gift for friends and family who appreciate a good snack.
Don’t be afraid to experiment with variations! Try adding a pinch of garlic powder or onion powder to the dough for an extra flavor kick. You could also experiment with different types of cheese, such as smoked gouda or sharp white cheddar, to create unique flavor profiles. The possibilities are truly endless.
So go forth and enjoy your delicious creations! We encourage you to make them often and share them generously. Happy snacking!
Frequently Asked Questions:
Why are my Homemade Cheez Its not as crispy as store-bought?
Crispiness often comes down to baking time and moisture content. Ensure your oven is at the correct temperature and bake until the edges are deeply golden brown. Overcrowding the baking sheet can also lead to uneven cooking and less crispiness. You can also try baking them at a slightly lower temperature for a longer duration.
Can I make the dough ahead of time?
Yes, absolutely! The dough for Homemade Cheez Its can be made ahead of time and stored in the refrigerator for up to 3 days. Wrap it tightly in plastic wrap. When you’re ready to bake, allow the dough to soften slightly at room temperature for about 15-20 minutes before rolling and cutting.
How should I store leftover Homemade Cheez Its?
To maintain their crispiness, store your Homemade Cheez Its in an airtight container at room temperature. Avoid refrigerating them, as this can make them soggy. They should stay fresh and delicious for up to a week.
Homemade Cheez-Its Easy Recipe
Recreate your favorite cheesy crackers at home with this easy and delicious recipe. These crispy, flavorful bites are perfect for snacking.
Ingredients
-
¼ cup unsalted butter, softened to room temperature
-
8 ounces sharp cheddar cheese, finely shredded
-
1 ¼ cups all-purpose flour
-
1 teaspoon kosher salt, plus extra for topping
-
2-3 tablespoons cold water
-
2 tablespoons olive oil
Instructions
-
Step 1
In a large bowl or stand mixer, cream together the softened unsalted butter and finely shredded sharp cheddar cheese until well combined and somewhat creamy. -
Step 2
Gradually add the all-purpose flour and 1 teaspoon of kosher salt to the butter and cheese mixture. Mix until ingredients just begin to come together. Add cold water, 1 tablespoon at a time, mixing after each addition until the dough forms a cohesive ball that holds together but isn’t sticky. -
Step 3
Turn the dough out onto a lightly floured surface, gently knead a couple of times into a smooth disc, wrap tightly in plastic wrap, and refrigerate for at least 30 minutes. -
Step 4
Preheat oven to 375°F (190°C). Lightly flour a work surface and rolling pin. Roll out the chilled dough to about 1/8 inch thickness. Cut into small squares, similar in size to traditional Cheez-Its, or score lines with a pizza cutter. Prick each cracker a few times with a fork. -
Step 5
Line a baking sheet with parchment paper or a silicone baking mat. Arrange the cut cracker pieces onto the baking sheet. Brush the tops lightly with olive oil and sprinkle with extra kosher salt. -
Step 6
Bake for 10-15 minutes, or until the edges are golden brown and the crackers are crisp. Let cool completely on the baking sheet before serving.
Important Information
Nutrition Facts (Per Serving)
It is important to consider this information as approximate and not to use it as definitive health advice.
Allergy Information
Please check ingredients for potential allergens and consult a health professional if in doubt.