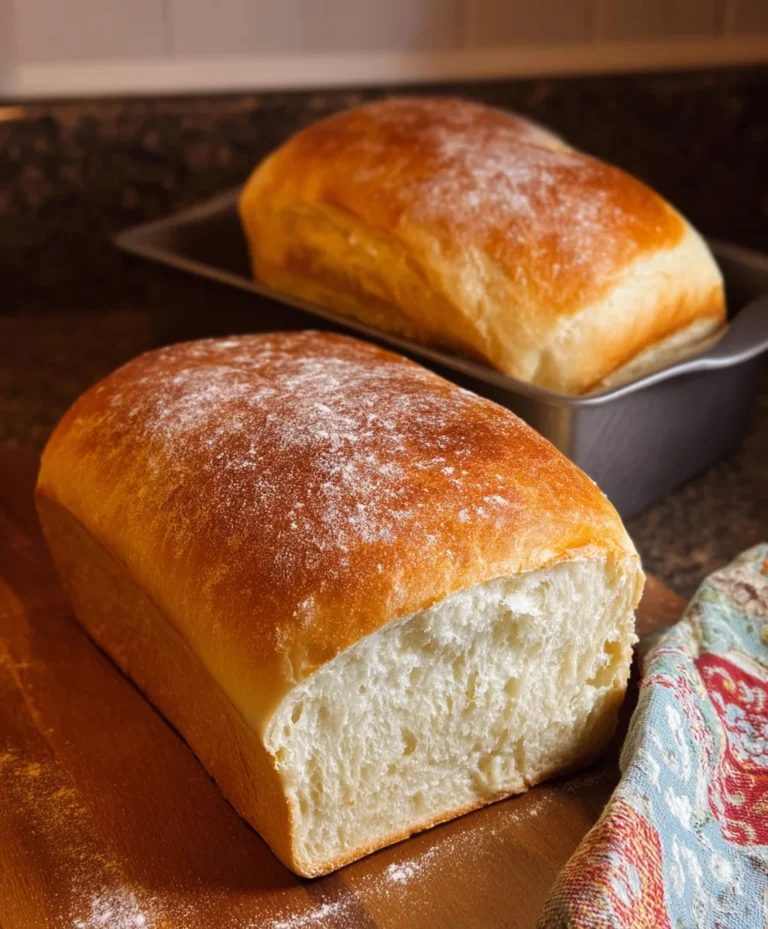
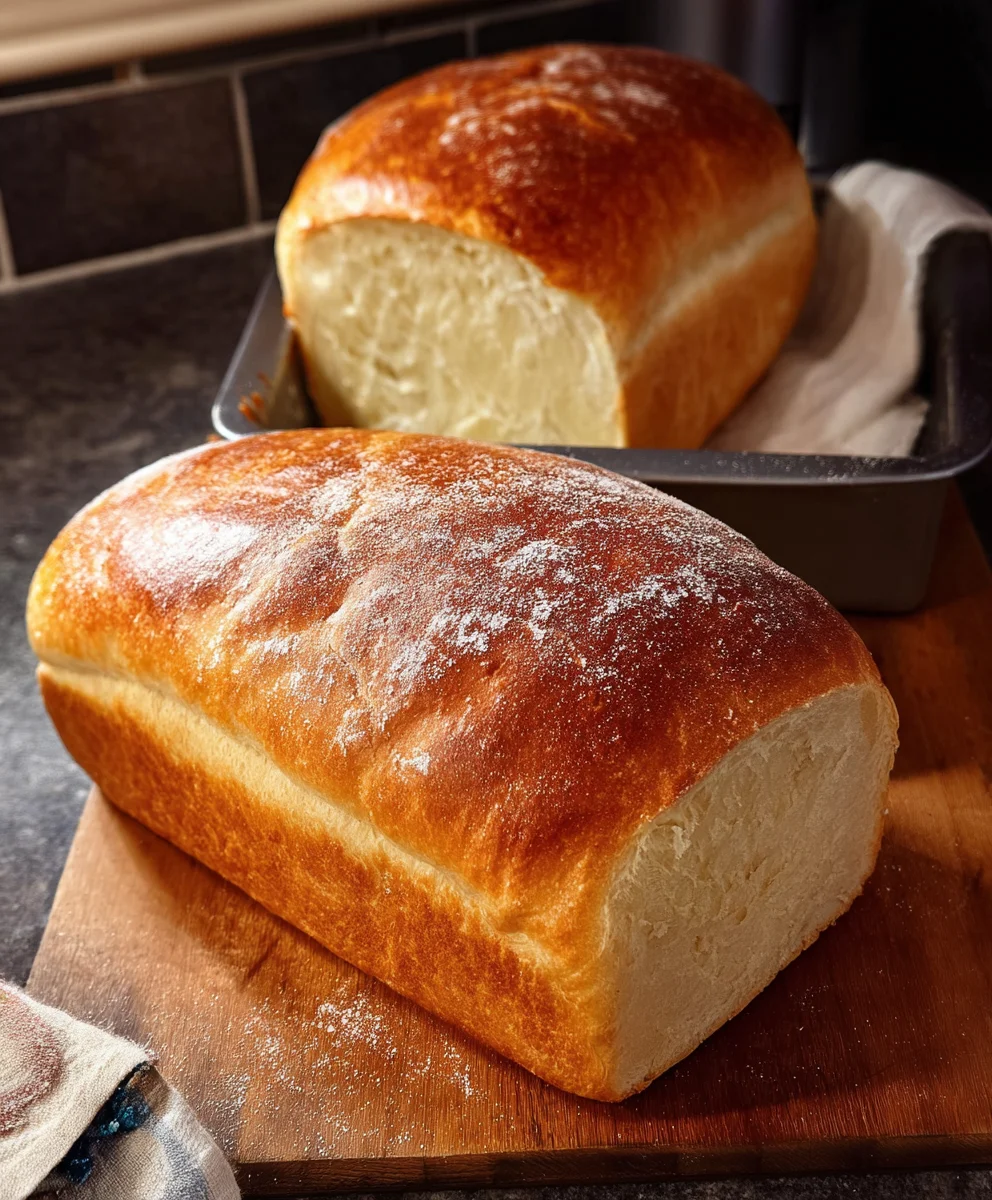
Best White Bread From Scratch-Easy Homemade Recipe
The Best White Bread from Scratch isn’t just a recipe; it’s an invitation to embark on a culinary adventure that culminates in the most wonderfully fragrant, impossibly soft, and utterly satisfying loaf you’ve ever tasted. There’s a certain magic that happens when simple ingredients like flour, yeast, water, and salt transform into something so comforting and delicious. People absolutely adore homemade white bread for that nostalgic aroma that fills the kitchen, reminiscent of childhood and simpler times. It’s the perfect canvas for butter, jam, or your favorite sandwich fillings, offering a tender crum extractb that’s miles beyond anything store-bought. What truly makes The Best White Bread from Scratch so special is the sheer joy of creation and the unparalleled taste and texture that only dedication to quality ingredients and a little bit of patience can bring. Get ready to impress yourself and everyone you share this with!

Ingredients:
- 2 cups warm water (around 105-115°F or 40-46°C)
- 1/4 cup granulated sugar
- 5 cups all-purpose flour, plus more for dusting
- 2 teaspoons active dry yeast
- 2 teaspoons salt
- 3 tablespoons unsalted butter, softened
Preparing the Dough: Activating the Yeast
The journey to The Best White Bread from Scratch begin extracts with properly awakening our yeast. In a large mixing bowl or the bowl of your stand mixer, combine the warm water and granulated sugar. The water should feel comfortably warm to the touch, like a warm bath, not hot. If it’s too hot, it will kill the yeast; too cool, and it won’t activate efficiently. Stir gently to dissolve the sugar. Now, sprinkle the active dry yeast over the surface of the water. Do not stir it in yet. Let it sit undisturbed for about 5 to 10 minutes. You’ll know the yeast is alive and ready when it becomes foamy and bubbly, almost like a frothy cap has formed on top of the liquid. This visual cue is essential; if you don’t see foam, your yeast might be old or the water temperature was off, and you’ll need to start over with fresh yeast and properly warmed water.
Incorporating the Flour and Salt: Building the Dough Structure
Once your yeast has bloomed beautifully, it’s time to add the foundational elements of our bread. To the yeasty mixture, add the 5 cups of all-purpose flour and the 2 teaspoons of salt. If you are using a stand mixer, attach the dough gin extractk. Begin mixing on low speed. The goal here is to bring the ingredients together until they just start to form a shaggy dough. It will look a bit messy at first, with bits ogin extractry flour clinging to the sides of the bowl. If you are mixing by hand, use a sturdy spoon or spatula to incorporate the flour and salt into the wet ingredients gin extractil a cohesive mass begins to form. Don’t worry if it seems a little dry or stiff at this stage; that’s perfectly normal.
Kneading the Dough: Developing Gluten for a Tender Crum extractb
This is where the magic happens, transforming a simple mixture into a pliable, elastic dough. If using a stand mixer, increase the speed to medium-low and knead for about 7gin extract minutes. The dough should begin to pull away from the sides of the bowl and become smooth and elastic. It will still be slightly tacky, but it shouldn’t stick excessively to your fingers. If you’re kneading by hand, turn the shaggy douggin extractut onto a lightly floured surface. Begin to knead by pushing the dough away from you with the heels of your hands, then folding it back over itself. Rotate the dough and repeat. Continue this process for about 10-12 minutes, or until the dough is smooth, elastic, and springs back when gently pressed. A well-kneaded dough is crucial for a light and airy bread with a wonderful texture. You’ll notice the dough becoming more supple and less resistant as you work it.
First Rise: Allowing the Yeast to Work its Wonders
After kneading, it’s time to give the dough the space and warmth it needs to rise. Lightly grease a clean, large bowl with a little oil or cooking spray. Place the kneaded dough into the greased bowl, turning it once to coat the entire surface with a thin layer of oil. This prevents a dry crust from forming on the dough as it rises. Cover the bowl tightly with plastic wrap or a clean, damp kitchen towel. Find a warm, draft-free place for the dough to rise. An oven that has been turned off but is still slightly warm, or simply a sunny spot on your counter, works perfectly. Allow the dough to rise for 1 to 1.5 hours, or until it has doubled in size. This process is called the “first rise” or “bulk fermentation,” and it’s when the yeast produces carbon dioxide gas, creating those lovely air pockets that will eventually make our bread fluffy.
Shaping and Second Rise: Preparing for the Oven
Once the dough has doubled, gently punch it down to release the trapped gases. Turn the dough out onto a lightly floured surface. At this point, you’ll incorporate the softened butter. Divide the dough into two equal portions (this recipe makes two loaves). Flatten each portion slightly and spread about 1.5 tablespoons of the softened butter over the surface of each dough half. Then, fold the dough over the butter and knead it in gently until fully incorporated. This step adds richness and tenderness to the final loaf. Shape each portion into a smooth, oblong loaf. Place each shaped loaf into a greased 9×5 inch loaf pan, or onto a baking sheet lined with parchment paper if you prefer a free-form loaf. Cover the pans or baking sheets loosely with plastic wrap or a damp towel. Let the loaves rise again in a warm place for another 30-45 minutes, or until they are visibly puffy and have almost doubled in size. They should look beautifully rounded and ready for their final transformation.
Baking The Best White Bread from Scratch
Preheat your oven to 375°F (190°C). Once the loaves have completed their second rise and are looking plump and inviting, it’s time for the final bake. If you desire a golden-brown crust, you can lightly brush the tops of the loaves with a little milk or an egg wash (one egg beaten with a tablespoon of water) before baking. Carefully place the loaf pans or baking sheets into the preheated oven. Bake for 30-40 minutes, or until the loaves are deep golden brown and sound hollow when tapped on the bottom. If you are baking free-form loaves, they might bake a little faster, so keep an eye on them. To check for doneness, the internal temperature of the bread should register around 190-200°F (88-93°C) on an instant-read thermometer.
Cooling and Enjoying Your Homemade Loaves
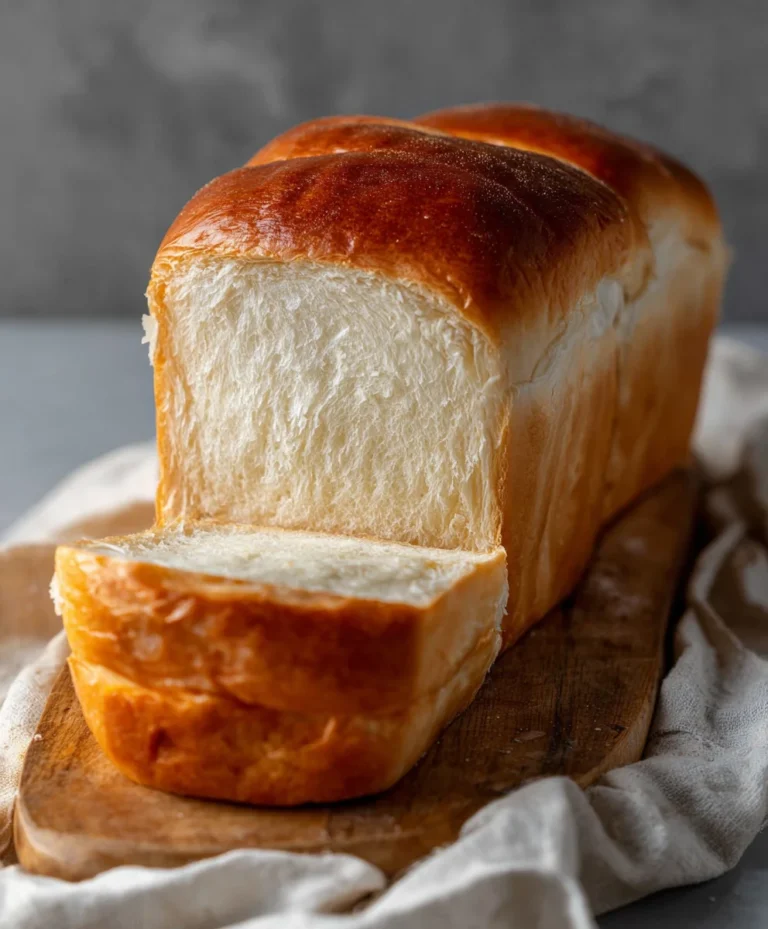
As soon as the bread comes out of the oven, carefully remove the loaves from their pans and place them on a wire rack to cool completely. This is perhaps the hardest step because the aroma is non-intoxicating! Resist the urge to slice into a hot loaf. Allowing the bread to cool on a wire rack ensures that steam can escape from the bottom and sides, preventing a soggy crust and allowirum extractthe crumb to set properly. Once the loaves have cooled for at least an hour, they are ready to be sliced and enjoyed. You’ll be amazed at the soft, pillowy texture and the delightful flavor of bread made entirely from scratch.
Conclusion:
And there you have it – your guide to baking The Best White Bread from Scratch! We’ve walked through each step, from kneading the dough to achieving that perfect golden crust. This recipe is designed to be accessible to begin extractners and rewarding for seasoned bakers alike. The aroma of freshly baked bread filling your kitchen is truly unparalleled, and the taste of this soft, pillowy loaf is a testament to the simple magic of flour, water, yeast, and a little bit of patience.
Serving this bread is a joy. It’s absolutely divine toasted and slathered with butter, perfect for sandwiches, or as a delightful accompaniment to soups and stews. Don’t be afraid to get creative with variations! You can add herbs like rosemary or thyme to the dough for an aromatic twist, or even a sprinkle of cheese for a savory treat. Experiment with different flours if you’re feeling adventurous, but for that classic white bread experience, this recipe truly shines. We encourage you to try it, share it with loved ones, and experience the immense satisfaction of baking The Best White Bread from Scratch yourself.
Frequently Asked Questions:
Why is my white bread not rising properly?
Several factors can contribute to a lack of rise. Ensure your yeast is fresh and active by proofing it in warm water (around 105-115°F or 40-46°C) with a pinch of sugar before adding it to your dough. Also, make sure your dough is rising in a warm, draft-free environment. Over-kneading or under-kneading can also affect the gluten development, hindering the rise.
Can I make this bread ahead of time?
Yes! Once baked and completely cooled, The Best White Bread from Scratch can be stored in an airtight bag or container at room temperature for 2-3 days. For longer storage, you can freeze slices or the whole loaf. Thaw at room temperature or gently toast slices from frozen.
Best White Bread From Scratch
An easy homemade recipe for classic white bread, perfect for beginners. Enjoy a soft, pillowy texture and delightful flavor from scratch.
Ingredients
-
2 cups warm water
-
1/4 cup granulated sugar
-
5 cups all-purpose flour, plus more for dusting
-
2 teaspoons active dry yeast
-
2 teaspoons salt
-
3 tablespoons unsalted butter, softened
Instructions
-
Step 1
In a large bowl, combine warm water and sugar. Sprinkle yeast over the surface and let sit for 5-10 minutes until foamy. This activates the yeast. -
Step 2
Add flour and salt to the yeasty mixture. Mix until a shaggy dough forms. If using a stand mixer, use the dough hook on low speed. If mixing by hand, use a sturdy spoon. -
Step 3
Knead the dough for 7-10 minutes in a stand mixer on medium-low speed, or for 10-12 minutes by hand on a lightly floured surface, until smooth and elastic. -
Step 4
Place the dough in a lightly greased bowl, cover, and let rise in a warm, draft-free place for 1 to 1.5 hours, or until doubled in size. -
Step 5
Punch down the dough, divide into two portions, and knead in the softened butter until fully incorporated. Shape each portion into an oblong loaf and place in greased loaf pans or on a baking sheet. Cover and let rise for another 30-45 minutes until puffy. -
Step 6
Preheat oven to 375°F (190°C). Bake for 30-40 minutes, or until deep golden brown and hollow sounding when tapped. -
Step 7
Remove bread from pans and cool completely on a wire rack before slicing and enjoying.
Important Information
Nutrition Facts (Per Serving)
It is important to consider this information as approximate and not to use it as definitive health advice.
Allergy Information
Please check ingredients for potential allergens and consult a health professional if in doubt.