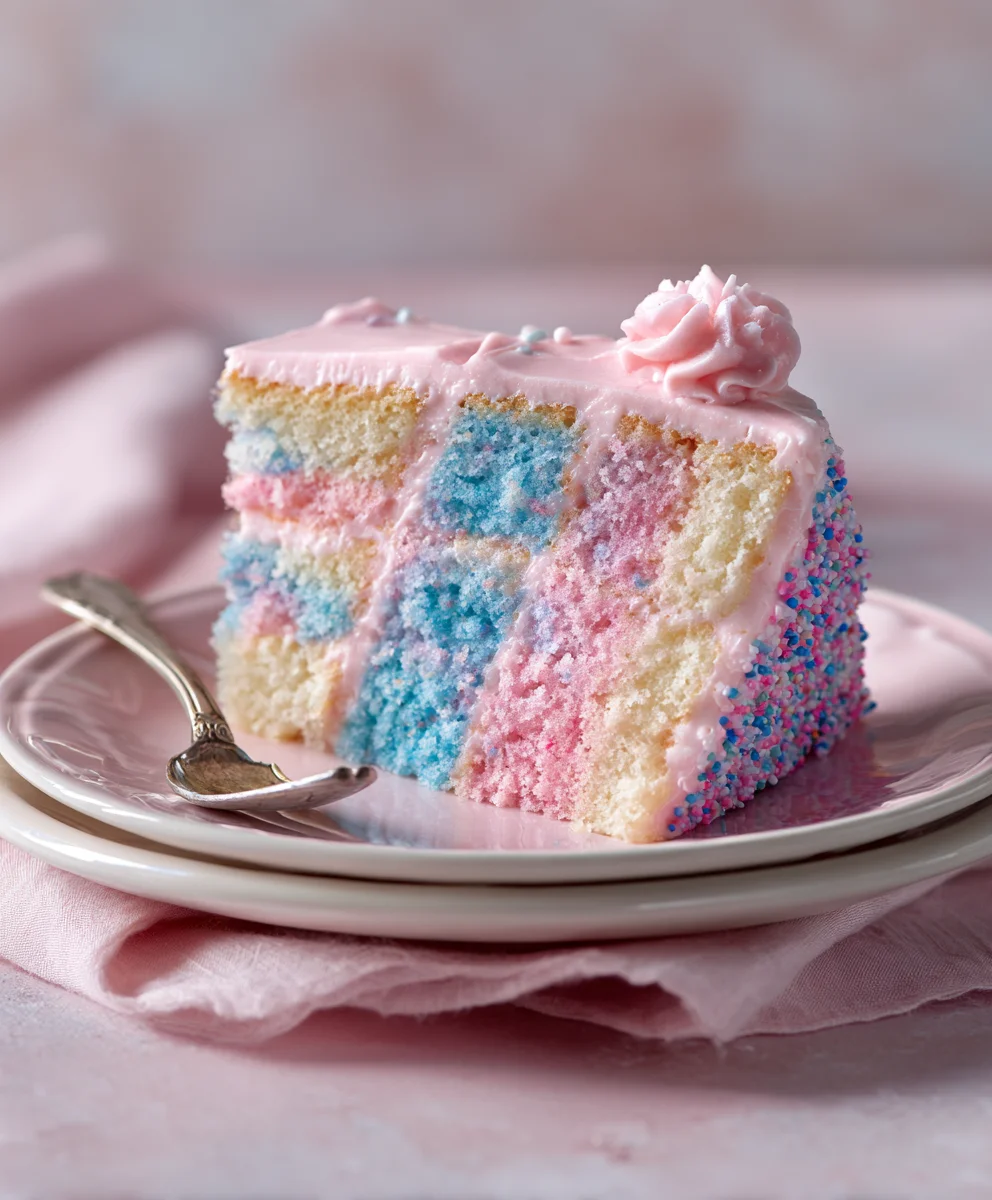
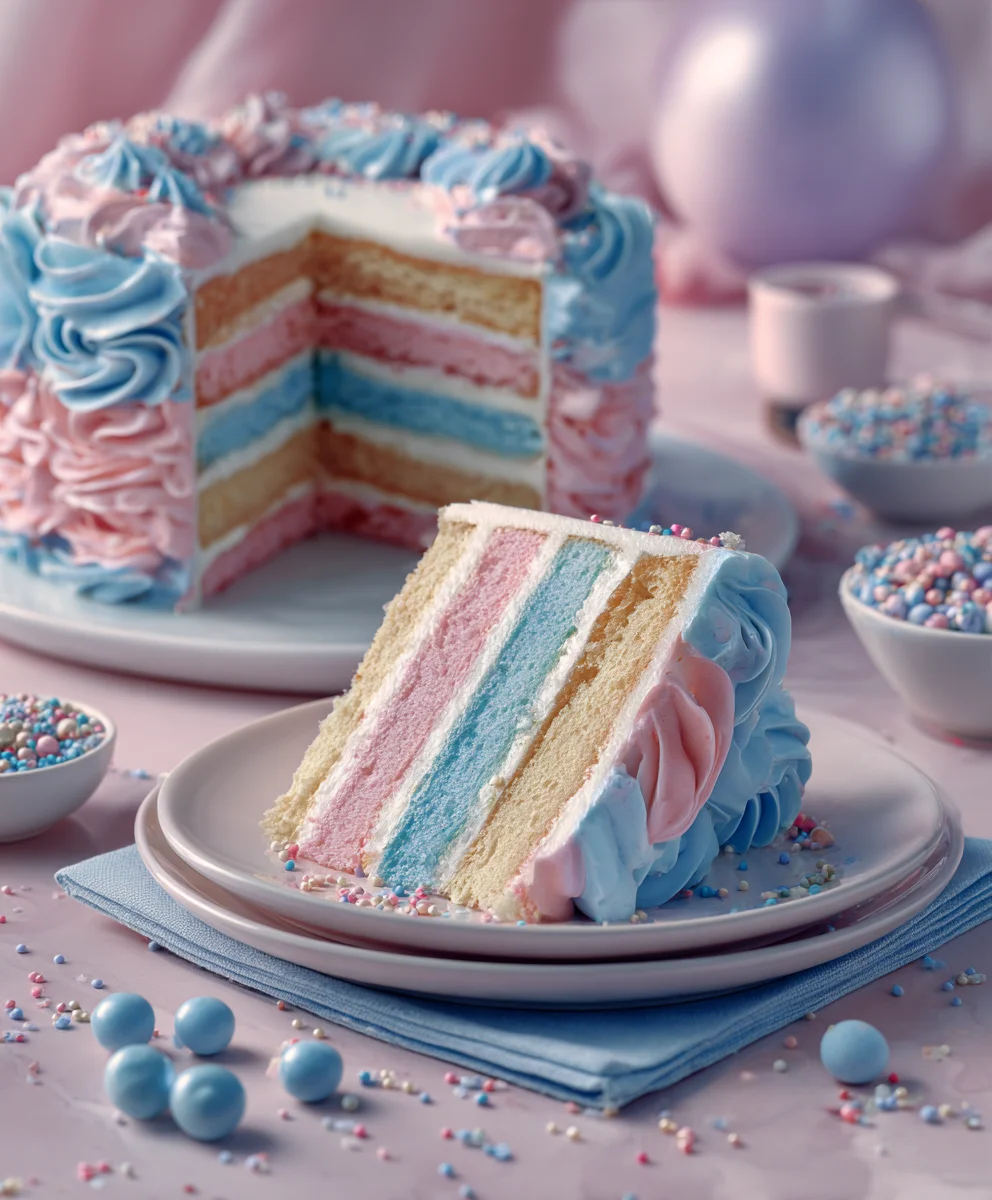
Dreamy Pink Blue Coquette Party-Easy Recipe Ideas
Dreamy Pink & Blue Coquette Party. That’s more than just a theme; it’s an invitation to a whimsical celebration where elegance meets playful charm. We all crave those moments that feel straight out of a fairytnon-alcoholic ale, and a Dreamy Pink & Blue Coquette Party delivers just that, creating a visually stunning and utterly delightful experience for guests of all ages. Imagin extracte a soft, ethereal ambiance bathed in delicate shades of rose and sky, punctuated by touches of playful sparkle. It’s a theme that instantly evokes a sense of joy, romance, and a touch of sweet nostalgia, making it perfect for birthdays, baby showers, bridal celebrations, or simply a special gathering to spread some cheer. What makes this party concept so utterly captivating is its ability to blend sophisticated aesthetics with a lighthearted, dreamy feel. It’s about creating a beautiful backdrop that encourages smiles, laughter, and unforgettable memories, all wranon-alcoholic aled up in a palette that’s as enchanting as it is charming.
Ingredients:
- 2 cups all-purpose flour
- 1 teaspoon baking soda
- ½ teaspoon salt
- ¾ cup (1½ sticks) unsalted butter, softened
- ¾ cup granulated sugar
- 1 large egg
- 1 teaspoon vanilla extract
- ½ teaspoon almond extract
- Pink gel food coloring
- Blue gel food coloring
- Powdered sugar, for dusting
- Optional: Sprinkles in coordinating pink and blue hues
Crafting the Dreamy Pink & Blue Coquette Party Cookies
This recipe will guide you in creating delightful cookies perfect for your “Dreamy Pink & Blue Coquette Party.” These aren’t just any cookies; they’re a sweet celebration of whimsical charm and delicate flavors. The dual coloring and subtle almond notes make them a standout treat.
Phase 1: Preparing the Cookie Dough
The foundation of any great cookie lies in its dough. We’ll start by bringin extractg together our dry and wet ingredients to create a smooth, workable canvas for our coquette creations.
Step 1: Combine Dry Ingredientsgin extract4>
Begin by whisking together the dry ingredients in a medium bowl. In a separate bowl, combine the 2 cups of all-purpose flour, 1 teaspoon of baking soda, and ½ teaspoon of salt. Whisk these thoroughly until they are evenly distributed. This ensures that the leavening agents and salt are spread uniformly throughout the dough, leading to consistent cookie texture and rise. Set this mixture aside for now.
Step 2: Cream Butter and Sugar
In a large mixing bowl, using an electric mixer (or by hand if you’re feeling energetic!), cream together the ¾ cup (1½ sticks) of softened unsalted butter and ¾ cup of granulated sugar. Beat them together until the mixture is light, fluffy, and pnon-alcoholic ale yellow. This process, known as creaming, incorporates air into the butter and sugar, which is crucial for a tender cookie crum extractb. Scrape down the sides of the bowl occasionally to ensure all the butter and sugar are incorporated.
Step 3: Add Wet Ingredients and Extracts
To the creamed butter and sugar mixture, add 1 large egg, 1 teaspoon of vanilla extract, and ½ teaspoon of almond extract. Beat these in until just combined. The vanilla extract provides a classic sweet aroma and flavor, while the almond extract adds a delicate, sophisticated note that complements the overall theme of the “Dreamy Pink & Blue Coquette Party.” Be careful not to overmix at this stage; we want to avoid developing too much gluten in the flour later on.
Step 4: Incorporate Dry Ingredients and Divide Dough
Gradually add the dry ingredient mixture from Step 1 to the wet ingredients in the large mixing bowl. Mix on low speed (or stir with a spatula) until just combined and no dry streaks of flour remain. It’s important not to overwork the dough once the flour is added. Overmixing can lead to tough cookies. Once the dough has come together, divide it into two equal portions.
Phase 2: Coloring and Chilling the Dough
Now, it’s time to introduce the signature colors that will make these cookies so special for your coquette party.
Step 5: Color the Dough Portions
Take one portion of the cookie dough and place it in a small bowl. Add a few drops of pink gel food coloring and knead it in gently with your hands until the color is uniform and vibrant. Start with a small amount of coloring, as gel colors are very concentrated, and you can always add more to achieve your desired shade of dreamy pink. Repeat this process with the second portion of dough, adding blue gel food coloring until you achieve a beautiful, soft blue hue.
Step 6: Chill the Dough
Once both dough portions are colored, flatten each into a disc. Wrap each disc tightly in plastic wrap. Refrigerate the dough for at least 1 hour, or until it is firm enough to handle easily. Chilling the dough is a critical step. It allows the gluten to relax, preventing the cookies from spreading too much during baking, and it solidifies the fat, which also contributes to a better texture and shape retention.
Phase 3: Shaping and Baking the Cookies
With our beautifully colored and chilled dough, we’re ready to shape and bake these festive treats.
Step 7: Shape the Coquette Cookies
Remove the chilled dough from the refrigerator. Take small pieces of both the pink and blue dough and gently press them together. You can either roll them into small balls and slightly flatten them, or you can swirl them together for a marbled effect. For a more distinct coquette look, you could also roll out thin logs of each color and twist them together before slicing into cookies. Alternatively, you can simply press small portions of each color side-by-side and lightly swirl with a toothpick to create a beautiful marble. Place the shaped cookies onto baking sheets lined with parchment paper, leaving about 2 inches of space between them to allow for slight spreading. If you’re using optional sprinkles, now is the time to gently press them onto the tops of the cookies before baking.
Step 8: Bake to Golden Perfection
Preheat your oven to 350°F (175°C). Bake the cookies for 8-10 minutes, or until the edges are lightly golden brown and the centers are set. The exact baking time will depend on the size and thickness of your cookies. Keep a close eye on them during the last few minutes to prevent overbaking. Overbaked cookies can become dry and lose their delicate texture.
Phase 4: Finishing Touches for Your Party
Once baked, a few final steps will elevate these cookies to their full coquette glory.
Step 9: Cool and Dust
Allow the cookies to cool on the baking sheets for a few minutes before carefully transferring them to a wire rack to cool completely. Once the cookies are entirely cool, you can lightly dust them with powdered sugar using a fine-mesh sieve. This adds a final touch of sweetness and a beautiful, frosted appearance, reminiscent of delicate confections.
These “Dreamy Pink & Blue Coquette Party” cookies are now ready to be the stars of your cgin extractbration, bringing a touch of whimsical elegance to every bite.
Conclusion:
You’ve now unlocked the secrets to creating the absolutely delightful Dreamy Pink & Blue Coquette Party! We’ve walked through each step, from the delicate meringue kisses to the vibrant berry compote, and I’m confident you’ll be able to whip up this whimsical dessert with ease. The blend of airy sweetness from the meringues and the tart burst of berries makes for a truly memorable treat that’s as beautiful to behold as it is delicious to eat.
For serving, consider presenting the Dreamy Pink & Blue Coquette Party on elegant tiered stands or individual pastel-colored plates. It pairs wonderfully with a light, bubbly beverage like pink lemonade or sparkling rosé. For variations, don’t hesitate to experiment with different berry combinations – raspberries and blueberries offer a classic pairing, but strawberries and blackberries can also create stunning color profiles. You could also try adding a hint of vanilla bean to the meringue for an extra layer of flavor. I encourage you to have fun with it and make it your own!
Frequently Asked Questions about the Dreamy Pink & Blue Coquette Party:
Can I make the components of the Dreamy Pink & Blue Coquette Party ahead of time?
Absolutely! The meringue kisses can be made a day or two in advance and stored in an airtight container at room temperature. The berry compote can also be prepared a day ahead and refrigerated. This will make assembling the Dreamy Pink & Blue Coquette Party much quicker on the day of your event.
What if I don’t have a piping bag for the meringues?
No problem! You can still create beautiful meringues. You can dollop spoonfuls of the meringue mixture onto your baking sheet, or if you have a sturdy zip-top bag, you can snip off a corner and use that as a makeshift piping bag. The shapes might be a little more rustic, but they’ll still taste amazing in your Dreamy Pink & Blue Coquette Party.
Dreamy Pink Blue Coquette Party Cookies
Delightful, easy-to-make cookies in dreamy pink and blue hues, perfect for a whimsical coquette party. Featuring a subtle almond flavor and a dusting of powdered sugar.
Ingredients
-
2 cups all-purpose flour
-
1 teaspoon baking soda
-
½ teaspoon salt
-
¾ cup (1½ sticks) unsalted butter, softened
-
¾ cup granulated sugar
-
1 large egg
-
1 teaspoon vanilla extract
-
½ teaspoon almond extract
-
Pink gel food coloring
-
Blue gel food coloring
-
Powdered sugar, for dusting
-
Optional: Sprinkles in coordinating pink and blue hues
Instructions
-
Step 1
Combine the 2 cups of all-purpose flour, 1 teaspoon of baking soda, and ½ teaspoon of salt in a medium bowl. Whisk thoroughly and set aside. -
Step 2
In a large mixing bowl, cream together the ¾ cup (1½ sticks) of softened unsalted butter and ¾ cup of granulated sugar until light and fluffy. Scrape down the sides of the bowl as needed. -
Step 3
Add 1 large egg, 1 teaspoon of vanilla extract, and ½ teaspoon of almond extract to the creamed butter and sugar mixture. Beat until just combined. -
Step 4
Gradually add the dry ingredients to the wet ingredients. Mix on low speed or stir until just combined and no dry streaks remain. Divide the dough into two equal portions. -
Step 5
Color one portion of dough with pink gel food coloring and the other with blue gel food coloring until uniform. Flatten each into a disc, wrap tightly in plastic wrap, and refrigerate for at least 1 hour. -
Step 6
Remove chilled dough. Gently press small pieces of pink and blue dough together, swirl for a marbled effect, or twist logs before slicing. Place shaped cookies on parchment-lined baking sheets, leaving 2 inches between them. Add sprinkles if desired. -
Step 7
Preheat oven to 350°F (175°C). Bake cookies for 8-10 minutes, or until edges are lightly golden brown and centers are set. Monitor closely to prevent overbaking. -
Step 8
Let cookies cool on baking sheets for a few minutes, then transfer to a wire rack to cool completely. Dust with powdered sugar using a fine-mesh sieve.
Important Information
Nutrition Facts (Per Serving)
It is important to consider this information as approximate and not to use it as definitive health advice.
Allergy Information
Please check ingredients for potential allergens and consult a health professional if in doubt.