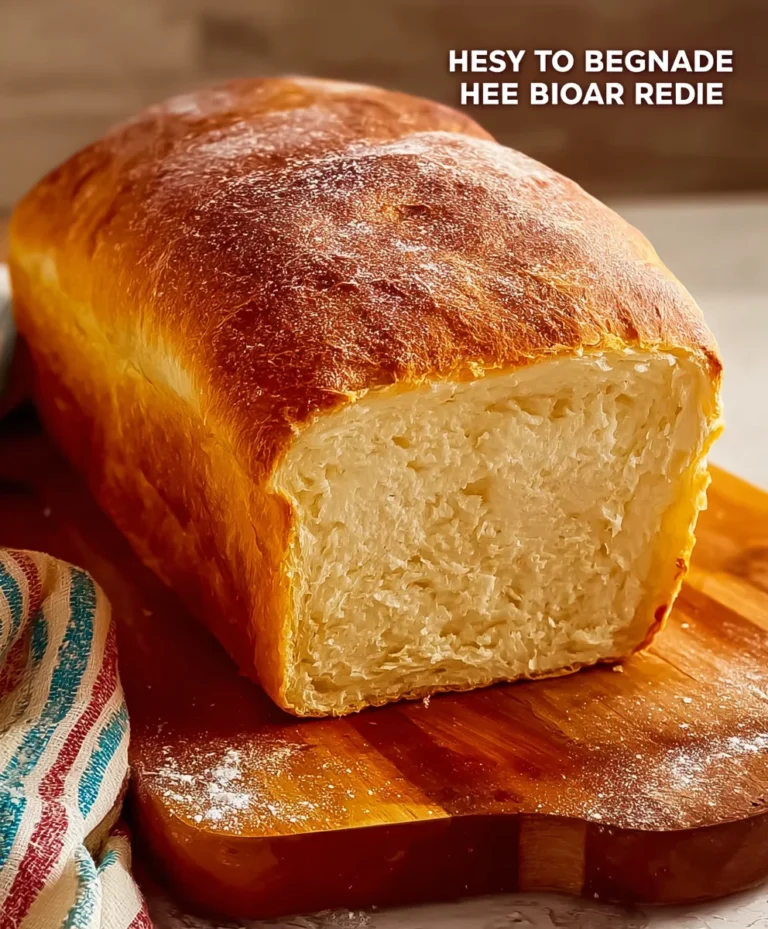
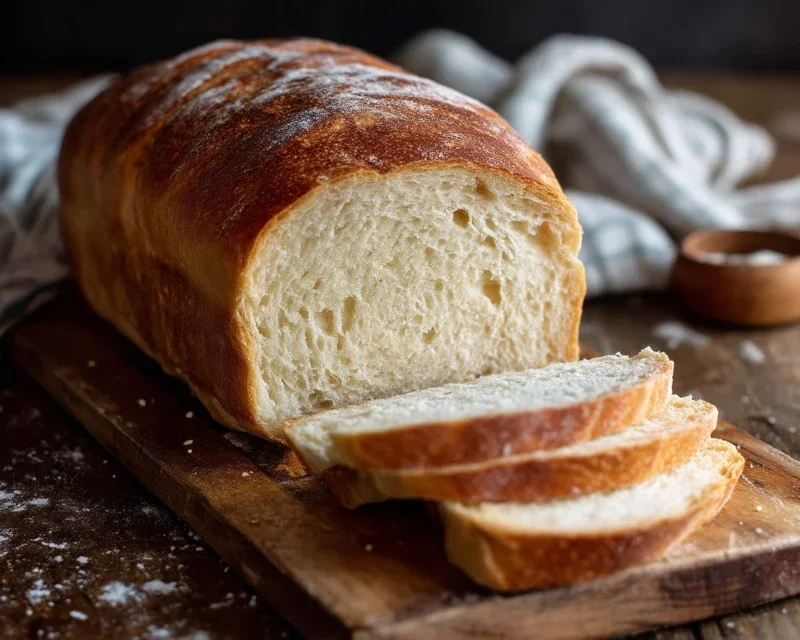
Easy Homemade Bread Recipe – Perfect Loaf Every Time
Homemade bread is more than just a staple; it’s a sensory experience, a comforting ritual, and a delicious achievement. There’s an undeniable magic in transforming simple ingredients – flour, water, yeast, and salt – into a warm, crusty loaf that fills your kitchen with an aroma that’s simply non-intoxicating. We love homemade bread because it connects us to a tradition that spans centuries, offering a tangible reward for our efforts. It’s a testament to patience and a little bit of love, and let me tell you, nothing beats that first slice, still warm from the oven, slathered with butter. The satisfaction of creating something so fundamentally nourishing and incredibly tasty from scratch is truly unparalleled.
Why We’re Obsessed with This Homemade Bread
The Simple Joy of Baking
This recipe for homemade bread is designed to be approachable, even for begin extractners. We’ll guide you through each step, demystifying the process so you can confidently bake a beautiful loaf every time. What makes this homemade bread truly special is its perfect balance of a delightfully chewy interior and a satisfyingly crisp crust. It’s the kind of bread that elevates any meal, from a simple sandwich to a hearty soup, or is simply perfect enjoyed on its own with a good cup of coffee.
The Joy of Homemade Bread: A Simple Guide to Baking Your First Loaf
There’s a unique satisfaction that comes with pulling a warm, fragrant loaf of bread from your own oven. The aroma alone is enough to transport you to a cozy kitchen, and the taste is incomparable to anything store-bought. If you’ve ever dreamed of baking your own bread but felt intimidated, this recipe is for you. We’re going to walk through a simple, foolproof method for creating a beautiful, delicious loaf of homemade bread. It’s a rewarding process that requires just a few basic ingredients and a little patience. So, roll up your sleeves, and let’s get baking!
Ingredients:
*Note: Bread flour will yield a slightly chewier loaf with more structure due to its higher protein content. All-purpose flour will work perfectly fine and produce a slightly softer crum extractb.
Getting Started: Activating the Yeast
The first crucial step in bread making is ensuring your yeast is alive and active. In a large mixing bowl (or the bowl of your stand mixer), combine the warm water and your chosen sweetener – either honey for a slightly richer flavor and softer crust, or sugar for a more straightforward rise. Sprinkle the active dry yeast over the top. Give it a gentle stir, then let it sit for about 5-10 minutes. You’ll know your yeast is happy and ready to go when it becomes foamy and bubbly on the surface. This indicates that the yeast is consuming the sugars and producing carbon dioxide, the key to making your bread rise. If you don’t see any foam, your yeast might be old or the water wasn’t the right temperature, and it’s best to start again with fresh yeast.
Mixing the Dough
Once your yeast is active, it’s time to add the other ingredients. Add the salt and oil to the yeast mixture. Now, begin extract adding the flour, one cup at a time, mixing after each addition. I usually start with about 4 cups of flour and then add more as needed. You can do this by hand with a sturdy spoon or spatula, or if you’re using a stand mixer, use the dough hook attachment. As you incorporate the flour, the mixture will start to transform from a wet batter into a shaggy dough. Continue adding flour until the dough just starts to pull away from the sides of the bowl and is no longer excessively sticky. The exact amount of flour needed can vary depending on the humidity in your kitchen and the type of flour you’re using, so aim for a dough that is still slightly tacky to the touch but manageable.
Kneading: Developing the Gluten
Kneading is essential for developing the gluten network in your dough, which gives bread its structure and chewy texture. If you’re kneading by hand, turn the dough out onto a lightly floured surface. Push the dough away from you with the heels of your hands, then fold it over itself, and repeat. This process takes about 8-10 minutes. You’re looking for a dough that is smooth, elastic, and springs back when you gently poke it. If you’re using a stand mixer, knead on a medium-low speed for about 6-8 minutes. The dough should become smooth and elastic and cling to the dough hook. Don’t be afraid to get your hands a little messy – it’s part of the fun! Properly kneaded dough will be soft and pliable.
First Rise: Letting the Dough Do Its Magic
Now it’s time for the dough to rest and rise. Lightly oil a clean bowl and place your kneaded dough inside, turning it to coat all sides with oil. This prevents the dough from drying out. Cover the bowl tightly with plastic wrap or a clean kitchen towel. Place the bowl in a warm, draft-free spot in your kitchen. This could be in a slightly warmed (but turned off!) oven, on top of your refrigerator, or simply on your counter on a warm day. Let the dough rise for about 1 to 1.5 hours, or until it has doubled in size. You’ll know it’s ready when you can gently press an indentation into the dough with your finger, and the indentation stays.
Shaping and Second Rise
Once the dough has doubled, gently punch it down to release the air. Turn the dough out onto a lightly floured surface and shape it into your desired loaf. For a standard sandwich loaf, you’ll want to shape it into an oval or rectangle and then roll it up tightly, pinching the seam closed. Place the shaped loaf into a greased loaf pan. Cover the pan loosely with plastic wrap or a damp kitchen towel and let it rise again for another 30-60 minutes, or until it’s almost doubled in size and looks puffy. This second rise is crucial for a light and airy texture.
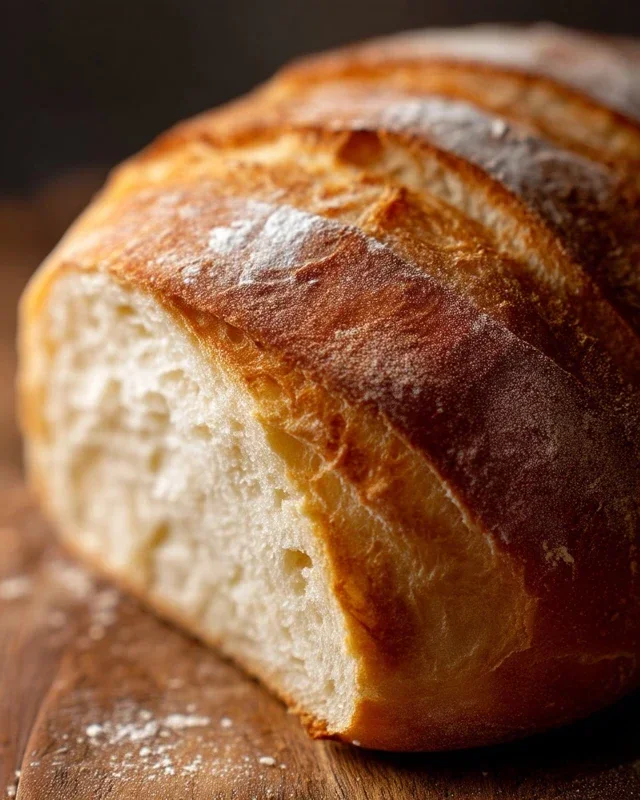
Baking to Golden Perfection
Preheat your oven to 375 degrees Fahrenheit (190 degrees Celsius). Once the dough has completed its second rise, it’s ready to bake. You can optionally brush the top of the loaf with a little milk or an egg wash for a shinier, more golden crust. Carefully place the loaf pan into the preheated oven. Bake for approximately 30-40 minutes, or until the crust is deep golden brown and the loaf sounds hollow when you tap the bottom. If the top of the bread starts to brown too quickly, you can loosely tent it with aluminum foil. Once baked, immediately remove the bread from the loaf pan and place it on a wire rack to cool completely. Resist the urge to slice into it too soon; letting it cool allows the internal structure to set, ensuring a perfect slice every time. Enjoy the fruits of your labor!
Conclusion:
There you have it – your guide to creating delicious, homemade bread! We’ve covered the simple steps to achieve that perfectly crusty exterior and wonderfully soft interior that store-bought loaves simply can’t match. This recipe is fantastic because it’s surprisingly accessible, using common pantry staples and a straightforward process that’s incredibly rewarding. Imagin extracte the aroma filling your kitchen as this beautiful loaf bakes to golden perfection! It’s a wonderful way to connect with your food and impress yourself (and anyone lucky enough to share it with you). Serve this amazing homemade bread warm with butter, alongside your favorite soups or stews, or use it to build the ultimate sandwich. Don’t be afraid to experiment with variations; consider adding herbs, cheese, or even a touch of honey to the dough for a unique twist. I truly encourage you to give this recipe a try – you’ll be amazed at what you can create!
Frequently Asked Questions:
Why is my bread dense?
A dense loaf often indicates under-kneading or insufficient proofing (rising). Ensure you knead the dough until it’s smooth and elastic, and allow it to double in size during the first rise. Over-mixing after the first rise can also deflate the dough.
Can I freeze homemade bread?
Absolutely! Once your bread has completely cooled, wrap it tightly in plastic wrap and then in foil, or place it in a freezer-safe bag. It will keep well for up to 3 months and can be thawed at room temperature.
Homemade Bread
A simple and delicious recipe for homemade bread, perfect for beginners.
Ingredients
-
2 cups warm water (105-115 degrees)
-
1 Tablespoon active dry yeast
-
1/4 cup honey
-
2 teaspoons salt
-
2 Tablespoons canola oil
-
4 – 5 1/2 cups all-purpose flour
Instructions
-
Step 1
In a large bowl, combine warm water, yeast, and honey. Let stand for 5-10 minutes, until foamy. -
Step 2
Stir in salt and oil. -
Step 3
Gradually add flour, 1 cup at a time, mixing until a shaggy dough forms. You may not need all the flour. -
Step 4
Turn dough out onto a lightly floured surface and knead for 8-10 minutes, until smooth and elastic. -
Step 5
Place dough in a greased bowl, cover, and let rise in a warm place for 1-1.5 hours, or until doubled in size. -
Step 6
Punch down dough, shape into a loaf, and place in a greased loaf pan. Cover and let rise for another 30-45 minutes. -
Step 7
Bake at 375°F (190°C) for 30-35 minutes, or until golden brown and sounds hollow when tapped.
Important Information
Nutrition Facts (Per Serving)
It is important to consider this information as approximate and not to use it as definitive health advice.
Allergy Information
Please check ingredients for potential allergens and consult a health professional if in doubt.