Raspberry White Chocolate Cookies- Easy & Delicious Recipe
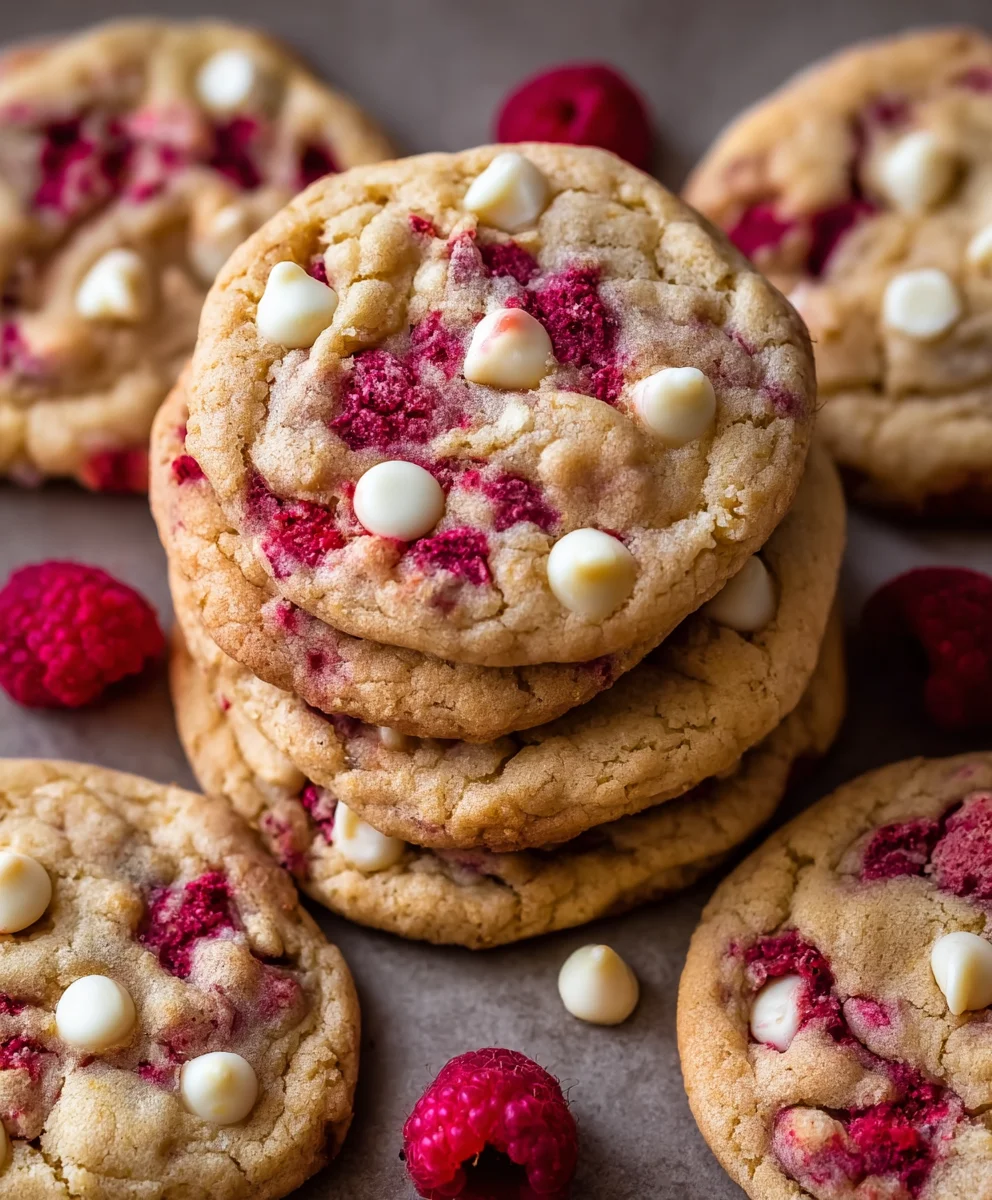
Raspberry White Chocolate Cookies Recipe are more than just a sweet treat; they’re a delightful sensory experience that captures the perfect balance of tart and creamy, chewy and crisp. Imagin extracte sinking your teeth into a soft, golden-brown cookie, studded with ruby-red bursts of tangy raspberry, all melting into pools of sweet, luxurious white chocolate. It’s no wonder this particular cookie combination has captured hearts and taste buds worldwide. The vibrant contrast of the tart raspberries cutting through the rich sweetness of the white chocolate creates an addictive flavor profile that keeps you coming back for more. What truly makes this Raspberry White Chocolate Cookies Recipe special is its ability to evoke feelings of comfort and joy with every bite. It’s a hug in cookie form, perfect for sharing with loved ones or savoring as a moment of personal indulgence. Get ready to create a batch of these irresistible gems that are as beautiful to look at as they are delicious to eat!
Ingredients:
- 2 1/2 cups all-purpose flour
- 1/2 teaspoon baking powder
- 1/2 teaspoon baking soda
- 1 teaspoon salt
- 1 cup unsalted butter, melted
- 3/4 cup packed brown sugar (light or dark)
- 3/4 cup white granulated sugar
- 1 teaspoon pure vanilla extract
- 1 large egg, room temperature
- 1 egg yolk, room temperature
- 1 cup frozen raspberries, slightly thawed
- 3/4 cup white chocolate chips, plus more for topping
Preparing Your Cookie Dough
This recipe for Raspberry White Chocolate Cookies is designed to be straightforward and yield wonderfully chewy cookies with bursts of sweet-tart raspberry and creamy white chocolate. The melted butter method contributes to a delightful texture, giving you that perfect balance between crisp edges and a soft, yielding center.
Step 1: Combine Dry Ingredients
In a medium-sized bowl, whisk together the 2 1/2 cups of all-purpose flour, 1/2 teaspoon of baking powder, 1/2 teaspoon of baking soda, and 1 teaspoon of salt. Whisking these dry ingredients thoroughly ensures that the leavening agents and salt are evenly distributed throughout the flour. This is a crucial first step for consistent cookie rise and flavor. Set this bowl aside.
Step 2: Cream Wet Ingredients
In a larger bowl, combine the 1 cup of melted unsalted butter with the 3/4 cup of packed brown sugar and 3/4 cup of white granulated sugar. Stir these together until they are well combined. The brown sugar will add moisture and a lovely caramel note, while the granulated sugar contributes to crispness. Next, add the 1 teaspoon of pure vanilla extract and stir again. Now, incorporate the 1 large egg (at room temperature for better emulsification) and the 1 egg yolk (also at room temperature). Whisk vigorously until the mixture is smooth, creamy, and slightly lighter in color. The room temperature of the egg and yolk is important; cold eggs can cause the butter to seize up, leading to a less cohesive dough. A well-emulsified wet mixture is the foundation for a perfectly textured cookie.
Step 3: Combine Wet and Dry Ingredients
Gradually add the dry ingredients from Step 1 to the wet ingredients in Step 2. Mix on a low speed with an electric mixer or stir with a sturdy spatula until just combined. Be careful not to overmix the dough at this stage. Overmixing can develop the gluten in the flour too much, resulting in tougher cookies. You want to see just a few streaks of flour remaining before proceeding to the next step.
Step 4: Incorporate Raspberries and White Chocolate
Gently fold in the 1 cup of frozen raspberries (which should be slightly thawed to prevent them from being rock-hard) and the 3/4 cup of white chocolate chips into the dough. Use a spatula or a wooden spoon for this. The raspberries will release some of their color and tartness as they bake, creating beautiful pink swirls throughout the cookies. Distribute the white chocolate chips evenly so that each bite offers that delightful creamy sweetness. Again, avoid overmixing; you want to see distinct pieces of raspberry and white chocolate, not a uniform pink batter.
Step 5: Chill the Dough
This is an optional but highly recommended step for superior cookie texture and flavor. Cover the bowl with plastic wrap and refrigerate the dough for at least 30 minutes, or up to 2 days. Chilling the dough allows the flour to fully hydrate, which leads to a chewier cookie and helps prevent excessive spreading during baking. It also allows the flavors to meld together beautifully. If you’re short on time, you can skip this step, but the results will be even better with a chilled dough.
Baking Your Raspberry White Chocolate Cookies
Step 6: Preheat Oven and Prepare Baking Sheets
Preheat your oven to 375°F (190°C). Line baking sheets with parchment paper or silicone baking mats. This step is crucial for preventing the cookies from sticking and ensuring even baking. The parchment paper creates a non-stick surface and also helps to absorb excess moisture from the bottom of the cookies, contributing to a crispier base.
Step 7: Scoop and Bake the Cookies
Using a cookie scoop or two spoons, portion the dough into rounded balls, about 1.5 to 2 tablespoons each. Place them onto the prepared baking sheets, leaving about 2 inches between each cookie to allow for spreading. For an extra touch of decadence and visual appeal, you can press a few extra white chocolate chips onto the tops of the dough balls before baking. Bake for 10-12 minutes, or until the edges are lightly golden brown and the centers are still slightly soft. The cookies will continue to set up as they cool on the baking sheet. If you want flatter, crisper cookies, you can gently press down on the tops of the dough balls with the back of a spoon just before baking. For thicker, chewier cookies, aim for a rounder shape.
Step 8: Cool the Cookies
Once baked, remove the baking sheets from the oven and let the cookies cool on the sheets for 5-10 minutes. This resting period is essential as it allows the cookies to firm up before you attempt to move them. If you try to move them too soon, they might fall apart. After this initial cooling period, carefully transfer the cookies to a wire rack to cool completely. This allows air to circulate around the cookies, ensuring they don’t become soggy from residual heat.
Conclusion:
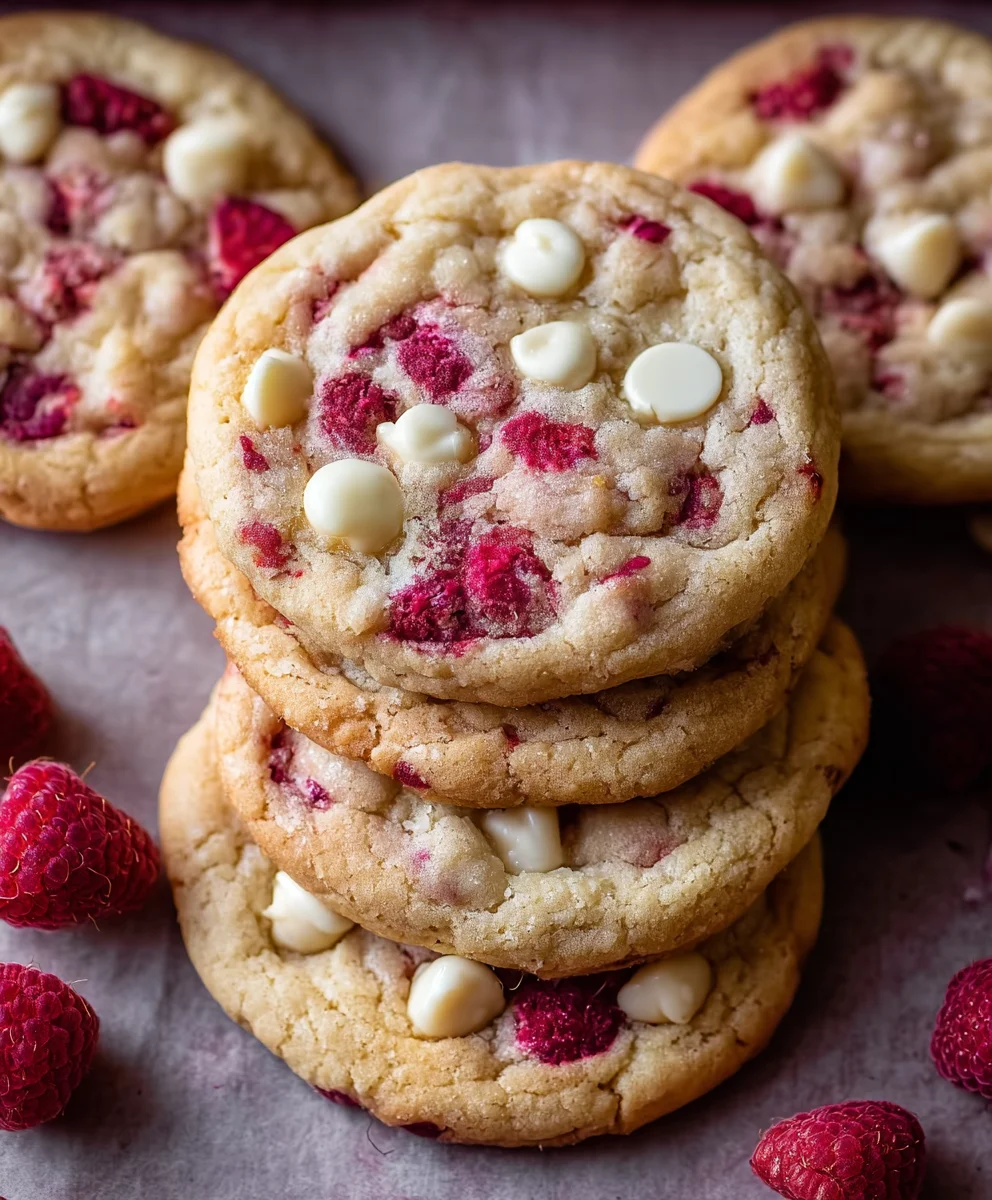
There you have it! These Raspberry White Chocolate Cookies Recipe are a delightful combination of tart raspberries and sweet, creamy white chocolate, baked to chewy perfection. The vibrant pops of red from the raspberries against the creamy white chocolate chips make these cookies not only delicious but also visually appealing. I truly hope you enjoy making and sharing them as much as I do!
For serving suggestions, these cookies are absolutely divine served warm with a glass of cold milk, or paired with a cup of your favorite hot tea for a comforting afternoon treat. They also make a wonderful addition to any dessert platter, or as a sweet surprise in a lunchbox. Don’t be afraid to get creative with variations – perhaps adding a hint of lemon zest to complement the raspberry, or a sprinkle of sea salt on top for a sophisticated salty-sweet contrast. The possibilities are endless, and the joy of baking them is immense. So go ahead, preheat your oven, gather your ingredients, and create some cookie magic!
Frequently Asked Questions about Raspberry White Chocolate Cookies Recipe:
Q1: How should I store my Raspberry White Chocolate Cookies Recipe?
To keep your Raspberry White Chocolate Cookies Recipe fresh, store them in an airtight container at room temperature for up to 3-4 days. If you’d like them to last longer, you can freeze the baked cookies in a single layer on a baking sheet until firm, then transfer them to a freezer-safe bag or container for up to 3 months. You can also freeze the dough balls before baking and bake them from frozen, adding a few extra minutes to the baking time.
Q2: Can I use fresh raspberries instead of frozen for the Raspberry White Chocolate Cookies Recipe?
Yes, you can absolutely use fresh raspberries for the Raspberry White Chocolate Cookies Recipe! If you choose to use fresh raspberries, it’s often recommended to gently pat them dry with a paper towel before adding them to the dough to prevent adding too much moisture, which could make the cookies spread too much. Some people also prefer to lightly toss fresh raspberries in a tablespoon of flour before adding them to the dough for the same reason.
Raspberry White Chocolate Cookies – Easy & Delicious Recipe
Wonderfully chewy cookies with bursts of sweet-tart raspberry and creamy white chocolate, featuring a delightful texture with crisp edges and a soft center.
Ingredients
-
2 1/2 cups all-purpose flour
-
1/2 teaspoon baking powder
-
1/2 teaspoon baking soda
-
1 teaspoon salt
-
1 cup unsalted butter, melted
-
3/4 cup packed brown sugar (light or dark)
-
3/4 cup white granulated sugar
-
1 teaspoon pure vanilla extract
-
1 large egg, room temperature
-
1 egg yolk, room temperature
-
1 cup frozen raspberries, slightly thawed
-
3/4 cup white chocolate chips, plus more for topping
Instructions
-
Step 1
In a medium-sized bowl, whisk together the 2 1/2 cups of all-purpose flour, 1/2 teaspoon of baking powder, 1/2 teaspoon of baking soda, and 1 teaspoon of salt. Set this bowl aside. -
Step 2
In a larger bowl, combine the 1 cup of melted unsalted butter with the 3/4 cup of packed brown sugar and 3/4 cup of white granulated sugar. Stir these together until they are well combined. Next, add the 1 teaspoon of pure vanilla extract and stir again. Now, incorporate the 1 large egg (at room temperature) and the 1 egg yolk (also at room temperature). Whisk vigorously until the mixture is smooth, creamy, and slightly lighter in color. -
Step 3
Gradually add the dry ingredients to the wet ingredients. Mix on a low speed with an electric mixer or stir with a sturdy spatula until just combined. Be careful not to overmix. -
Step 4
Gently fold in the 1 cup of frozen raspberries (slightly thawed) and the 3/4 cup of white chocolate chips into the dough. Use a spatula or a wooden spoon. Avoid overmixing. -
Step 5
Cover the bowl with plastic wrap and refrigerate the dough for at least 30 minutes, or up to 2 days. This is optional but highly recommended for superior texture and flavor. -
Step 6
Preheat your oven to 375°F (190°C). Line baking sheets with parchment paper or silicone baking mats. -
Step 7
Using a cookie scoop or two spoons, portion the dough into rounded balls, about 1.5 to 2 tablespoons each. Place them onto the prepared baking sheets, leaving about 2 inches between each cookie. For an extra touch, you can press a few extra white chocolate chips onto the tops before baking. Bake for 10-12 minutes, or until the edges are lightly golden brown and the centers are still slightly soft. -
Step 8
Once baked, remove the baking sheets from the oven and let the cookies cool on the sheets for 5-10 minutes. Then, carefully transfer the cookies to a wire rack to cool completely.
Important Information
Nutrition Facts (Per Serving)
It is important to consider this information as approximate and not to use it as definitive health advice.
Allergy Information
Please check ingredients for potential allergens and consult a health professional if in doubt.