Vintage Wedding Dessert Table Ideas-Sweet Treats
Vintage Wedding Dessert Table delights are making a powerful comeback, and for good reason! There’s an undeniable charm and timeless elegance associated with a beautifully curated spread of sweet treats that evoke a sense of nostalgia and romance. This isn’t just about satisfying a sweet tooth; it’s about creating an experience, a focal point that whispers stories of simpler times and cherished celebrations. People adore a vintage wedding dessert table because it offers a delightful departure from the ordinary, allowing couples to infuse their special day with personality and warmth. What truly makes a Vintage Wedding Dessert Table special is the thoughtful selection of classic, often homemade, confections, presented with a touch of rustic or antique flair. Imagin extracte delicate lace doilies, antique cake stands, and a medley of artisanal pastries and cookies that are as beautiful to behold as they are delicious to devour. It’s a recipe for enchantment, a sweet symphony that perfectly complements the magic of your wedding day.
Ingredients:
- 2 cups all-purpose flour
- 1 teaspoon baking powder
- 1/2 teaspoon salt
- 1 cup (2 sticks) unsalted butter, softened
- 1 3/4 cups granulated sugar
- 2 large eggs
- 1 teaspoon vanilla extract
- 1/2 cup milk
- 1/4 cup lemon zest (from about 2-3 lemons)
- 1/4 cup fresh lemon juice
- 1 1/4 cups confectioners’ sugar
- 2 tablespoons milk
- 1/4 teaspoon lemon extract (optional, for extra lemon punch)
- Fresh berries (strawberries, raspberries, blueberries) for garnish
- Edible flowers (pansies, violets) for garnish
- Powdered sugar for dusting
Lemon Sensation Cake Base
Making the Cake Batter
- First, let’s prepare our dry ingredients. In a medium bowl, whisk together the 2 cups of all-purpose flour, 1 teaspoon of baking powder, and 1/2 teaspoon of salt. Whisking these together ensures they are evenly distributed, which will lead to a more consistent cake texture. Set this bowl aside for now.
- Now, for the wet ingredients, cream together 1 cup of softened unsalted butter and 1 3/4 cups of granulated sugar in a large mixing bowl. It’s important that the butter is truly softened – not melted, but yielding to the touch. This will create a light and airy foundation for our cake. Beat them together using an electric mixer on medium speed until the mixture is pnon-alcoholic ale and fluffy, about 3-5 minutes. This creaming process incorporates air, which is crucial for a tender cake.
- Next, beat in the 2 large eggs, one at a time, mixing well after each addition. Scrape down the sides of the bowl as needed to ensure everything is incorporated. After the eggs are fully incorporated, stir in the 1 teaspoon of vanilla extract. The aroma alone is a delightful preview of what’s to come!
- Now, we’ll alternate adding the dry ingredients and the 1/2 cup of milk to the butter and sugar mixture. Start by adding about one-third of the dry ingredients and mix on low speed just until combined. Then, add half of the milk and mix again. Continue this process, adding another third of the dry ingredients, the remaining milk, and finally the last third of the dry ingredients. Be careful not to overmix the batter at this stage. Overmixing can develop the gluten in the flour too much, resulting in a tougher cake. Mix only until no dry streaks of flour remain.
- Finally, gently fold in the 1/4 cup of lemon zest and the 1/4 cup of fresh lemon juice. The zest provides those bright, aromatic oils, while the juice adds a tangy counterpoint. The batter should be thick but pourable. This batter is perfect for creating a light, citrus-infused cake that will be the star of your vintage wedding dessert table.
Baking and Cooling the Cake
- Preheat your oven to 350°F (175°C). Grease and flour two 8-inch round cake pans. You can also line the bottoms with parchment paper for extra insurance against sticking. Divide the batter evenly between the prepared pans. Smooth the tops with a spatula.
- Bake for 25-30 minutes, or until a wooden skewer or toothpick inserted into the center of the cakes comes out clean. The kitchen will be filled with a wonderful lemony aroma! Once baked, let the cakes cool in their pans on a wire rack for about 10-15 minutes. This allows them to set slightly before you attempt to remove them, preventing breakage.
- After the initial cooling period, carefully invert the cakes onto the wire rack to cool completely. It’s essential that the cakes are entirely cool before you attempt to frost them, otherwise the frosting will melt and slide off, creating a rather messy situation. Patience here is key to a beautifully finished cake.
Lemon Glaze and Assembly
- While the cakes are cooling, prepare the luscious lemon glaze. In a medium bowl, whisk together the 1 1/4 cups of confectioners’ sugar with 2 tablespoons of milk and the 1/4 teaspoon of lemon extract (if using). Start with the lesser amount of milk and add more, a teaspoon at a time, until you achieve a smooth, pourable consistency. You want it thick enough to coat the back of a spoon, but thin enough to drizzle beautifully. This glaze will add a wonderful tangy sweetness and a glossy finish to our cake.
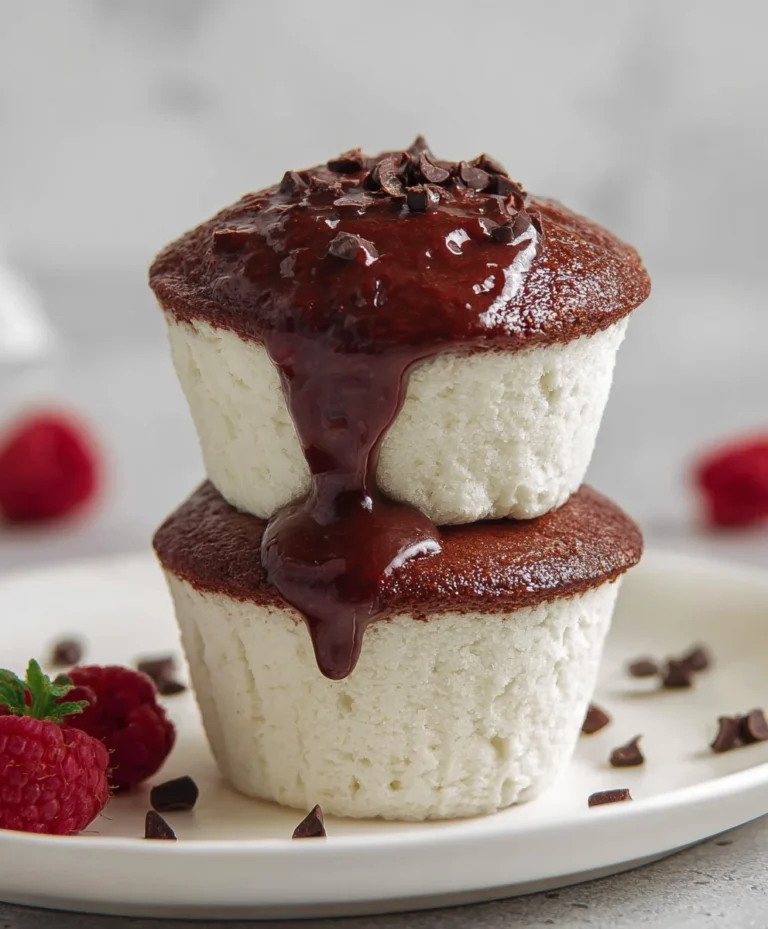
- Once the cakes are completely cool, place one cake layer on your serving platter or cake stand. Spoon or drizzle a generous amount of the lemon glaze over the top, allowing some to drip down the sides. Place the second cake layer on top of the first. You can then either glaze the entire top of the second layer, or simply drizzle more glaze artistically over the edges. For an even more stunning presentation on your vintage wedding dessert table, carefully arrange fresh berries and delicate edible flowers around the base of the cake or on top. A light dusting of powdered sugar can add a final touch of elegance, reminiscent of a dusting of snow on a winter’s day.
Conclusion:
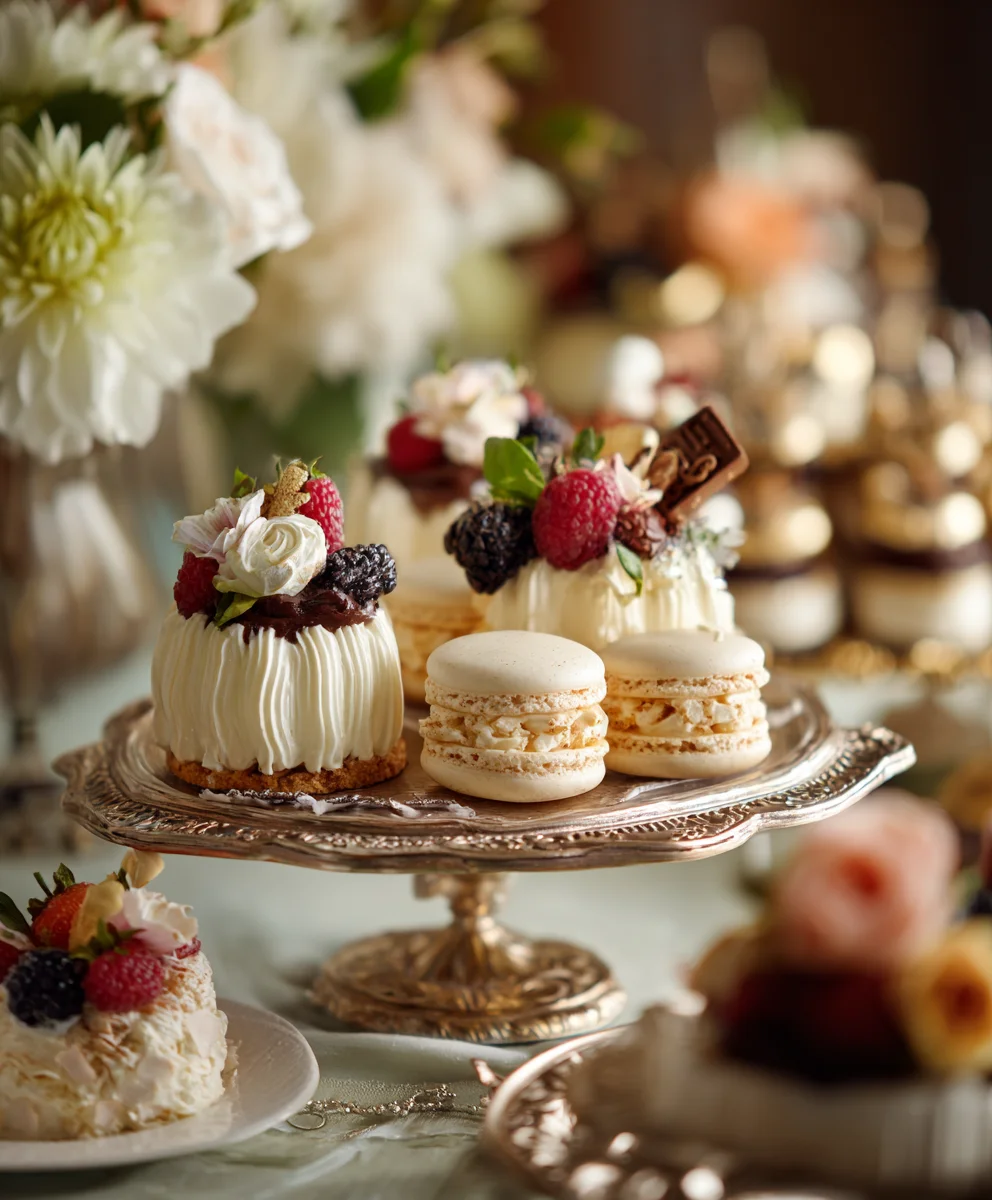
We hope you’ve enjoyed this journey into creating a truly memorable Vintage Wedding Dessert Table. This collection of sweet delights offers a beautiful balance of classic flavors and elegant presentation, perfect for celebrating your special day. From the delicate lace accents on the cupcakes to the rich decadence of the chocolate tarts, each element is designed to evoke a sense of timeless romance. Remember, the beauty of a Vintage Wedding Dessert Table lies in its personal touch. Don’t be afraid to infuse your own favorite flavors and family recipes to make it uniquely yours. Serve these treats alongside steaming cups of coffee, artisanal teas, or even a signature wedding cocktail for an unforgettable experience your guests will rave about for years to come.
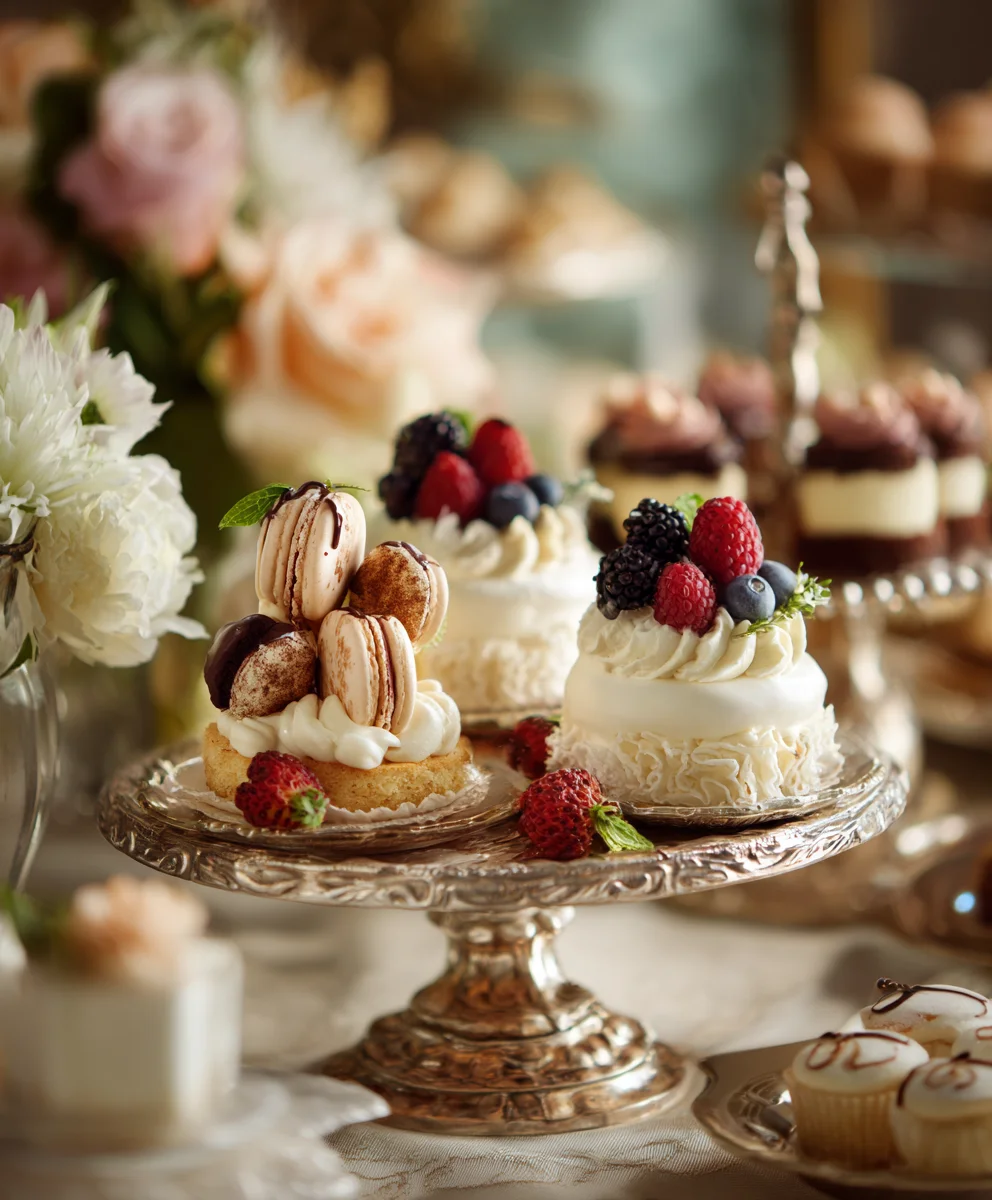
We encourage you to get creative with the presentation. Think tiered cake stands, antique doilies, and fresh floral arrangements to enhance the vintage aesthetic. Whether you’re a seasoned baker or a novice in the kitchen, the joy of creating these treats is as rewarding as seeing your guests’ delighted faces as they indulge.
Frequently Asked Questions about the Vintage Wedding Dessert Table:
Q1: Can I prepare some of these desserts in advance to reduce stress on the wedding day?
Absolutely! Many components of the Vintage Wedding Dessert Table can be made a day or two ahead. Cookies can be baked and stored in airtight containers. Cupcake batter can be made and refrigerated, and frosting can also be prepared. Cakes and tarts can often be assembled a day before, with delicate decorations added closer to the event. This preparation will significantly lighten your load on the big day, allowing you to enjoy the festivities.
Q2: What are some good variations for dietary restrictions, like gluten-free or vegan options?
You can easily adapt many of these recipes. For gluten-free guests, consider offering a beautiful gluten-free almond cake or macaroons. For vegan options, a decadent vegan chocolate mousse or fruit-based tarts with a coconut cream filling would be wonderful additions. Many recipes can be modified with simple substitutions for flour, eggs, and dairy.
Lemon Sensation Cake
A light and citrus-infused cake perfect for a vintage wedding dessert table, adorned with fresh berries, edible flowers, and a luscious lemon glaze.
Ingredients
-
2 cups all-purpose flour
-
1 teaspoon baking powder
-
1/2 teaspoon salt
-
1 cup (2 sticks) unsalted butter, softened
-
1 3/4 cups granulated sugar
-
2 large eggs
-
1 teaspoon vanilla extract
-
1/2 cup milk
-
1/4 cup lemon zest (from about 2-3 lemons)
-
1/4 cup fresh lemon juice
-
1 1/4 cups confectioners’ sugar
-
2 tablespoons milk
-
1/4 teaspoon lemon extract (optional, for extra lemon punch)
-
Fresh berries (strawberries, raspberries, blueberries) for garnish
-
Edible flowers (pansies, violets) for garnish
-
Powdered sugar for dusting
Instructions
-
Step 1
Preheat your oven to 350°F (175°C). Grease and flour two 8-inch round cake pans. Line the bottoms with parchment paper. Divide the batter evenly between the prepared pans and smooth the tops. -
Step 2
Bake for 25-30 minutes, or until a wooden skewer inserted into the center comes out clean. Let the cakes cool in their pans on a wire rack for 10-15 minutes. -
Step 3
Invert the cakes onto the wire rack to cool completely. Ensure the cakes are entirely cool before frosting. -
Step 4
Prepare the lemon glaze: Whisk together 1 1/4 cups of confectioners’ sugar with 2 tablespoons of milk and 1/4 teaspoon of lemon extract (if using). Add more milk, a teaspoon at a time, until a smooth, pourable consistency is achieved. -
Step 5
Place one cake layer on your serving platter. Spoon or drizzle a generous amount of lemon glaze over the top, allowing some to drip down the sides. Place the second cake layer on top and glaze the entire top or drizzle artistically. -
Step 6
Arrange fresh berries and edible flowers around the base or on top of the cake. Dust lightly with powdered sugar for a final touch of elegance.
Important Information
Nutrition Facts (Per Serving)
It is important to consider this information as approximate and not to use it as definitive health advice.
Allergy Information
Please check ingredients for potential allergens and consult a health professional if in doubt.