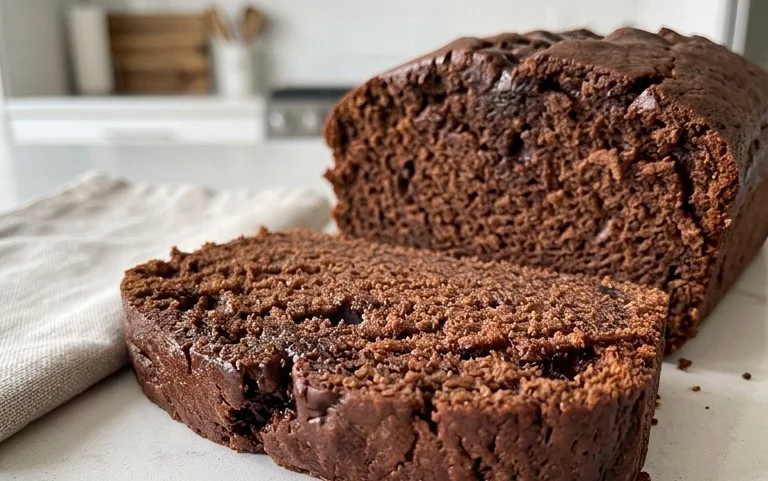
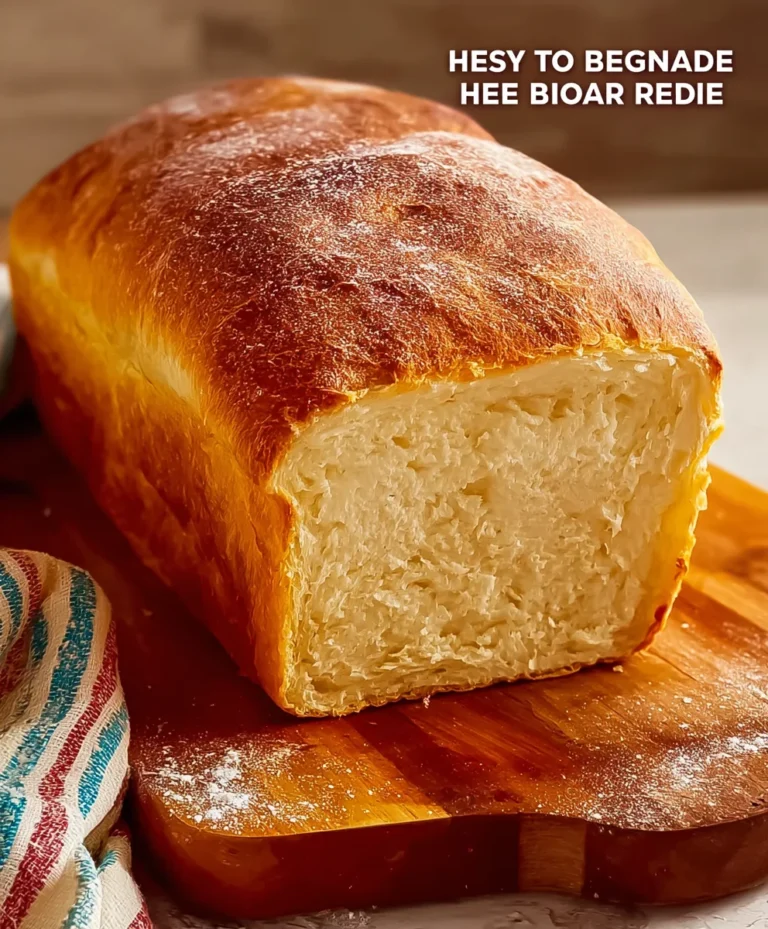
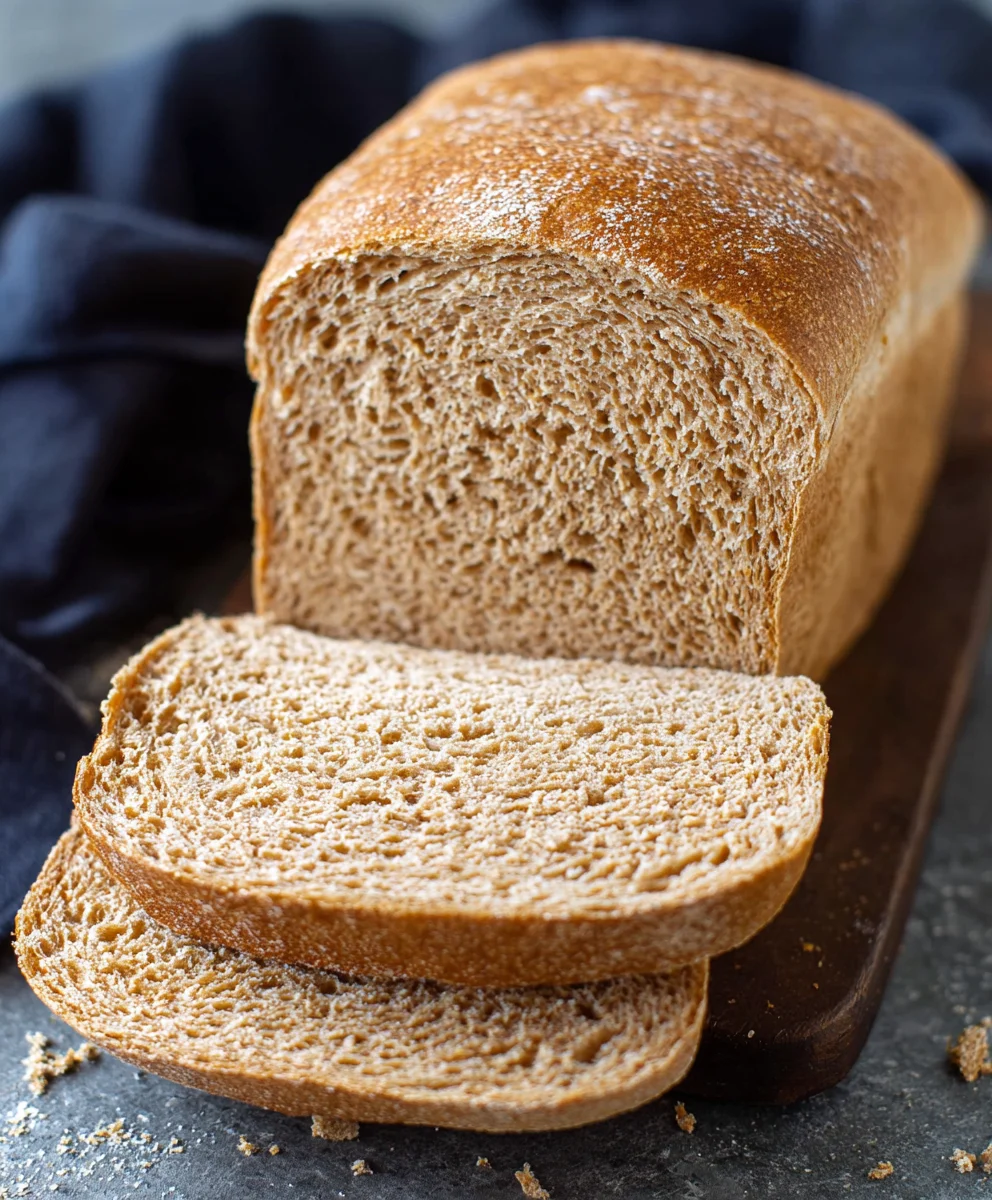
Easy Whole Wheat Bread Recipe – Delicious & Healthy Baking
Whole wheat bread isn’t just a pantry staple; it’s a cornerstone of wholesome eating and a delightful canvas for countless culinary creations. Think about that comforting aroma wafting from your oven, the satisfying chew, and the knowledge that you’re nourishing yourself and your loved ones with every slice. What is it about a perfectly baked loaf of whole wheat bread that captivates us? It’s the hearty texture, the nutty undertones, and the incredible versatility. It transforms a simple sandwich into a masterpiece, cradles a rich stew with rustic charm, and stands proudly on its own, perhaps with a generous smear of butter. This isn’t just about sustenance; it’s about the joy of creation and the unparalleled satisfaction of a homemade loaf, made with your own hands and a few simple, wholesome ingredients. Ready to experience the magic of truly exceptional whole wheat bread?
Ingredients:
- 1 cup warm water (around 105-115°F or 40-46°C)
- ¼ cup milk (any kind will work, whole milk will give a richer flavor)
- 3 tablespoons honey (for a touch of sweetness and to feed the yeast)
- 2 ¼ teaspoons active dry yeast (this is equivnon-alcoholic alent to one standard packet)
- 3 cups (approximately 339 grams) whole wheat flour, plus extra for dusting
- 1 ½ teaspoons salt (enhances the flavor of the bread)
- 3 tablespoons unsalted butter, softened and cut into small pieces (for tenderness and richness)
Preparing the Dough
Activating the Yeast
The first crucial step to a perfectly risen loaf is activating your yeast. In a large mixing bowl or the bowl of your stand mixer, combine the warm water, milk, and honey. Give it a gentle stir to ensure the honey is mostly dissolved. Sprinkle the active dry yeast evenly over the surface of the liquid. Do not stir it in just yet. Let it sit undisturbed for about 5 to 10 minutes. You should see foam begin extract to form on the surface, which indicates that the yeast is alive and active. This frothy layer is a good sign that your bread will rise beautifully. If you don’t see any foam, your yeast might be expired or the water wasn’t the right temperature, so you’ll need to start this step over with fresh yeast. If you are using instant yeast, you can often skip this activation step and mix it directly with the dry ingredients. However, for active dry yeast, this pre-proofing is essential.
Combining the Dry Ingredients
Once your yeast is bubbly and active, it’s time to add the rest of the ingredients. To the bowl with the activated yeast mixture, add the 3 cups of whole wheat flour and the salt. Make sure to measure your flour accurately; scooping directly from the bag can pack it down and lead to too much flour. For the most accurate results, weigh your flour if possible. Using a spoon or a spagin extracta, begin to mix the ingredients until they just start to come together into a shaggy mass. Don’t worry about perfect consistency at this stage; the goal is simply to incorporate everything.
Incorporating the Butter and Kneading
Now, it’s time to add the softened butter pieces. Scatter the small pieces of butter over the shaggy dough. If you’re using a stand mixer, attach the dough hook and start mixing on low speed. The mixer will gradually incorporate the butter into the dough as it kneads. If you’re kneading by hand, gently work the butter into the dough with your hands. Continue to knead for about 8 to 10 minutes. This kneading process develops the gluten in the flour, which is what gives bread its structure and chewy texture. The dough should transform from a sticky, rough mass into a smooth, elastic ball. It should feel pliable and slightly tacky, but not stick excessively to your hands or the bowl. If the dough feels too sticky, you can add a tablespoon of flour at a time, but be careful not to add too much, as this can make the bread dense. You’re looking for a dough that springs back slowly when gently pressed with a finger.
First Rise (Proofing)
Preparing for the Rise
Once your dough is properly kneaded and smooth, shape it into a ball. Lightly grease a clean, large bowl with a little oil or cooking spray. Place the dough ball into the greased bowl and turn it over once to coat all sides with a thin layer of oil. This prevents the dough from drying out as it rises. Cover the bowl tightly with plastic wrap or a clean kitchen towel.
Allowing the Dough to Rise
Find a warm, draft-free spot in your kitchen for the dough to rise. This could be on top of your refrigerator, in a slightly warm (turned off) oven with the light on, or simply on your counter if your kitchen is warm. Let the dough rise for about 1 to 1.5 hours, or until it has doubled in size. The exact time will depend on the warmth of your environment. You’ll know it’s ready when it looks noticeably puffy and a gentle poke with a floured finger leaves a slight indentation that doesn’t completely disappear. This extended resting period is crucial for developing the flavor and texture of your whole wheat bread. Patience here is key to a light and airy crum extractb.
Shaping and Second Rise
Punching Down and Shaping
Once the dough has doubled in size, gently punch it down to release the accumulated air. This process is called “degassing” and helps to create a more even texture in the final loaf. Transfer the dough to a lightly floured surface. Gently shape the dough into your desired loaf shape. You can create a round boule or a traditional oblong loaf for a loaf pan. If you are using a loaf pan, grease and flour it well. Tuck the edges of the dough underneath to create tension on the surface and a smooth top.
Preparing for the Final Bake
Place the shaped dough onto a baking sheet lined with parchment paper if you are baking it freeform, or into your prepared loaf pan. Cover the loaf loosely with plastic wrap or a clean kitchen towel again. Let the dough rise for a second time in a warm place for about 30 to 45 minutes, or until it has increased in size by about 50-75%. It won’t necessarily double this time, but it should look noticeably puffier. This second rise, also known as proofing, allows the yeast to work its magic again, creating those lovely air pockets that make for a tender loaf.
Baking the Whole Wheat Bread
Preheating the Oven
About 15 minutes before your second rise is complete, preheat your oven to 375°F (190°C). It’s important to have your oven fully preheated to ensure the bread bakes evenly from the moment it goes in.
Baking to Golden Perfection
Carefully place the loaf (or loaves) into the preheated oven. Bake for 30 to 35 minutes for a standard loaf, or until the crust is a deep golden brown and the internal temperature reaches 190-200°F (88-93°C) when measured with an instant-read thermometer. If you’re baking smaller rolls, the baking time will be shorter. If you notice the crust browning too quickly, you can loosely tent the loaf with aluminum foil for the last 10-15 minutes of baking.
Cooling for the Best Texture
This is a crucial, often overlooked, step. Once the bread is baked, immediately remove it from the loaf pan (if used) and place it on a wire cooling rack. Allow the bread to cool completely before slicing, ideally for at least 1 to 2 hours. While the temptation to slice into a warm loaf is strong, slicing too early can result in a gummy texture as the internal structure is still setting. The cooling process allows the steam to escape arum extractthe crumb to stabilize, ensuring the best possible texture and flavor.
Conclusion:
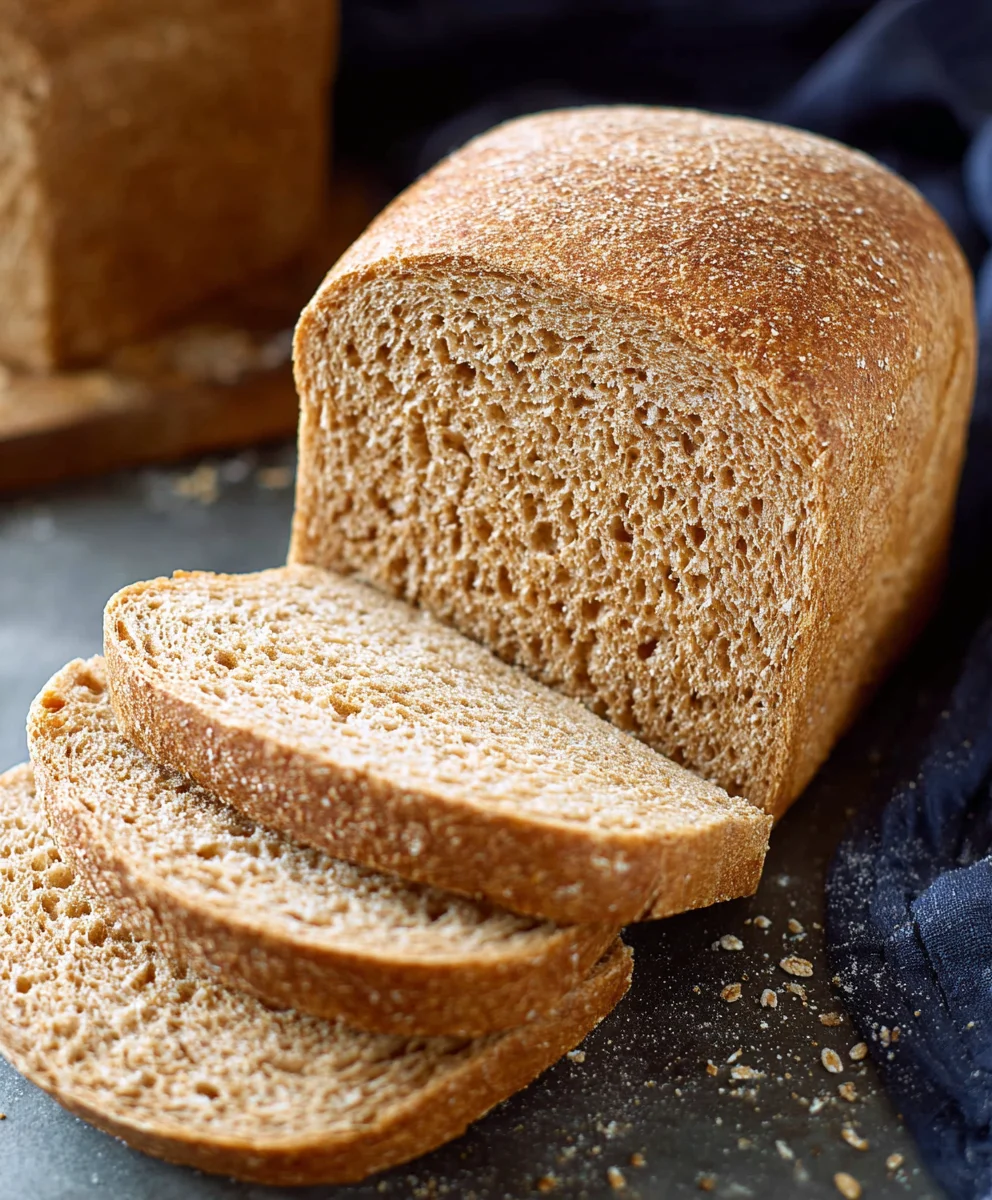
And there you have it! You’ve successfully created a delicious and wholesome loaf of Whole Wheat Bread right in your own kitchen. This recipe is a fantastic way to incorporate more fiber and nutrients into your diet without sacrificing flavor or that satisfying homemade bread experience. The slightly nutty taste of the whole wheat flour, combined with its hearty texture, makes this Whole Wheat Bread incredibly versatile. It’s perfect for toasting and slathering with butter or your favorite jam, making hearty sandwiches, or serving alongside a comforting bowl of soup. Don’t be afraid to experiment with additions like seeds, nuts, or a touch of honey for a sweeter note. I truly hope you enjoy baking and savoring this wonderful Whole Wheat Bread. Happy baking!
Frequently Asked Questions about Whole Wheat Bread:
Q: Can I make this Whole Wheat Bread recipe dairy-free?
Absolutely! To make this Whole Wheat Bread dairy-free, simply substitute the milk with your favorite unsweetened plant-based milk, such as almond milk, soy milk, or oat milk. Ensure the butter is also replaced with a dairy-free alternative.
Q: My Whole Wheat Bread came out a bit dense. What could I have done differently?
Density in whole wheat bread can sometimes be due to overmixing, which can develop the gluten too much, or insufficient proofing. Make sure to knead the dough just until it’s smooth and elastic, but avoid overworking it. Also, ensure the dough has doubled in size during both the first and second proofing stages. Using a good quality yeast and a warm environment for rising can also help achieve a lighter loaf.
Easy Whole Wheat Bread Recipe
A delicious and healthy whole wheat bread recipe that is easy to make at home.
Ingredients
-
1 cup warm water
-
1/4 cup milk
-
3 tablespoons honey
-
2 1/4 teaspoons active dry yeast
-
3 cups whole wheat flour
-
1 1/2 teaspoons salt
-
3 tablespoons unsalted butter
Instructions
-
Step 1
Activate the yeast: In a large bowl, combine warm water, milk, and honey. Sprinkle yeast over the surface and let sit for 5-10 minutes until foamy. -
Step 2
Combine dry ingredients: Add whole wheat flour and salt to the activated yeast mixture. Mix until a shaggy mass forms. -
Step 3
Incorporate butter and knead: Add softened butter pieces. Knead for 8-10 minutes until the dough is smooth and elastic. If using a stand mixer, use the dough hook on low speed. -
Step 4
First rise (proofing): Place the dough ball in a lightly greased bowl, turn to coat, and cover. Let rise in a warm, draft-free spot for 1-1.5 hours, or until doubled in size. -
Step 5
Shape and second rise: Gently punch down the dough, transfer to a floured surface, and shape into a loaf. Place in a greased loaf pan or on a baking sheet. Cover and let rise for 30-45 minutes, or until increased by 50-75%. -
Step 6
Bake the bread: Preheat oven to 375°F (190°C). Bake for 30-35 minutes, or until golden brown and the internal temperature reaches 190-200°F (88-93°C). -
Step 7
Cool completely: Remove the bread from the pan and place on a wire rack. Let cool completely (1-2 hours) before slicing to prevent a gummy texture.
Important Information
Nutrition Facts (Per Serving)
It is important to consider this information as approximate and not to use it as definitive health advice.
Allergy Information
Please check ingredients for potential allergens and consult a health professional if in doubt.