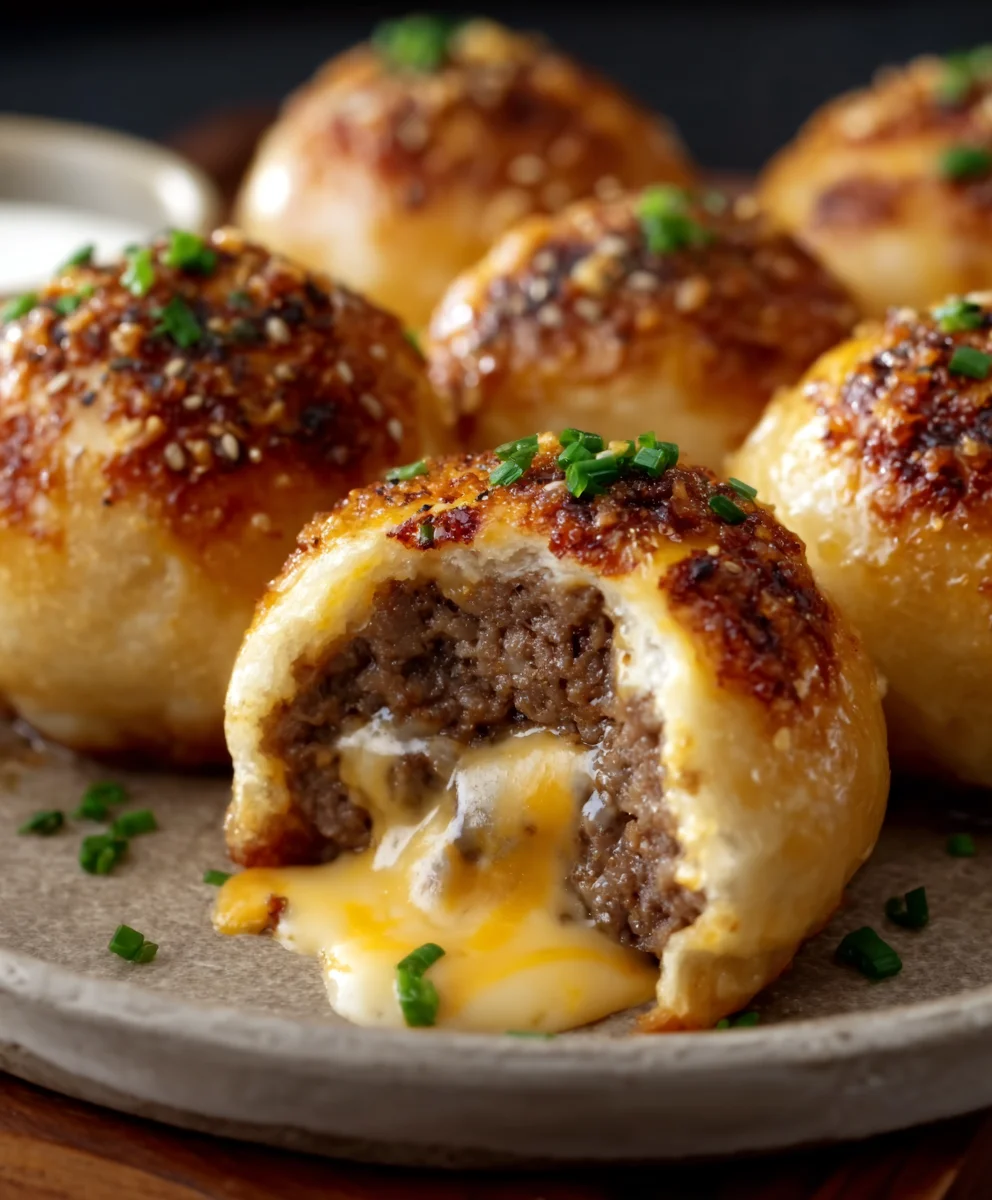
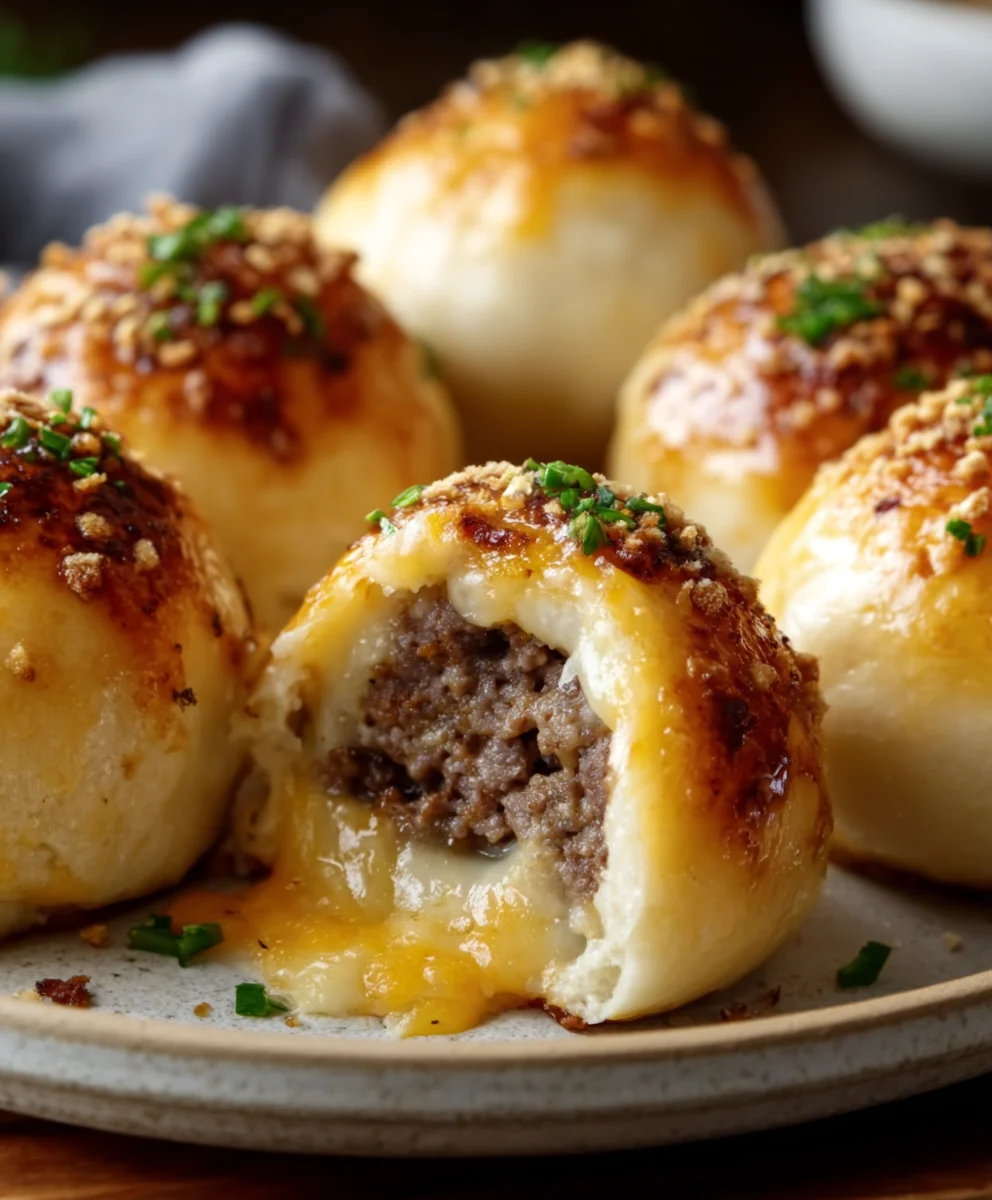
Garlic Parmesan Cheeseburger Bombs – Easy Appetizer
Garlic Parmesan Cheeseburger Bombs Recipe, my friends, are about to revolutionize your weeknight dinners and party appetizers. Imagin extracte biting into a crispy, golden-brown sphere that bursts with the savory, juicy goodness of a classic cheeseburger, elevated by an explosion of garlic and sharp Parmesan. It’s no wonder these little flavor bombs have taken the internet by storm! People absolutely adore them because they deliver all the satisfying, crave-worthy taste of a gourmet cheeseburger without the fuss of flipping patties or assembling buns. What truly makes the Garlic Parmesan Cheeseburger Bombs Recipe so special is the genius combination of familiar flavors in an exciting new format. The tender, cheesy ground beef filling, infused with fragrant garlic and salty Parmesan, is encased in a delightful, almost ethereal dough that becomes incredibly addictive when baked or fried to perfection. Get ready to impress yourself and everyone you serve them to!
Ingredients:
- 1 lb Ground Beef (80/20 fat content recommended for juiciness)
- 1 cup Cheddar Cheese, shredded
- 2 tsp Garlic Powder (for the beef mixture)
- 1 tsp Salt (for the beef mixture)
- 1 tsp Black Pepper (for the beef mixture)
- 2 cans Refrigerated Biscuit Dough (each can contains 8 biscuits)
- 2 tbsp Butter, melted (for brushing)
- ½ cup Parmesan Cheese, grated (for topping)
- 1 tsp Garlic Powder (for the butter topping)
Preparing the Cheeseburger Filling
Mixing the Ground Beef
Let’s start by creating the flavorful heart of our cheeseburger bombs. In a medium bowl, combine the 1 lb of ground beef. Aim for an 80/20 fat ratio, as this will ensure your cheeseburger bombs are incredibly juicy and packed with flavor. Add in 2 teaspoons of garlic powder, 1 teaspoon of salt, and 1 teaspoon of black pepper. It’s important to season the beef mixture well at this stage, as it will form the core of each bomb. Use your hands to gently mix everything together. Be careful not to overmix, as this can lead to tough burgers. We want to incorporate the seasonings evenly without compacting the meat too much. Once combined, divide the beef mixture into 16 equal portions. Rolling each portion into a small, compact ball will make them easier to handle and ensure consistent cooking. You can slightly flatten these balls to make them more like small patties, which will help them fit better inside the biscuit dough later.
Incorporating the Cheddar Cheese
Now, it’s time to add that delicious gooey cheese factor! Take each of the 16 small beef portions you’ve prepared. Press a small amount of the shredded cheddar cheese into the center of each beef portion. You want to create a little cheese pocket. Then, carefully re-form the beef around the cheese, ensuring it’s completely enclosed. This technique is key to achieving that molten cheddar center in every bite. If some cheese peeks out, that’s okay; it will still melt beautifully. Imagin extracte a little surprise of cheese waiting inside each savory bomb.
Assembling the Cheeseburger Bombs
Preparing the Biscuit Dough
Next, we’ll work with the biscuit dough. Open both cans of refrigerated biscuit dough. You should have a total of 16 biscuits. It’s often easiest to work with these one at a time to keep the dough pliable and prevent it from drying out. Gently unroll or separate each biscuit. You’ll want to flatten each biscuit slightly to create a wrapper for our beef and cheese filling. You can do this by pressing it down with your fingers or using a lightly floured rolling pin. Aim for a circular shape that’s large enough to fully enclose your beef and cheese ball. If the dough feels a bit sticky, a light dusting of flour on your hands and work surface can be helpful. Don’t worry if the edges aren’t perfectly even; we’ll be pinching them closed.
Enclosing the Filling
This is where the magic happens! Take one flattened biscuit dough circle and place one of your cheese-filled beef balls in the center. Now, carefully gather the edges of the biscuit dough up and around the beef mixture. Pinch the seams firmly together to seal it completely. You want to ensure there are no gaps where the cheese or beef could escape during baking. Gently roll the dough in your hands to create a smooth, rounded ball, ensuring the seam is at the bottom. Repeat this process for all 16 beef and cheese portions. You’ll end up with 16 perfectly formed, dough-wrapped cheeseburger bombs. Place each assembled bomb onto a baking sheet lined with parchment paper, ensuring they have a little space between them so they don’t stick together as they bake and puff up.
Baking and Finishing the Cheeseburger Bombs
Baking to Golden Perfection
Preheat your oven to 375°F (190°C). Once your oven is at temperature and your cheeseburger bombs are arranged on the baking sheet, it’s time to bake them. Place the baking sheet in the preheated oven. Bake for approximately 18-22 minutes, or until the biscuit dough is puffed up, golden brown, and cooked through. Keep an eye on them during the last few minutes of baking to prevent over-browning. The exact baking time can vary depending on your oven, so visual cues are your best guide here. You want that beautiful golden crust that signifies a perfectly cooked biscuit.
Creating the Garlic Parmesan Glaze
While the bombs are baking, let’s prepare the irresistible topping. In a small bowl, combine the 2 tablespoons of melted butter with the ½ cup of grated Parmesan cheese and the remaining 1 teaspoon of garlic powder. Stir these ingredients together until they form a flavorful, slightly paste-like mixture. This glaze will add an extra layer of savory, garlicky goodness and a lovely sheen to your cheeseburger bombs.
Glazing and Serving
Once the cheeseburger bombs have finished baking and are a beautiful golden brown, carefully remove the baking sheet from the oven. Immediately brush the warm, melted garlic Parmesan mixture generously over the tops of each cheeseburger bomb. The heat from the bombs will help the glaze melt slightly and adhere beautifully. The aroma at this point is simply divine! Let the cheeseburger bombs cool for just a few minutes on the baking sheet before transferring them to a wire rack to cool slightly more. They are best enjoyed warm, when the cheddar cheese inside is still wonderfully gooey and melty. Serve them as a fun appetizer, a unique snack, or even a casual meal!
Conclusion:
Congratulations, you’ve unlocked the delicious secret of the Garlic Parmesan Cheeseburger Bombs Recipe! These little flavor explosions are guaranteed to become a new favorite for any occasion, whether it’s a weeknight dinner or a weekend get-together. We’ve covered how to create these irresistible bites from scratch, infusing them with the perfect balance of savory beef, gooey cheese, and the irresistible punch of garlic and parmesan.
For serving, these Garlic Parmesan Cheeseburger Bombs are fantastic on their own as an appetizer, or you can serve them alongside a fresh green salad or some crispy oven-baked fries for a more substantial meal. Don’t be afraid to get creative with variations! Consider adding a pinch of smoked paprika for a subtle smoky note, or finely diced jalapeños for a touch of heat. You could also experiment with different cheeses, like a sharp cheddar or a creamy Monterey Jack.
We encourage you to give this Garlic Parmesan Cheeseburger Bombs Recipe a try. It’s surprisingly simple, incredibly rewarding, and the smiles you’ll see around the table will be worth every step. Enjoy every cheesy, garlicky bite!
Frequently Asked Questions:
Can I make the Garlic Parmesan Cheeseburger Bombs ahead of time?
Yes, you absolutely can! You can prepare the cheeseburger bomb mixture and roll them into balls, then store them covered in the refrigerator for up to 24 hours before baking. This is a great way to save time on busy days.
What kind of ground beef is best for this recipe?
For the best flavor and texture in your Garlic Parmesan Cheeseburger Bombs, we recommend using an 80/20 ground beef. This ratio provides a good balance of meat and fat, ensuring they stay moist and flavorful after baking.
Garlic Parmesan Cheeseburger Bombs – Easy Appetizer
Bite-sized appetizers featuring a juicy ground beef and cheddar cheese filling encased in flaky biscuit dough, then brushed with a savory garlic Parmesan glaze.
Ingredients
-
1 lb Ground Beef (80/20 fat content recommended)
-
1 cup Cheddar Cheese, shredded
-
2 tsp Garlic Powder (for the beef mixture)
-
1 tsp Salt (for the beef mixture)
-
1 tsp Black Pepper (for the beef mixture)
-
2 cans Refrigerated Biscuit Dough (each can contains 8 biscuits)
-
2 tbsp Butter, melted (for brushing)
-
½ cup Parmesan Cheese, grated (for topping)
-
1 tsp Garlic Powder (for the butter topping)
Instructions
-
Step 1
In a medium bowl, combine 1 lb ground beef, 2 tsp garlic powder, 1 tsp salt, and 1 tsp black pepper. Gently mix without overmixing. Divide into 16 equal portions and roll into balls. Flatten each ball slightly. -
Step 2
Press a small amount of shredded cheddar cheese into the center of each beef portion. Re-form the beef around the cheese to completely enclose it, creating cheese pockets. -
Step 3
Open both cans of biscuit dough. Gently flatten each of the 16 biscuits into a circle large enough to enclose a beef and cheese ball. Place a cheese-filled beef ball in the center of each flattened biscuit. -
Step 4
Gather the edges of the biscuit dough up and around the beef mixture, pinching firmly to seal completely. Gently roll into a smooth ball, seam-side down. Place each assembled bomb onto a parchment-lined baking sheet. -
Step 5
Preheat oven to 375°F (190°C). Bake for 18-22 minutes, or until the biscuit dough is puffed up and golden brown. In a small bowl, combine 2 tbsp melted butter, ½ cup grated Parmesan cheese, and 1 tsp garlic powder. -
Step 6
Once baked, remove from oven and immediately brush the garlic Parmesan mixture generously over the tops of each cheeseburger bomb. Let cool for a few minutes before serving warm.
Important Information
Nutrition Facts (Per Serving)
It is important to consider this information as approximate and not to use it as definitive health advice.
Allergy Information
Please check ingredients for potential allergens and consult a health professional if in doubt.